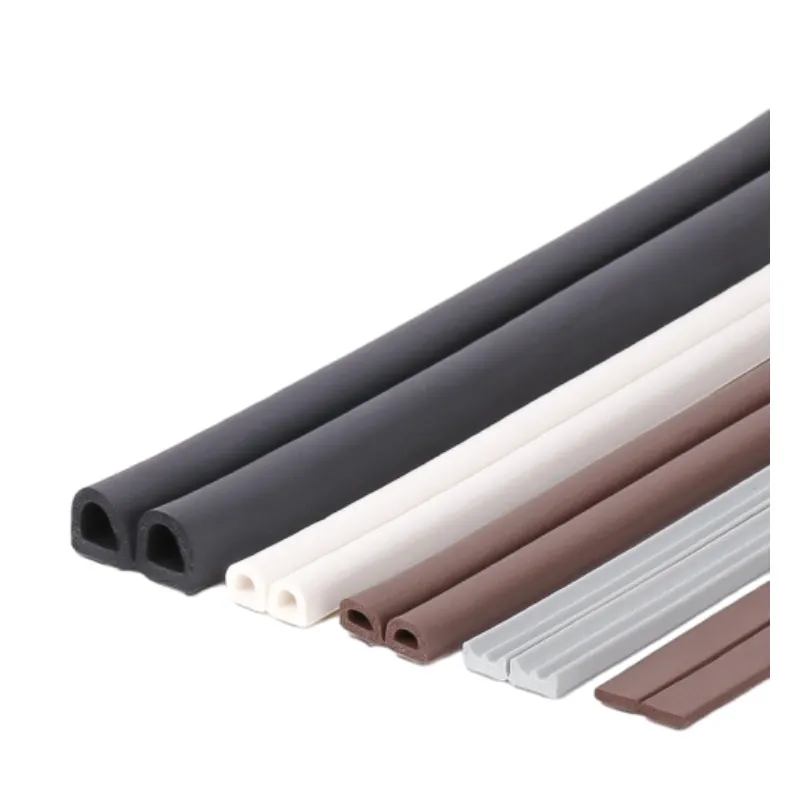
cabinet edging tape
The Essential Guide to Cabinet Edging Tape
When it comes to woodworking and cabinetry, one of the often-overlooked elements that can make or break the aesthetics and durability of your project is the edging tape. Cabinet edging tape serves a crucial purpose in not only enhancing the visual appeal of cabinets but also in providing protection to the edges of materials, ensuring longevity and resilience.
What Is Cabinet Edging Tape?
Cabinet edging tape is a narrow strip of material, typically made from wood veneer, PVC, or melamine, that is applied to the raw edges of a cabinet or countertop. This tape is designed to conceal unsightly edges, create a polished look, and protect the underlying substrate from moisture, wear, and tear. It is a versatile product suitable for various applications, including kitchen cabinets, bathroom vanities, and furniture projects.
Types of Cabinet Edging Tape
1. Wood Veneer Edging Tape This type is made from real wood and offers an authentic appearance, making it ideal for high-end cabinetry. Wood veneer tape can be stained, varnished, or lacquered to match the finish of the cabinet.
2. PVC Edging Tape PVC is a synthetic material that comes in various colors and finishes. It provides excellent moisture resistance, making it perfect for kitchens and bathrooms where humidity is a factor. PVC edging tape is easy to clean and maintains its color over time.
3. Melamine Edging Tape Made from melamine resin, this type is usually available in a wide variety of colors and patterns, making it suitable for both contemporary and traditional designs. It is durable and resistant to chipping and scratching.
Why Use Cabinet Edging Tape?
cabinet edging tape

1. Aesthetic Enhancement One of the primary reasons for using cabinet edging tape is the visual improvement it brings. The smooth, finished edges of the tape create a seamless look that elevates the overall design of the cabinetry.
2. Protection Against Damage Edges are often the first places to show wear and damage. Applying edging tape helps protect the corners and edges from chipping, moisture absorption, and other forms of wear, thus extending the life of your cabinets.
3. Ease of Application Installing cabinet edging tape is relatively straightforward, even for DIY enthusiasts. It typically comes with an adhesive backing that allows for a quick and easy application using a heat source to bond the tape to the surface.
4. Cost-Effective Solution Compared to other finishing techniques, using edging tape is a cost-effective way to achieve a polished look without extensive labor or high materials costs.
How to Apply Cabinet Edging Tape
Applying cabinet edging tape can be done using a few simple steps 1. Prepare the Surface Make sure the edge you will be applying the tape to is clean, dry, and free of dust or debris. 2. Measure and Cut Measure the length needed and cut the tape slightly longer than required to ensure full coverage. 3. Apply the Tape Carefully align the tape over the edge, pressing it down firmly. 4. Heat Activation Use a cloth and a standard household iron on a low setting to activate the adhesive. Make sure to keep the iron moving to avoid scorching the tape or the surface beneath. 5. Trim Excess Once the tape is securely bonded, use a utility knife or a razor blade to trim any excess tape, ensuring a clean finish. 6. Finish Edges For added durability, you can sand the edges lightly and apply a finish that matches the cabinetry.
Conclusion
Cabinet edging tape might seem like a minor detail in the grand scheme of cabinetry, but it plays an essential role in both aesthetics and functionality. Whether you are a professional woodworker or a DIY enthusiast, investing in quality cabinet edging tape can transform your project, offering both beauty and functionality. With a variety of materials and styles available, you can easily find the right edging tape to complement your cabinets and ensure they stand the test of time. The next time you embark on a cabinetry project, don’t forget the importance of that final touch the edging tape!
-
Under Door Draught Stopper: Essential ProtectionNewsJul.31,2025
-
Garage Door Seal and Weatherstrips for ProtectionNewsJul.31,2025
-
Edge Banding Tape for Perfect EdgesNewsJul.31,2025
-
Table Corner Guards and Wall Corner ProtectorsNewsJul.31,2025
-
Stair Nose Edging Trim and Tile Stair SolutionsNewsJul.31,2025
-
Truck Bed Rubber Mats for Pickup BedsNewsJul.31,2025
-
Window Weather Stripping for Noise ReductionNewsJul.29,2025