Telephone: +8618730949119
E-mail: 1299343081@qq.com
Feb . 14, 2025 13:14
Back to list
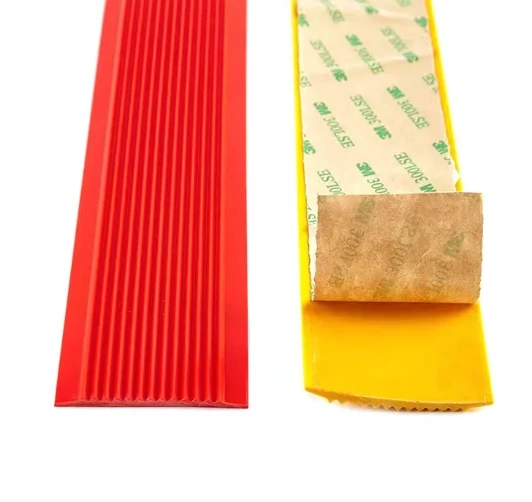
seal for oven door
Replacing the seal on a Chef oven door might seem like a daunting task, but with the right tools and guidance, it becomes an easy and rewarding project. Many home cooks and professional chefs rely on their ovens daily, and a well-functioning oven door seal is essential for maintaining efficient appliance operation and optimal cooking results. Here’s a comprehensive guide to help you replace your Chef oven door seal with confidence.
Installing the new seal involves positioning it evenly around the door, aligning it with any clips or slots, and pressing firmly to secure it in place. Ensure that the seal is taut and that there are no gaps or bulges, as these could affect the seal’s ability to insulate effectively. After fitting the new seal, close the oven door to check for a snug fit. The door should offer slight resistance when closing, indicating that the seal is creating the necessary barrier to keep heat contained within the oven. Reconnect the oven to the power supply and perform a test bake to verify that the oven heats evenly and retains proper temperature. Regularly inspecting and maintaining your oven door seal significantly improves the appliance's lifespan and performance. Experts recommend cleaning the seal periodically to prevent grease buildup, which can compromise its integrity over time. Furthermore, practicing good oven usage habits—such as not slamming the oven door—helps maintain the seal's condition. Trustworthy sources like appliance repair experts or Chef oven specialists confirm that DIY replacement of the oven door seal is cost-effective and enhances kitchen efficiency. However, if you're unsure about any step of the process or encounter persistent issues, consulting a professional appliance technician is advisable to prevent further damage to your appliance. By following these expert tips and maintaining high standards of care, you can enjoy the benefits of a fully functional oven while potentially lowering your energy costs and improving cooking outcomes. Whether you're an avid home cook or a professional chef, a well-maintained oven door seal contributes significantly to the overall cooking experience.
Installing the new seal involves positioning it evenly around the door, aligning it with any clips or slots, and pressing firmly to secure it in place. Ensure that the seal is taut and that there are no gaps or bulges, as these could affect the seal’s ability to insulate effectively. After fitting the new seal, close the oven door to check for a snug fit. The door should offer slight resistance when closing, indicating that the seal is creating the necessary barrier to keep heat contained within the oven. Reconnect the oven to the power supply and perform a test bake to verify that the oven heats evenly and retains proper temperature. Regularly inspecting and maintaining your oven door seal significantly improves the appliance's lifespan and performance. Experts recommend cleaning the seal periodically to prevent grease buildup, which can compromise its integrity over time. Furthermore, practicing good oven usage habits—such as not slamming the oven door—helps maintain the seal's condition. Trustworthy sources like appliance repair experts or Chef oven specialists confirm that DIY replacement of the oven door seal is cost-effective and enhances kitchen efficiency. However, if you're unsure about any step of the process or encounter persistent issues, consulting a professional appliance technician is advisable to prevent further damage to your appliance. By following these expert tips and maintaining high standards of care, you can enjoy the benefits of a fully functional oven while potentially lowering your energy costs and improving cooking outcomes. Whether you're an avid home cook or a professional chef, a well-maintained oven door seal contributes significantly to the overall cooking experience.
Next:
Latest news
-
Under Door Draught Stopper: Essential ProtectionNewsJul.31,2025
-
Garage Door Seal and Weatherstrips for ProtectionNewsJul.31,2025
-
Edge Banding Tape for Perfect EdgesNewsJul.31,2025
-
Table Corner Guards and Wall Corner ProtectorsNewsJul.31,2025
-
Stair Nose Edging Trim and Tile Stair SolutionsNewsJul.31,2025
-
Truck Bed Rubber Mats for Pickup BedsNewsJul.31,2025
-
Window Weather Stripping for Noise ReductionNewsJul.29,2025