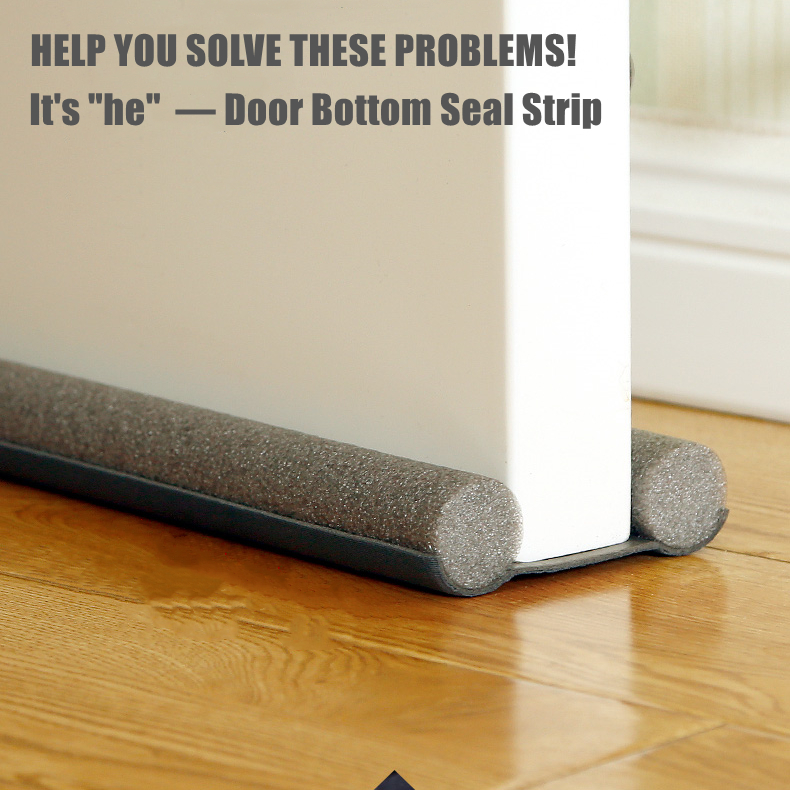
door seal diy
DIY Door Seal A Comprehensive Guide
When it comes to maintaining comfortable indoor temperatures and improving energy efficiency, one often overlooked aspect is the door seal. An effective door seal not only helps in keeping out drafts and unwanted pests but also reduces energy costs by preventing the loss of conditioned air. If you’re looking to improve the seals around your doors, you’re in the right place! This guide will take you through the DIY process of creating and installing door seals effectively.
Understanding the Importance of a Good Door Seal
A proper door seal is crucial for maintaining the efficiency of heating and cooling systems. Air leaks around doors can lead to significant energy loss, causing your HVAC system to work harder, which in turn increases your utility bills. Moreover, sealing your doors can also enhance comfort levels in your home by preventing cold drafts in winter and keeping the hot air out during summer.
Types of Door Seals
Before diving into the DIY process, it’s essential to understand the types of door seals available. Generally, there are three main types
1. Weatherstripping This is the most common type of seal and comes in various materials, such as foam, vinyl, and rubber. Weatherstripping is adhesive-backed, making it easy to apply along the edges of the door.
2. Door Sweeps These are installed at the bottom of the door to close the gap between the door and the floor. Door sweeps can have soft bristles or solid rubber material that effectively blocks airflow.
3. Thresholds These are often used in conjunction with door sweeps. A threshold is a raised strip located at the bottom of the door frame that creates a solid barrier against drafts and water.
DIY Door Seal Installation
Now that you understand the types of door seals available, here's a step-by-step guide to installing them.
Materials Needed
- Weatherstripping material (foam, vinyl, or rubber) - Door sweep - Threshold (optional) - Measuring tape - Utility knife or scissors - Adhesive (if not self-adhesive) - Screwdriver or drill (for door sweep installation) - Cleaning supplies
Step 1 Measure Your Door
door seal diy

Begin by measuring the height and width of your door. Be precise with these measurements, as you'll need them to cut your weatherstripping and door sweep to the correct size.
Step 2 Clean the Door Frame
Before applying any sealing material, clean the door frame surfaces thoroughly. Remove any dust or old adhesive to ensure that the new seals will stick properly.
Step 3 Install Weatherstripping
Cut the weatherstripping to the correct lengths based on your measurements. If using adhesive-backed weatherstripping, peel off the backing and press it firmly onto the door frame edges. For non-adhesive types, apply a suitable adhesive as per the manufacturer's instructions.
Step 4 Attach the Door Sweep
With the door closed, measure the width of the door at the bottom where the sweep will be installed. Cut the door sweep to size and position it so that it brushes against the floor without creating a gap. Use screws or adhesive as instructed to secure it in place.
Step 5 Install the Threshold (Optional)
If you’re using a threshold, position it at the base of the door frame. Make sure it is level and secure it according to the manufacturer's instructions. A threshold adds an additional layer of protection against drafts and water.
Step 6 Test for Drafts
After all seals are installed, check for drafts by running your hand around the edges of the door. If you feel air escaping, reassess the positioning of your seals and make adjustments as necessary.
Conclusion
A well-sealed door can make a remarkable difference in your home’s comfort and energy efficiency. By following this DIY guide, you can easily install door seals and enjoy the benefits of reduced drafts, improved temperature control, and lower energy bills. Remember, maintaining your door seals occasionally is crucial; inspect them regularly for wear and tear to ensure they remain effective over time. Investing time in this simple task can lead to significant savings and comfort in your living space. Get started on your DIY door seal project today!
-
Under Door Draught Stopper: Essential ProtectionNewsJul.31,2025
-
Garage Door Seal and Weatherstrips for ProtectionNewsJul.31,2025
-
Edge Banding Tape for Perfect EdgesNewsJul.31,2025
-
Table Corner Guards and Wall Corner ProtectorsNewsJul.31,2025
-
Stair Nose Edging Trim and Tile Stair SolutionsNewsJul.31,2025
-
Truck Bed Rubber Mats for Pickup BedsNewsJul.31,2025
-
Window Weather Stripping for Noise ReductionNewsJul.29,2025