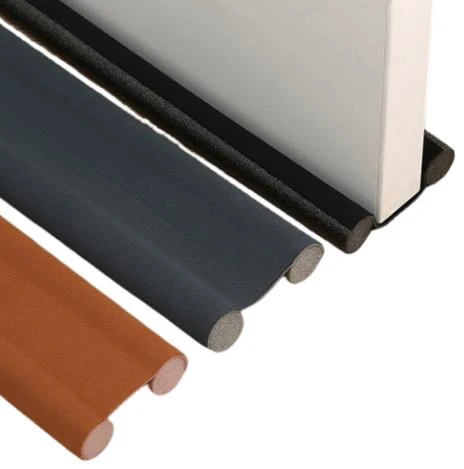
Entry Door Sweep Replacement - Improve Energy Efficiency & Security
Entry Door Sweep Replacement A Step-by-Step Guide
Entry doors are essential features of any home, providing not just security but also insulation against the elements. One often-overlooked component of an entry door is the door sweep – the strip of material that sits at the bottom of the door, closing the gap between the door and the ground. Over time, door sweeps can wear out, becoming less effective at keeping drafts, dirt, and pests out. Replacing your entry door sweep is a straightforward task that can significantly enhance your home's energy efficiency and comfort. Here’s a step-by-step guide on how to replace your entry door sweep.
1. Gather Your Materials
Before starting the replacement process, gather the necessary tools and materials. You will need a new door sweep (ensure it's the correct size for your door), a screwdriver or drill, a measuring tape, and scissors. In some cases, you might also require adhesive or weatherstripping as a sealant, particularly if your door sweep is designed to serve a dual purpose.
2. Remove the Old Door Sweep
The first step is to remove the old door sweep. Examine how it’s attached there are typically screws that hold it in place. Use your screwdriver or drill to remove these. Upon loosening the sweep, gently pull it away from the door. Be cautious, as some sweeps may be glued on or come off with extra resistance. If that’s the case, you may need to use a putty knife to lift the old sweep off carefully.
Once the old sweep is removed, clean the area at the bottom of the door. Use a cloth or sponge to wipe away dust, dirt, and any old adhesive. A clean surface is crucial for ensuring a proper fit for your new door sweep. If you find any remaining adhesive, you can use a solvent to help remove it, allowing the new sweep to adhere more securely.
entry door sweep replacement

4. Measure and Cut the New Sweep
Before installing the new sweep, measure the length required. Most door sweeps can be cut to size, which is helpful if your door is not a standard size. Use the scissors to cut the new sweep according to your measurements. Make sure you wear protective gloves during this step to avoid any injuries.
5. Install the New Sweep
With the new sweep cut to size, it's time to install it. Align the sweep with the bottom of the door and ensure that it covers the entire expanse without gaps. If it has pre-drilled holes, use your screws to attach it securely to the door. If the sweep uses adhesive, follow the manufacturer's instructions for application, ensuring it’s firmly pressed into place.
6. Test the Seal
Finally, after the new sweep is installed, close the door and check the seal. Ensure that the door properly closes against the sweep without any significant gaps. You should feel a tight seal that prevents drafts and unwanted pests from entering your home.
Conclusion
Replacing the entry door sweep is a simple yet effective home improvement project. Not only does it enhance your home's energy efficiency by keeping out drafts, but it also maintains cleanliness and comfort in your living space. By following these steps, you can ensure that your entry door remains a strong barrier against the elements for years to come. Regular maintenance of this minor yet crucial component can go a long way in preserving the integrity of your home.
-
Under Door Draught Stopper: Essential ProtectionNewsJul.31,2025
-
Garage Door Seal and Weatherstrips for ProtectionNewsJul.31,2025
-
Edge Banding Tape for Perfect EdgesNewsJul.31,2025
-
Table Corner Guards and Wall Corner ProtectorsNewsJul.31,2025
-
Stair Nose Edging Trim and Tile Stair SolutionsNewsJul.31,2025
-
Truck Bed Rubber Mats for Pickup BedsNewsJul.31,2025
-
Window Weather Stripping for Noise ReductionNewsJul.29,2025