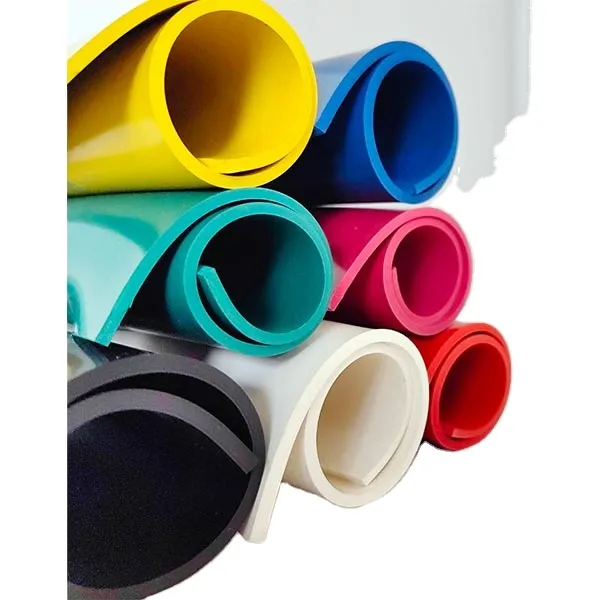
exterior door bottom sweep replacement
Replacing the Bottom Sweep on Your Exterior Door A Step-by-Step Guide
The bottom sweep of your exterior door plays a crucial role in maintaining your home's comfort and energy efficiency. Over time, wear and tear can compromise this essential component, allowing drafts, moisture, and pests to enter your home. If you notice gaps at the bottom of your door or if the sweep looks worn out, it may be time for a replacement. Here’s a guide to help you through this simple yet effective DIY project.
Why Replace the Bottom Sweep?
The primary purpose of the bottom sweep, also known as a door saddle or door sweep, is to create a seal at the base of your door. This seal helps prevent air leaks, keeping your home warm in the winter and cool in the summer. Additionally, it acts as a barrier against rain, snow, bugs, and dust. A damaged or missing sweep can lead to increased utility bills and a less comfortable living environment.
Tools and Materials Needed
To replace your door sweep, you'll need a few basic tools and materials
- New door sweep (available at most hardware stores) - Measuring tape - Screwdriver or drill - Utility knife - Level (optional) - Safety goggles
Step-by-Step Replacement Process
exterior door bottom sweep replacement

1. Measure Your Door's Width Start by measuring the width of your door. This measurement will ensure that you purchase a door sweep that fits properly. Most door sweeps come in standard sizes, so you may need to trim the new sweep to match your door's dimensions.
2. Remove the Old Sweep Use a screwdriver or drill to remove the screws holding the old sweep in place. If the sweep is adhered with adhesive, you may need a utility knife to carefully cut through the old adhesive. Dispose of the old sweep properly.
3. Prepare the Door Once the old sweep is removed, clean the area at the bottom of the door to remove any debris, old adhesive, or grime. This will help the new sweep adhere better and create a tighter seal.
4. Install the New Sweep Align the new sweep with the bottom of the door. Ensure it's centered and level. If your new sweep requires cutting, use the utility knife for precise trimming. Once you're satisfied with the fit, attach the sweep using the provided screws or adhesive, following the manufacturer’s instructions.
5. Test the Seal After installation, close the door and check the fit. Look for any light coming through the seam at the bottom; this indicates gaps. Adjust the sweep if necessary to create a tight seal.
6. Final Touches If your new sweep uses adhesive, allow it to cure as recommended. Clean any excess adhesive or debris, and admire your work!
Conclusion
Replacing the bottom sweep on your exterior door is a straightforward task that can significantly enhance your home's energy efficiency and comfort. By following this guide, you can ensure that your replacement is effective, keeping drafts, moisture, and pests at bay. Regular maintenance of your door sweeps helps prolong the life of your door and improves your overall living environment. So, gather your tools, set aside some time, and tackle this home improvement project with confidence!
-
Under Door Draught Stopper: Essential ProtectionNewsJul.31,2025
-
Garage Door Seal and Weatherstrips for ProtectionNewsJul.31,2025
-
Edge Banding Tape for Perfect EdgesNewsJul.31,2025
-
Table Corner Guards and Wall Corner ProtectorsNewsJul.31,2025
-
Stair Nose Edging Trim and Tile Stair SolutionsNewsJul.31,2025
-
Truck Bed Rubber Mats for Pickup BedsNewsJul.31,2025
-
Window Weather Stripping for Noise ReductionNewsJul.29,2025