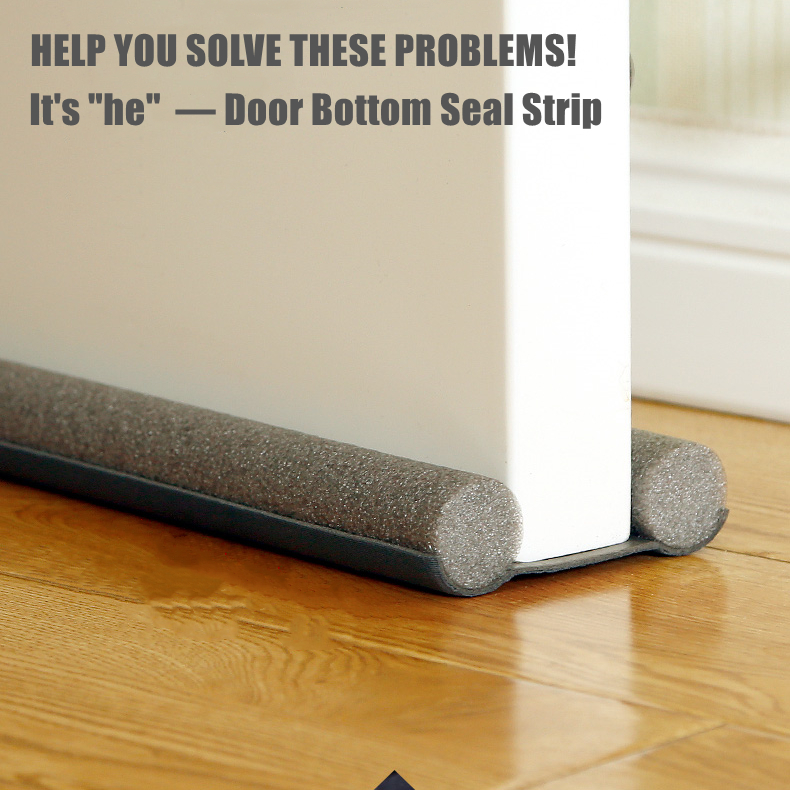
exterior door bottom sweep replacement
Replacing the Exterior Door Bottom Sweep A Step-by-Step Guide
Maintaining the integrity of your home is crucial for comfort and energy efficiency. One often-overlooked element is the bottom sweep of your exterior door. The bottom sweep serves as a barrier against drafts, water intrusion, and pests. Over time, it can wear out, become damaged, or lose its effectiveness. Here’s a comprehensive guide on how to replace your exterior door bottom sweep.
Why Replace the Bottom Sweep?
The bottom sweep is vital for sealing the gap between your door and the floor. A worn or damaged sweep can lead to increased energy bills as conditioned air escapes, and it can allow moisture and insects to enter your home. Regularly inspecting and replacing the bottom sweep can save you money and enhance your home’s comfort.
Tools and Materials Needed
1. New bottom sweep (available at hardware stores) 2. Measuring tape 3. Utility knife or scissors 4. Screwdriver (if screws are present) 5. Adhesive (if needed)
Step 1 Remove the Old Bottom Sweep
Begin by inspecting the existing bottom sweep. If it’s attached with screws, use a screwdriver to carefully remove them. If it’s simply glued in place, use a utility knife to cut through the old adhesive. Gently pull the old sweep away from the door.
Step 2 Measure for the New Sweep
exterior door bottom sweep replacement

Once the old sweep is removed, measure the width of your door with a measuring tape. Most bottom sweeps come in standard lengths, but you may need to trim one to fit your specific door width. Always double-check your measurements before cutting.
Step 3 Prepare the New Sweep
If your new bottom sweep needs to be trimmed, use a utility knife or scissors to achieve the correct length. Ensure that the ends are cleanly cut to ensure a good seal when installed.
Step 4 Install the New Sweep
Align the new bottom sweep with the bottom edge of the door. If it’s a screw-in type, pre-drill holes if necessary, then secure it with screws. For adhesive models, apply an even layer of adhesive to the back and press it firmly against the door, ensuring there is no gap.
Step 5 Test the Installation
Once installed, close the door and check for gaps. Adjust the sweep as necessary to ensure a tight seal. You should feel resistance when opening and closing the door, indicating a proper fit.
Conclusion
Replacing the bottom sweep of your exterior door is a simple yet effective way to enhance your home’s energy efficiency and protect it from the elements. With minimal tools and a little effort, you can ensure your home remains comfortable year-round. Regular maintenance can extend the life of your door and keep your living space secure from unwanted guests.
-
Under Door Draught Stopper: Essential ProtectionNewsJul.31,2025
-
Garage Door Seal and Weatherstrips for ProtectionNewsJul.31,2025
-
Edge Banding Tape for Perfect EdgesNewsJul.31,2025
-
Table Corner Guards and Wall Corner ProtectorsNewsJul.31,2025
-
Stair Nose Edging Trim and Tile Stair SolutionsNewsJul.31,2025
-
Truck Bed Rubber Mats for Pickup BedsNewsJul.31,2025
-
Window Weather Stripping for Noise ReductionNewsJul.29,2025