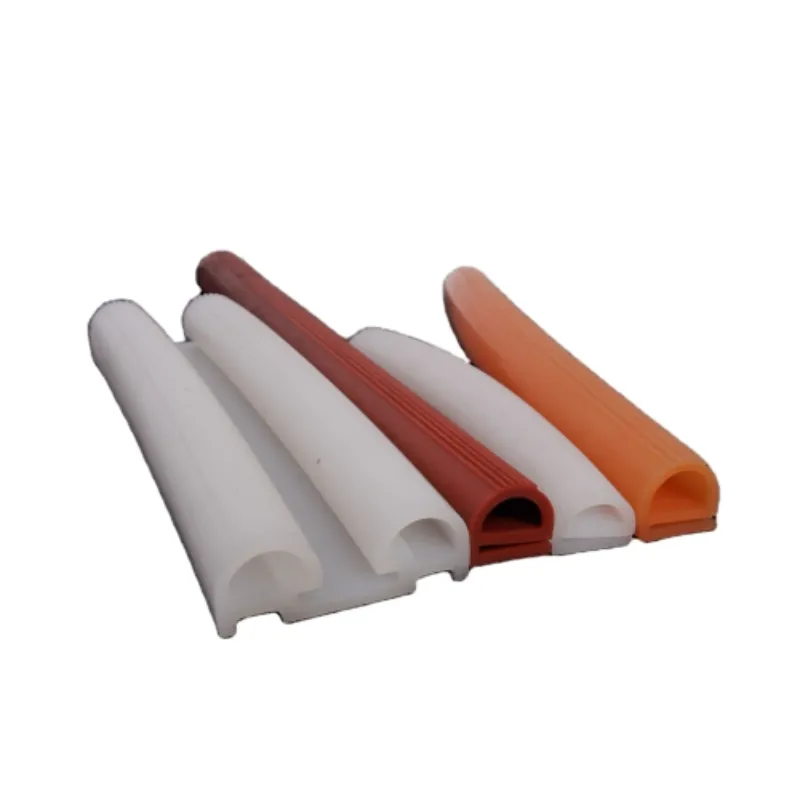
exterior door sweep replacement
Replacing Your Exterior Door Sweep A Comprehensive Guide
Keeping your home energy efficient and comfortable is crucial, especially during extreme weather conditions. One often-overlooked aspect of home maintenance is the exterior door sweep. Over time, these vital components can wear out, leading to drafts, energy loss, and even pest invasions. If you notice gaps beneath your exterior doors or hear that familiar whistling sound as the wind blows, it may be time to replace your door sweep. Here’s a comprehensive guide to help you through the replacement process.
Understanding the Door Sweep
A door sweep is a long, narrow strip made of rubber, vinyl, or a similar material. It is attached to the bottom of an exterior door to create a seal when the door is closed, preventing air, water, dirt, and unwanted pests from entering your home. While they are typically durable, exposure to harsh weather and regular foot traffic can lead to deterioration.
Signs It’s Time for Replacement
- Visible Damage Cracks, tears, or missing pieces indicate that your door sweep is no longer effective. - Drafts If you can feel air coming from beneath the door, it’s a clear sign that the sweep is compromised. - Pests An increase in insects or small rodents in your home can be attributed to gaps created by a worn-out door sweep. - Water Leaks During heavy rain, check for water pooling near the door. A damaged sweep can allow water infiltration.
Choosing the Right Door Sweep
When selecting a replacement door sweep, consider the following
- Material Choose between rubber, vinyl, or metal. Rubber and vinyl are more common due to their flexibility and effectiveness in sealing gaps. - Size Measure the width of your door and the gap beneath it to ensure a proper fit. Standard door sweeps generally come in lengths of 36 inches but can be cut down to size. - Type There are various types, including adhesive-backed, screw-in, or those that slide into a groove. Choose one that best suits your needs and the fit of your door.
Tools Required
exterior door sweep replacement

You’ll need a few basic tools for the replacement
- Tape measure - Utility knife or scissors - Screwdriver (if applicable) - Hammer (if nails are used) - Level (optional, for ensuring a straight fit)
Step-by-Step Replacement Guide
1. Remove the Old Door Sweep If it’s screwed in place, use the screwdriver to remove any screws. If it’s adhesive-backed, carefully peel it away from the door. A putty knife can help pry off stubborn pieces.
2. Clean the Door Bottom Once the old sweep is removed, clean the bottom of the door to remove any debris, adhesive residue, or paint that might interfere with the new sweep.
3. Measure and Cut the New Sweep Measure the width of your door and cut the new sweep to size. If you’re using a material that can fray, like vinyl, ensure to cut it cleanly to avoid damage.
4. Attach the New Door Sweep Depending on the type of sweep you chose, follow the appropriate method - Adhesive-backed Peel off the backing and firmly press the sweep into place. - Screw-in Position the sweep at the bottom of the door, use a level to ensure it's straight, and secure it with screws.
5. Test the Seal Close the door and check for any gaps. The sweep should make contact with the floor, providing a tight seal. Adjust as necessary.
Conclusion
Replacing your exterior door sweep is a simple yet effective way to enhance your home’s energy efficiency, comfort, and protection against unwanted guests. By following the steps outlined above, you can ensure a proper installation that will keep your home snug and secure for years to come. Regularly check your door sweeps, especially with changing seasons, to maintain an optimal living environment. A small investment in maintenance can lead to significant savings on energy bills and an overall more pleasant home experience.
-
Under Door Draught Stopper: Essential ProtectionNewsJul.31,2025
-
Garage Door Seal and Weatherstrips for ProtectionNewsJul.31,2025
-
Edge Banding Tape for Perfect EdgesNewsJul.31,2025
-
Table Corner Guards and Wall Corner ProtectorsNewsJul.31,2025
-
Stair Nose Edging Trim and Tile Stair SolutionsNewsJul.31,2025
-
Truck Bed Rubber Mats for Pickup BedsNewsJul.31,2025
-
Window Weather Stripping for Noise ReductionNewsJul.29,2025