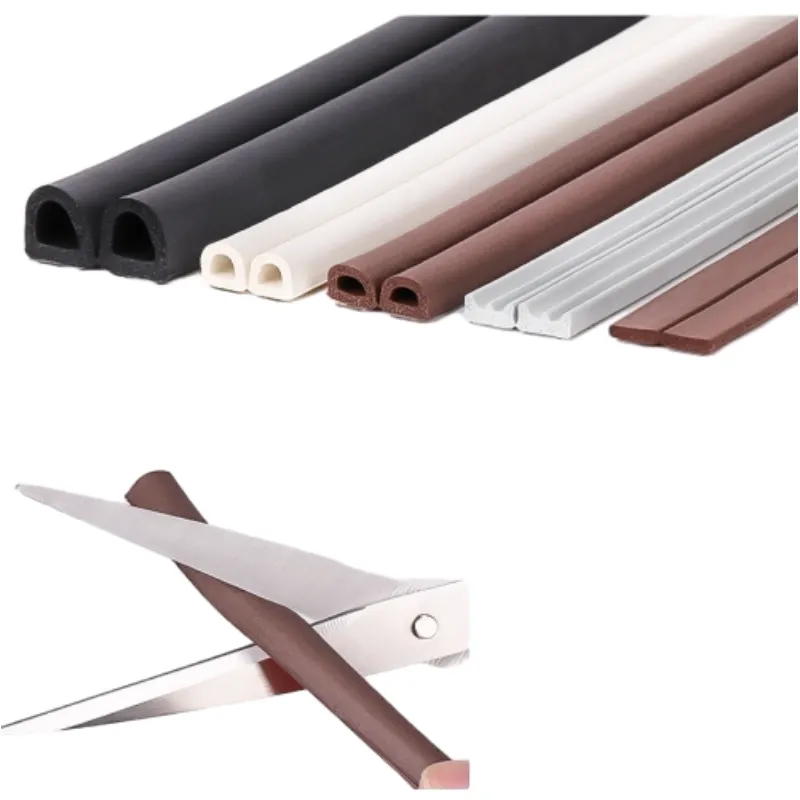
How to Replace Your Exterior Door Sweep for Better Insulation and Security
A Guide to Replacing Your Exterior Door Sweep
When it comes to maintaining a home, attention to detail can make all the difference, especially when it comes to energy efficiency and comfort. One often-overlooked aspect is the door sweep on exterior doors. A worn or damaged door sweep can lead to drafts, moisture intrusion, and even pest problems. This guide will walk you through the importance of a door sweep, signs it needs replacement, and how to replace it effectively.
What is a Door Sweep?
A door sweep is a piece of material attached to the bottom of an exterior door. Its primary function is to create a seal between the door and the threshold, preventing air, water, dirt, and pests from entering your home. Often made of rubber, vinyl, or brush materials, a door sweep is essential for maintaining comfort and energy efficiency in your living space.
Why Replace Your Door Sweep?
Over time, door sweeps can degrade due to exposure to the elements. Sunlight, rain, snow, and temperature fluctuations can cause the material to crack, become brittle, or detach from the door. Here are some signs that it might be time for a replacement
1. Visible Damage Look for cracks, tears, or deformities in the sweep. 2. Drafts If you feel a noticeable draft when the door is closed, the sweep may not be providing a proper seal. 3. Moisture Issues Water intrusion at the base of your door can indicate a failing sweep. 4. Pest Problems Unwanted insects and critters can enter through gaps at the bottom of the door if the sweep is damaged.
Steps to Replace Your Door Sweep
Replacing a door sweep is a straightforward DIY project that can significantly improve your home's comfort and energy efficiency. Here’s a step-by-step guide
Materials Needed - New door sweep (make sure you buy the correct size for your door) - Screwdriver or power drill - Measuring tape - Utility knife or scissors - Level (optional)
exterior door sweep replacement

1. Measure the Door Start by measuring the width of your door. Door sweeps come in various lengths, so ensure you get one that fits your door perfectly. Most hardware stores offer adjustable sweeps that can be trimmed to size.
2. Remove the Old Sweep Use a screwdriver or power drill to remove the screws or nails holding the old sweep in place. If the sweep is glued on, you may need to carefully pry it off with a utility knife.
3. Clean the Area Once the old sweep is removed, clean the bottom of the door to remove any debris, old adhesive, or dust. This ensures that the new sweep adheres securely.
4. Install the New Sweep Position the new door sweep at the bottom of the door. Ensure it is aligned properly so that it will seal against the threshold evenly. If it is adjustable, you may need to trim it to fit the width of your door.
5. Secure the Sweep Using the screws provided with the new sweep, secure it in place. If the sweep is adhesive, peel off the backing and press it firmly onto the door, ensuring there are no gaps.
6. Test the Seal After installation, close the door and check the seal. You can perform a simple draft test by holding a candle or a lighted match near the bottom of the door. If the flame flickers, there may be gaps that need addressing. Adjust the sweep as necessary for a proper seal.
7. Maintenance Regularly check your door sweep for wear and tear, especially after harsh weather conditions. Replacing the door sweep every few years can keep your home comfortable and energy-efficient.
Conclusion
Replacing an exterior door sweep is a small, yet impactful home improvement task. It enhances your home's energy efficiency, protects against moisture and pests, and contributes to a comfortable living environment. By following the steps outlined in this guide, you can easily replace your door sweep and enjoy the benefits of a well-sealed entryway. Taking care of these small details helps you maintain a more comfortable and energy-efficient home, so don’t overlook the importance of this simple replacement!
-
Under Door Draught Stopper: Essential ProtectionNewsJul.31,2025
-
Garage Door Seal and Weatherstrips for ProtectionNewsJul.31,2025
-
Edge Banding Tape for Perfect EdgesNewsJul.31,2025
-
Table Corner Guards and Wall Corner ProtectorsNewsJul.31,2025
-
Stair Nose Edging Trim and Tile Stair SolutionsNewsJul.31,2025
-
Truck Bed Rubber Mats for Pickup BedsNewsJul.31,2025
-
Window Weather Stripping for Noise ReductionNewsJul.29,2025