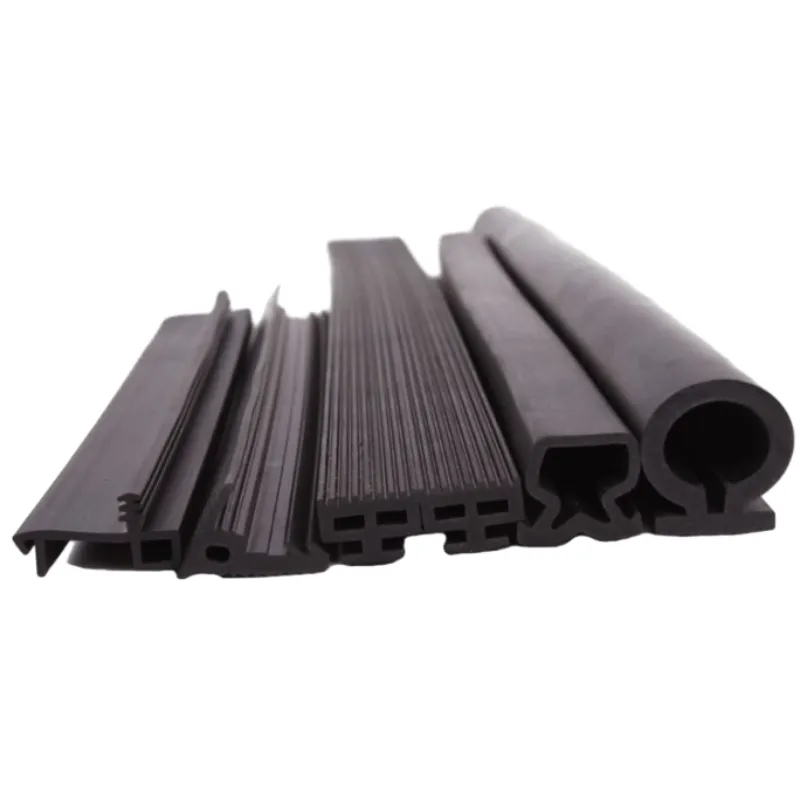
exterior door sweep replacement
Replacing Your Exterior Door Sweep A Step-by-Step Guide
An exterior door sweep is an essential component that seals the gap between your door and the ground. It helps keep out drafts, pests, and moisture, thus improving energy efficiency and maintaining a comfortable indoor environment. Over time, these sweeps can wear out, tear, or lose their effectiveness. Replacing an exterior door sweep is a straightforward DIY task that can enhance your home's insulation and security. Here's a step-by-step guide to help you replace your door sweep.
Step 1 Gather Your Materials
Before you begin, you will need several tools and materials. You’ll require a new door sweep, which can be found at most hardware stores or online. Choose a sweep that fits your door's dimensions; they typically come in various lengths. Additionally, have a measuring tape, a utility knife, a screwdriver, and adhesive or screws ready, depending on the type of door sweep you’ve purchased.
Step 2 Remove the Old Door Sweep
To start, open your exterior door and inspect the existing door sweep. If it is screwed in, use a screwdriver to remove the screws and take off the old sweep. For adhesive sweeps, carefully pry it off using your utility knife. Be cautious not to damage the door as you remove the old sweep.
Step 3 Measure and Cut the New Sweep
exterior door sweep replacement

Next, measure the width of your door to ensure your new sweep fits properly. If necessary, use a utility knife to trim the new sweep to the correct length. Make sure to double-check your measurements before cutting, as an ill-fitting sweep will be less effective.
Step 4 Install the New Door Sweep
Now it’s time to attach the new sweep. If your new sweep comes with adhesive, simply peel off the backing and press it firmly into place at the bottom of the door. If it requires screws, align it with the door and insert the screws to secure it. Ensure that the sweep touches the ground or floor surface to create an optimal seal.
Step 5 Test the Seal
After installation, close the door and check for any gaps. The sweep should be in contact with the ground without any significant gaps. If necessary, make minor adjustments to ensure a tight seal.
By following these steps, you can effectively replace your exterior door sweep, enhancing your home’s comfort and energy efficiency. Regular maintenance of your door sweep will prolong its lifespan and ensure that your home remains a safe and pleasant place to live. Remember, a small investment in your door sweep can lead to significant savings on energy bills and increased comfort throughout the year.
-
Under Door Draught Stopper: Essential ProtectionNewsJul.31,2025
-
Garage Door Seal and Weatherstrips for ProtectionNewsJul.31,2025
-
Edge Banding Tape for Perfect EdgesNewsJul.31,2025
-
Table Corner Guards and Wall Corner ProtectorsNewsJul.31,2025
-
Stair Nose Edging Trim and Tile Stair SolutionsNewsJul.31,2025
-
Truck Bed Rubber Mats for Pickup BedsNewsJul.31,2025
-
Window Weather Stripping for Noise ReductionNewsJul.29,2025