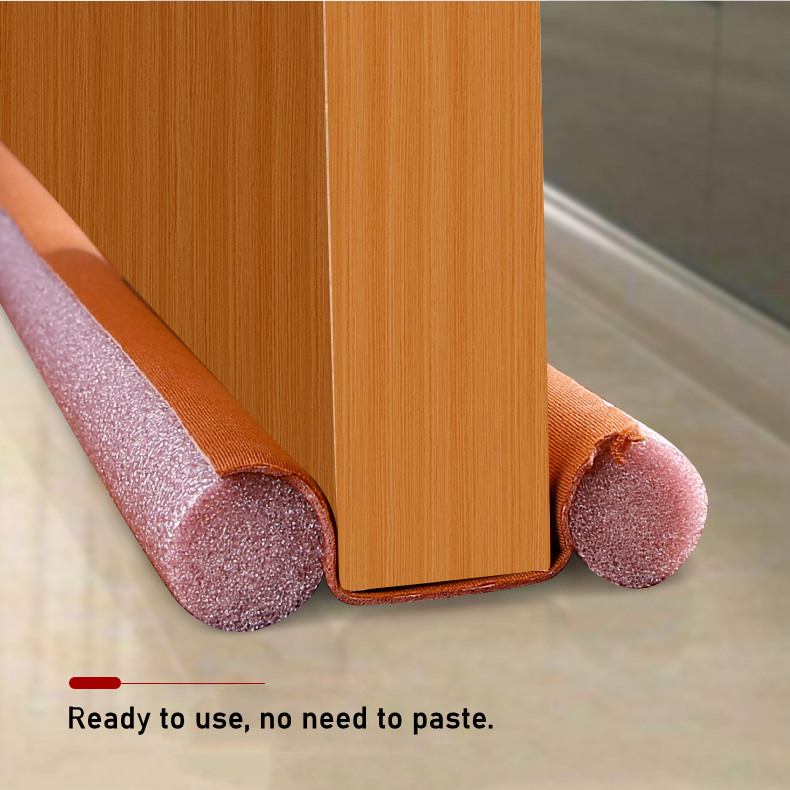
Exterior Door Threshold Rubber Seal Replacement Guide for Optimal Weatherproofing
Replacing the Exterior Door Threshold Rubber Seal A Comprehensive Guide
When it comes to maintaining the integrity and efficiency of your home, one often overlooked component is the exterior door threshold rubber seal. Over time, these seals can wear out, become brittle, or even crack, allowing drafts, water, and pests to enter your home. Replacing the rubber seal is a straightforward task that can enhance energy efficiency and improve the overall comfort of your living space. This article will guide you through the steps of replacing the rubber seal on your exterior door threshold.
Why Replace the Rubber Seal?
The primary function of the threshold rubber seal is to provide a barrier against the elements. A worn-out seal can lead to several issues including
1. Drafts and Temperature Control Gaps created by damaged seals allow cold air to seep in, leading to higher heating costs during winter and reduced comfort. 2. Water Intrusion A compromised seal can allow rainwater to enter, which may result in water damage and mold growth within your home.
3. Pest Entry Insects and small rodents can find their way inside through gaps left by a faulty seal, creating potential health risks.
4. Energy Efficiency An effective seal can significantly reduce your heating and cooling costs by ensuring that warm or cool air stays inside where it belongs.
Materials Needed for Replacement
Before beginning the replacement process, gather the following materials
- New rubber threshold seal (sized for your specific door) - Utility knife or scissors - Measuring tape - Adhesive or screws (if required) - Cleaning cloth - Safety goggles (optional)
exterior door threshold rubber seal replacement

Step-by-Step Guide to Replacement
1. Measure the Old Seal Start by removing the old rubber seal from the threshold. If it’s still intact, measure its length and width to ensure that you purchase the correct size replacement. Use a measuring tape for accuracy.
2. Remove the Old Seal Carefully lift the old seal from the threshold. If it’s glued down, a utility knife can help you cut through any adhesive. Be cautious not to damage the threshold itself.
3. Clean the Threshold Thoroughly clean the area where the old seal was attached. Use a cleaning cloth to wipe away dirt, debris, and any residual adhesive to ensure a good bond for the new seal.
4. Prepare the New Seal If necessary, cut the new rubber seal to the appropriate length, ensuring it will fit snugly in the threshold area. Most seals come with a user-friendly attachment method, whether it is adhesive backing or slots for screws.
5. Install the New Seal Position the new rubber seal into the threshold area. If it’s adhesive, press down firmly to ensure a secure attachment. If it requires screws, use a drill or a screwdriver to fasten it down. Ensure the seal is flush against the door and lies flat along the threshold.
6. Test for Gaps Once installed, close the door and check for any gaps between the door and the seal. Adjust as necessary to ensure a tight fit that provides maximum protection against the elements.
Conclusion
Replacing the exterior door threshold rubber seal is an essential maintenance task that can significantly improve your home’s energy efficiency and comfort. By following these simple steps, you can easily replace a worn-out seal and protect your home from drafts, water intrusion, and pests. Regular maintenance of seals, thresholds, and other entry points will not only enhance your home environment but also save you money in the long run. Taking the time to perform this task can lead to a noticeable difference in comfort and efficiency, making it well worth the effort.
-
Under Door Draught Stopper: Essential ProtectionNewsJul.31,2025
-
Garage Door Seal and Weatherstrips for ProtectionNewsJul.31,2025
-
Edge Banding Tape for Perfect EdgesNewsJul.31,2025
-
Table Corner Guards and Wall Corner ProtectorsNewsJul.31,2025
-
Stair Nose Edging Trim and Tile Stair SolutionsNewsJul.31,2025
-
Truck Bed Rubber Mats for Pickup BedsNewsJul.31,2025
-
Window Weather Stripping for Noise ReductionNewsJul.29,2025