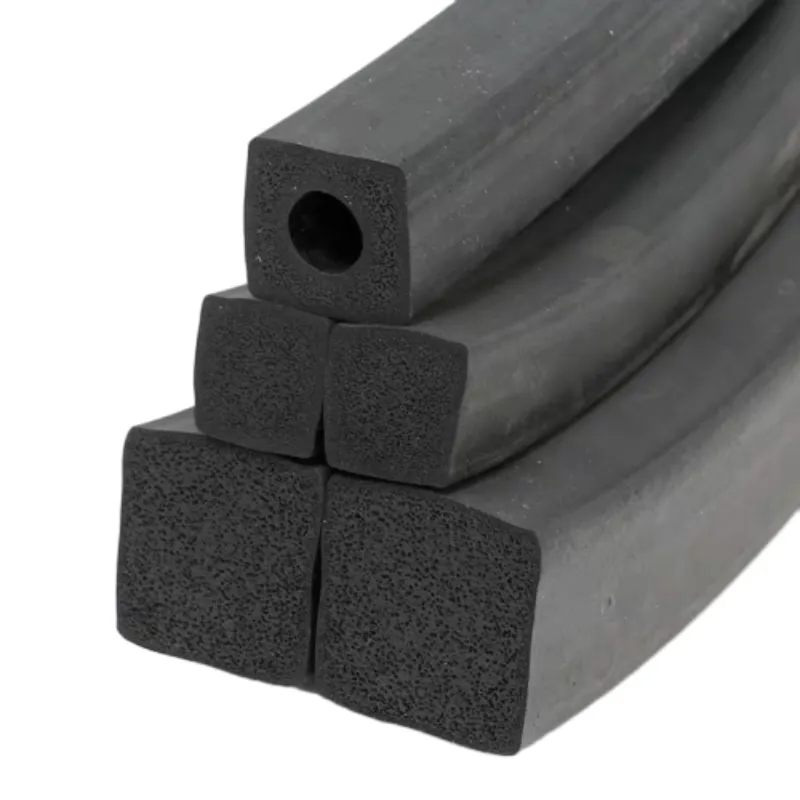
exterior door weatherstripping
The Importance of Weatherstripping for Exterior Doors
When it comes to maintaining a comfortable and energy-efficient home, one often overlooked aspect is the weatherstripping around exterior doors. Weatherstripping is a vital component that serves as a barrier against the elements, ensuring that your home remains insulated from cold air, moisture, and drafts. This article will explore the significance of weatherstripping for exterior doors, the types available, and the installation process.
Why Weatherstripping Matters
Exterior doors are one of the primary entry points for air leaks in a home. If not properly sealed, these gaps can lead to significant energy loss, which can drive up your heating and cooling bills. According to the U.S. Department of Energy, up to 30% of a home’s energy can be lost through poorly sealed doors and windows. This not only impacts your energy costs but also your overall comfort, as drafts can create hot and cold spots throughout the room.
Additionally, inadequate weatherstripping can allow moisture to infiltrate your home, potentially leading to mold growth and water damage. Weatherstripping acts as a protective seal, minimizing the risk of these issues. In regions with extreme weather conditions, such as heavy rain or snow, proper weatherstripping is essential to maintain a dry and comfortable interior.
Types of Weatherstripping
There are several types of weatherstripping materials available, each serving a specific purpose and offering different benefits.
1. V-strip (Tension Seal) This is a flexible, pre-formed plastic or metal strip that can be folded to create a V shape. It can be applied to the edges of doors to create a seal against drafts.
2. Felt Weatherstripping Made from fibers, felt weatherstripping is easy to install and is often used for lighter doors. However, it may not be as durable as other options and can compress over time.
3. Foam Tape Foam weatherstripping comes in various thicknesses and is ideal for irregular gaps. It is adhesive-backed, making it easy to install. However, it may wear out faster than other materials.
4. Rubber Weatherstripping Rubber strips provide a strong seal and are highly durable. They are typically used on exterior doors due to their robust nature, effectively resisting moisture and temperature changes.
exterior door weatherstripping

Installation of Weatherstripping
Installing weatherstripping around your exterior doors is a straightforward DIY project that can be completed in a few hours. Here’s how to do it
1. Assess the Condition Begin by examining the existing weatherstripping. Look for any signs of wear or damage and measure the gaps around the door.
2. Choose the Right Material Based on your assessment, select the right type of weatherstripping for your door. Consider factors like the door material, the size of gaps, and your climate.
3. Prepare the Surface Clean the area where the weatherstripping will be applied. Remove any old weatherstripping or debris to ensure a good bond.
4. Cut and Apply the Weatherstripping Measure and cut the weatherstripping to size. Carefully follow the manufacturer's instructions to apply it along the edges of the door.
5. Test the Seal After installation, test the effectiveness of the weatherstripping by checking for drafts. If you still feel air leaking, make adjustments as necessary.
Conclusion
Weatherstripping is an essential upgrade for any exterior door. It not only enhances energy efficiency by reducing drafts but also protects your home from moisture and damage. With various options available and an easy installation process, investing in weatherstripping is a wise decision for homeowners looking to improve comfort and lower energy bills. Don't overlook this simple yet effective solution; your home, wallet, and the environment will thank you!
-
Under Door Draught Stopper: Essential ProtectionNewsJul.31,2025
-
Garage Door Seal and Weatherstrips for ProtectionNewsJul.31,2025
-
Edge Banding Tape for Perfect EdgesNewsJul.31,2025
-
Table Corner Guards and Wall Corner ProtectorsNewsJul.31,2025
-
Stair Nose Edging Trim and Tile Stair SolutionsNewsJul.31,2025
-
Truck Bed Rubber Mats for Pickup BedsNewsJul.31,2025
-
Window Weather Stripping for Noise ReductionNewsJul.29,2025