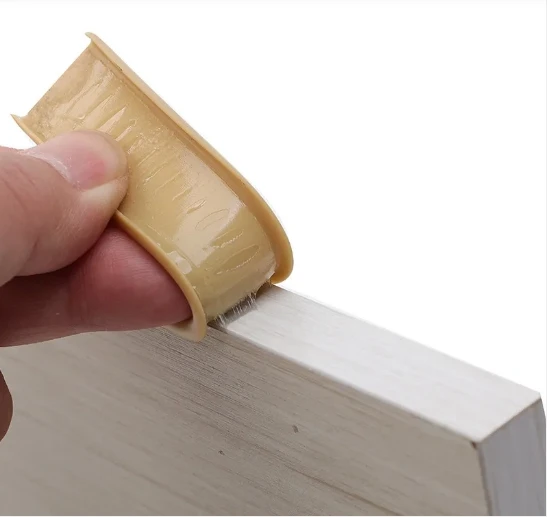
front door sweep replacement
Replacing Your Front Door Sweep A Step-by-Step Guide
The entrance of your home is not just a passageway; it is a reflection of your style, character, and, importantly, your commitment to energy efficiency. One of the often-overlooked elements that contribute to both aesthetics and functionality is the front door sweep. A well-maintained door sweep can prevent drafts, save energy, and keep pests out. If your door sweep is worn out, damaged, or simply ineffective, it may be time for a replacement. This article will guide you through the steps to replace your front door sweep efficiently.
Why Replace a Door Sweep?
A door sweep is a strip of material that runs along the bottom of your front door, sealing the gap between the door and the threshold. Over time, exposure to weather elements can wear down the material, allowing air, moisture, and bugs to infiltrate your home. By replacing it, you will improve your home’s energy efficiency, maintain better indoor climate control, and enhance security. Plus, a new door sweep can give your entryway a fresh look!
Tools and Materials
Before you embark on the replacement process, gather the necessary tools and materials
. You will need- A tape measure - A screwdriver (flathead or Phillips, depending on your door) - A utility knife or scissors - A new door sweep (available at most hardware stores) - Adhesive (if applicable) - Safety gloves
Steps to Replace Your Front Door Sweep
front door sweep replacement

1. Remove the Old Door Sweep Start by identifying how the current door sweep is attached. Some sweeps are nailed or screwed into place, while others might simply be glued on. If it is screwed, use a screwdriver to remove the screws. For nails, gently pry the sweep away with a flathead screwdriver. If the sweep is adhesive, carefully peel it away from the door.
2. Clean the Area Once the old door sweep is removed, clean the bottom of your door thoroughly. This will ensure optimal adhesion for the new sweep. Remove any old adhesive residue, dirt, or debris that may interfere with the installation.
3. Measure for the New Sweep Use a tape measure to determine the width of your door. Most door sweeps come in standard lengths but can easily be trimmed. If your new sweep is too long, mark the length you need and use a utility knife or scissors to cut it to size.
4. Install the New Door Sweep If your new sweep is screw-attached, align it with the bottom of the door and secure it using the screws provided. Ensure that it sits snugly against the threshold for a proper seal. If it’s adhesive, peel off the backing and press the sweep firmly against the bottom of your door. For extra security, you can also apply additional adhesive along the edges.
5. Test the Seal After installation, test the effectiveness of the new door sweep. Close the door and check for drafts by feeling around the edges. A properly installed sweep should create a tight seal, preventing any airflow.
Final Thoughts
Replacing your front door sweep may seem like a small task, but it can have a significant impact on your home’s energy efficiency and comfort. Regular maintenance, including checking and replacing door sweeps, contributes to the overall upkeep of your home. Not only will a new sweep help keep your home cozy, but it will also enhance your door’s appearance, creating a welcoming entrance for visitors. With a little time and effort, you can ensure that your front door functions efficiently, protecting your home from the elements while adding a touch of style.
-
Under Door Draught Stopper: Essential ProtectionNewsJul.31,2025
-
Garage Door Seal and Weatherstrips for ProtectionNewsJul.31,2025
-
Edge Banding Tape for Perfect EdgesNewsJul.31,2025
-
Table Corner Guards and Wall Corner ProtectorsNewsJul.31,2025
-
Stair Nose Edging Trim and Tile Stair SolutionsNewsJul.31,2025
-
Truck Bed Rubber Mats for Pickup BedsNewsJul.31,2025
-
Window Weather Stripping for Noise ReductionNewsJul.29,2025