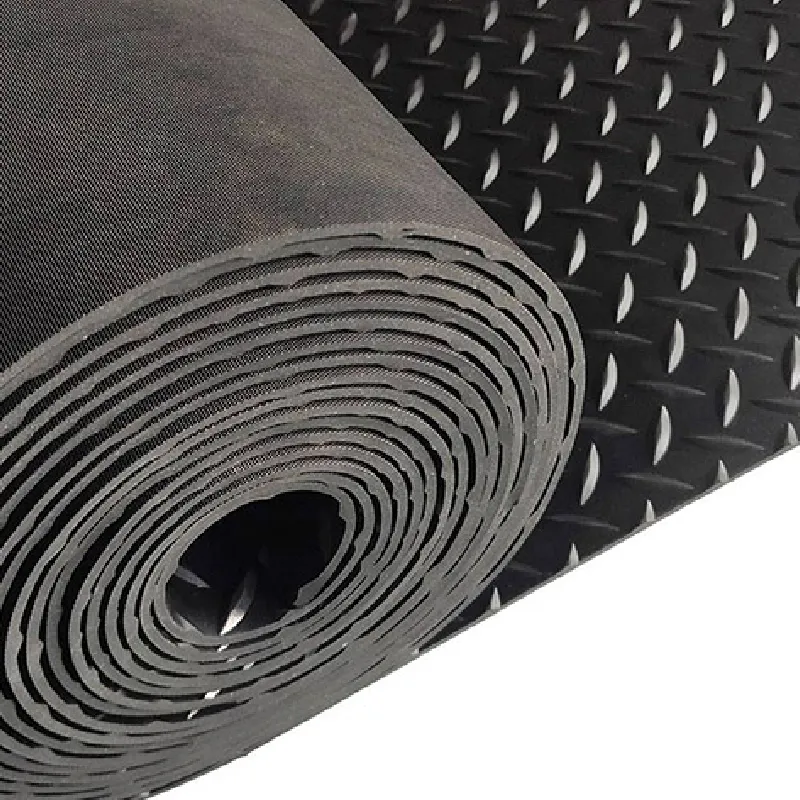
High-Quality Garage Door Weather Stripping Trim - Durable & Efficient Solutions
Garage Door Weather Stripping Trim Importance and Installation Guide
When it comes to maintaining an energy-efficient home, one often overlooked component is the garage door. While many homeowners focus on insulation and heating systems, the weather stripping trim around the garage door serves a critical role in controlling energy loss and protecting against the elements. This article will explore the importance of garage door weather stripping and provide a simple guide to installation.
Understanding Weather Stripping Trim
Weather stripping trim is a material applied to the perimeter of a garage door to prevent air, water, and debris from entering the garage. It typically comes in various forms, including rubber, vinyl, and foam, each designed to create a tight seal when the door is closed. Over time, the effectiveness of weather stripping can diminish due to wear and tear, exposure to sunlight, and extreme temperatures, making it essential to periodically check and replace it.
Why Weather Stripping Matters
1. Energy Efficiency Gaps around the garage door can lead to significant energy loss, especially during extreme weather conditions. Proper weather stripping helps maintain the internal temperature, reducing heating and cooling costs.
2. Protection from the Elements Weather stripping acts as a barrier against rain, snow, and wind. It helps prevent water from seeping into the garage, which can lead to moisture build-up, rust, and mold.
3. Pest Control Small gaps are also entry points for unwanted insects and rodents. A secure weather seal helps keep critters out of your garage, safeguarding your tools and other belongings.
4. Improved Comfort A well-sealed garage ensures that the temperature remains comfortable, making it a more pleasant space for activities or storage.
garage door weather stripping trim

Installation Guide
Replacing garage door weather stripping trim is a straightforward DIY task that can be accomplished with a few tools.
1. Materials Needed Purchase the appropriate weather stripping material. Measure the length of each side of the garage door to ensure you buy enough.
2. Remove Old Weather Stripping Use a utility knife or flathead screwdriver to carefully pry off the old weather stripping. Clean the area thoroughly to ensure a good seal with the new material.
3. Cut the New Weather Stripping Using the measurements taken earlier, cut the new weather stripping to size. Most materials can be easily cut with scissors or a utility knife.
4. Install the New Trim Starting at one corner, press the weather stripping into place, making sure it fits snugly against the door frame. Depending on the type of material, you may need adhesive or screws for a secure fit.
5. Test the Seal Close the garage door and check for any gaps. If necessary, adjust the trim to ensure a complete seal.
In conclusion, garage door weather stripping trim is crucial for energy efficiency, protection from the elements, and overall comfort. Regular maintenance and timely replacement can help enhance your home's performance, making it a worthwhile investment for every homeowner.
-
Under Door Draught Stopper: Essential ProtectionNewsJul.31,2025
-
Garage Door Seal and Weatherstrips for ProtectionNewsJul.31,2025
-
Edge Banding Tape for Perfect EdgesNewsJul.31,2025
-
Table Corner Guards and Wall Corner ProtectorsNewsJul.31,2025
-
Stair Nose Edging Trim and Tile Stair SolutionsNewsJul.31,2025
-
Truck Bed Rubber Mats for Pickup BedsNewsJul.31,2025
-
Window Weather Stripping for Noise ReductionNewsJul.29,2025