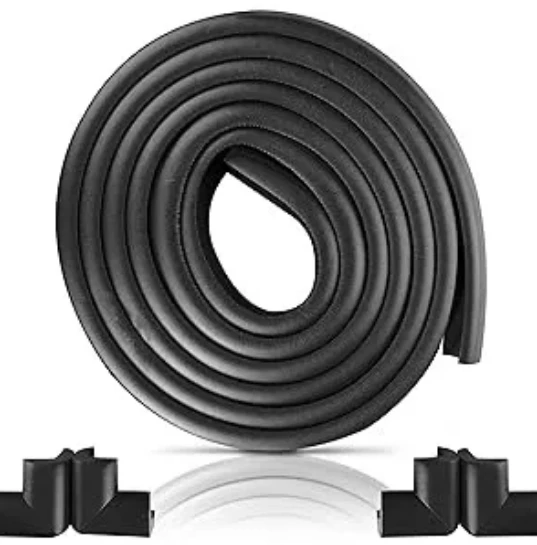
garage door weatherstrip seal
Understanding Garage Door Weatherstrip Seals Importance and Installation
When it comes to ensuring that your garage remains a comfortable and secure space, one often overlooked element is the garage door weatherstrip seal. These seals play a crucial role in maintaining your garage's overall integrity and performance. In this article, we will explore what garage door weatherstrip seals are, their importance, types, and how to install them effectively.
What is a Garage Door Weatherstrip Seal?
A garage door weatherstrip seal is a flexible barrier that is installed around the edges of your garage door. Its primary function is to prevent drafts, moisture, dirt, and pests from entering the garage. These seals are usually made from rubber, vinyl, or foam, providing both durability and flexibility to withstand the elements.
Importance of Weatherstrip Seals
1. Energy Efficiency A properly sealed garage door can significantly reduce your energy bills. By keeping outside air from infiltrating your garage, the weatherstrip helps maintain a stable temperature. This is especially important if your garage is attached to your home, as uncontrolled temperatures can affect the living spaces.
2. Moisture Control Water intrusion can lead to a myriad of problems, including mold growth, rust, and the deterioration of stored items. Weatherstrip seals create a barrier against rain and snow, protecting the interior of your garage from moisture damage.
3. Insect and Pest Prevention Unsealed gaps can create entry points for insects and small pests. A reliable weatherstrip seal keeps unwanted visitors out, helping to maintain a clean and safe environment.
4. Noise Reduction If you live in a noisy area, weatherstrip seals can help muffle sounds from outside, creating a quieter and more peaceful garage space.
Types of Garage Door Weatherstrip Seals
There are several types of weatherstrip seals available in the market, each designed for specific applications
1. Bottom Seals These are installed along the bottom edge of the garage door and are crucial for blocking drafts and moisture. They come in various styles, including vinyl strips, rubber tubes, or flat materials.
garage door weatherstrip seal

2. Side and Top Seals These seals are positioned on the sides and top of the door. They function similarly to bottom seals, ensuring a tight fit when the door closes.
3. Threshold Seals This type is installed on the floor beneath the garage door, creating an additional barrier against water and dirt. They are particularly useful for garages that experience flooding or have uneven flooring.
Installation Tips
Installing a garage door weatherstrip seal is a straightforward DIY project. Here’s a step-by-step guide
1. Measure the Door Begin by measuring the width and height of your garage door to determine the length of the weatherstrip needed.
2. Choose the Right Seal Select a weatherstrip that suits your door type – whether it’s a garage door that lifts or rolls.
3. Remove Old Seals If replacing an existing seal, carefully remove it by prying it off with a flat tool. Clean the area to remove any adhesive residue.
4. Cut the New Seal Depending on your measurements, cut the new weatherstrip seal to the appropriate lengths for each side.
5. Install the Seal Start with the bottom seal, pressing it firmly into place. For side and top seals, apply adhesive if necessary, and ensure they fit snugly against the door.
6. Test the Seal Close the garage door and check for any drafts or gaps. If any are present, adjust the seal or add additional caulking for a perfect fit.
Conclusion
A garage door weatherstrip seal is an essential component that provides comfort, security, and energy efficiency. Investing the time and resources into installing or replacing these seals can yield significant dividends in maintaining the well-being of your garage and the items within it. By understanding their importance and knowing how to install them effectively, you can ensure your garage remains in top condition for years to come.
-
Under Door Draught Stopper: Essential ProtectionNewsJul.31,2025
-
Garage Door Seal and Weatherstrips for ProtectionNewsJul.31,2025
-
Edge Banding Tape for Perfect EdgesNewsJul.31,2025
-
Table Corner Guards and Wall Corner ProtectorsNewsJul.31,2025
-
Stair Nose Edging Trim and Tile Stair SolutionsNewsJul.31,2025
-
Truck Bed Rubber Mats for Pickup BedsNewsJul.31,2025
-
Window Weather Stripping for Noise ReductionNewsJul.29,2025