How to Replace an Oven Gasket
How to Replace an Oven Gasket A Step-by-Step Guide
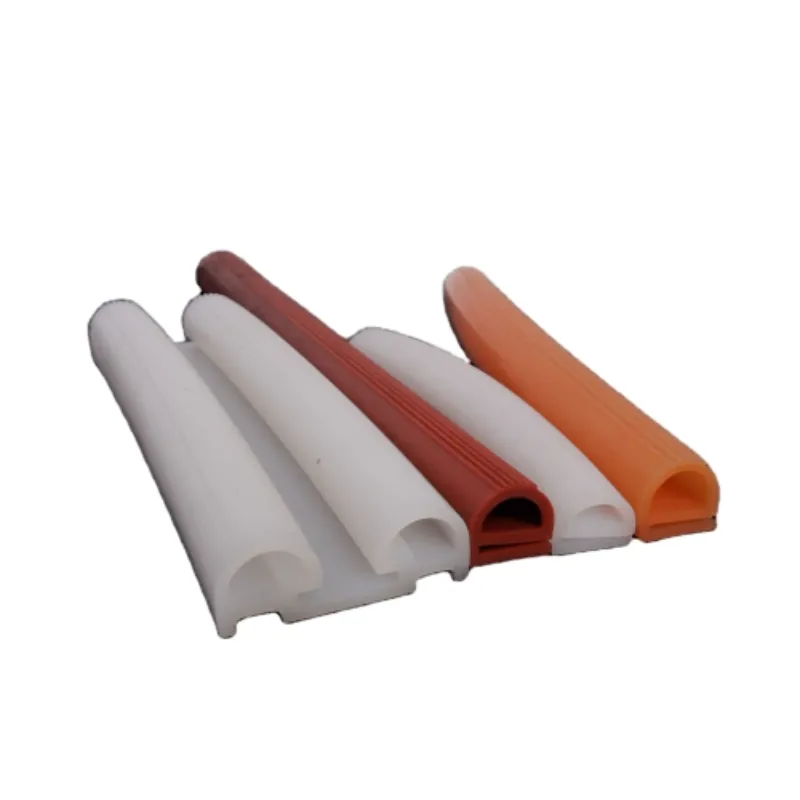
The oven gasket plays a crucial role in maintaining the efficiency of your cooking appliance. It seals the oven door, preventing heat from escaping and ensuring even cooking. Over time, the gasket can wear out, become damaged, or lose its flexibility, leading to inefficient performance and increased energy consumption. If you notice that your oven isn't heating properly or that there are visible signs of wear on the gasket, it may be time to replace it. This guide will walk you through the steps to easily replace your oven gasket.
Step 1 Gather Your Supplies
Before you begin, make sure you have all the necessary tools and materials. You will need - A new oven gasket (specific to your oven model) - A screwdriver (if necessary) - Scissors (optional) - Cleaning supplies (like a cloth or sponge)
Check your oven’s manual or consult the manufacturer to get the correct gasket replacement.
Step 2 Remove the Old Gasket
Start by turning off your oven and letting it cool completely if it was recently used. Open the oven door wide to access the gasket. If the gasket is held in place with clips or screws, remove them using the screwdriver. Gently pull the gasket away from its groove; be cautious not to damage the surrounding surface. If the gasket is stubborn, you can use scissors to cut it, but be careful not to harm the oven itself.
Step 3 Clean the Surface
With the old gasket removed, take this opportunity to clean the area where the gasket will sit. Use a damp cloth or sponge to wipe away any debris, grease, or remnants of the old adhesive. A clean surface will ensure that the new gasket adheres properly and creates a tight seal.
how to replace oven gasket

Step 4 Install the New Gasket
Take your new oven gasket and begin to fit it into the groove around the oven door. If the gasket has a specific orientation (such as a flap), make sure it faces the correct direction. Begin at one corner and work your way around, pressing the gasket firmly into place. If your model requires clips or screws, make sure to secure them as you go.
Ensure that there are no gaps between the gasket and the oven door. A snug fit is essential for maintaining efficiency and preventing heat loss.
Step 5 Test the Seal
Once the new gasket is installed, close the oven door and check the seal. There should be minimal resistance when you pull on the gasket; it should feel snug but not overly tight. To test the effectiveness of the seal, you can conduct a simple test by closing the door on a piece of paper. If you can easily pull the paper out without dragging it, the gasket may not be properly sealed.
Step 6 Final Checks and Cleanup
Finally, clean up any tools and debris from the installation process. Keep an eye on your oven’s performance in the coming days to ensure the new gasket is working as expected.
Replacing an oven gasket is a straightforward task that can significantly improve your oven's efficiency and performance. With a few simple steps, you can ensure that your oven operates efficiently, saving you energy and enhancing your cooking experience. Remember, regular maintenance can prolong the life of your appliance and improve its functionality.
-
Under Door Draught Stopper: Essential ProtectionNewsJul.31,2025
-
Garage Door Seal and Weatherstrips for ProtectionNewsJul.31,2025
-
Edge Banding Tape for Perfect EdgesNewsJul.31,2025
-
Table Corner Guards and Wall Corner ProtectorsNewsJul.31,2025
-
Stair Nose Edging Trim and Tile Stair SolutionsNewsJul.31,2025
-
Truck Bed Rubber Mats for Pickup BedsNewsJul.31,2025
-
Window Weather Stripping for Noise ReductionNewsJul.29,2025