Telephone: +8618730949119
E-mail: 1299343081@qq.com
Feb . 14, 2025 20:56
Back to list
High Performance Oven Door Silicone Seal Strip
A malfunctioning oven seal is more than just an inconvenience; it's a direct cause of inefficient cooking and energy wastage. Addressing this issue is essential for both maintaining the performance of your appliance and ensuring safety in your kitchen. By renewing the oven seal yourself, you can extend the life of your oven and save on potential repair costs. Here’s an in-depth guide for attaching an oven seal, ensuring you execute this process with precision and confidence.
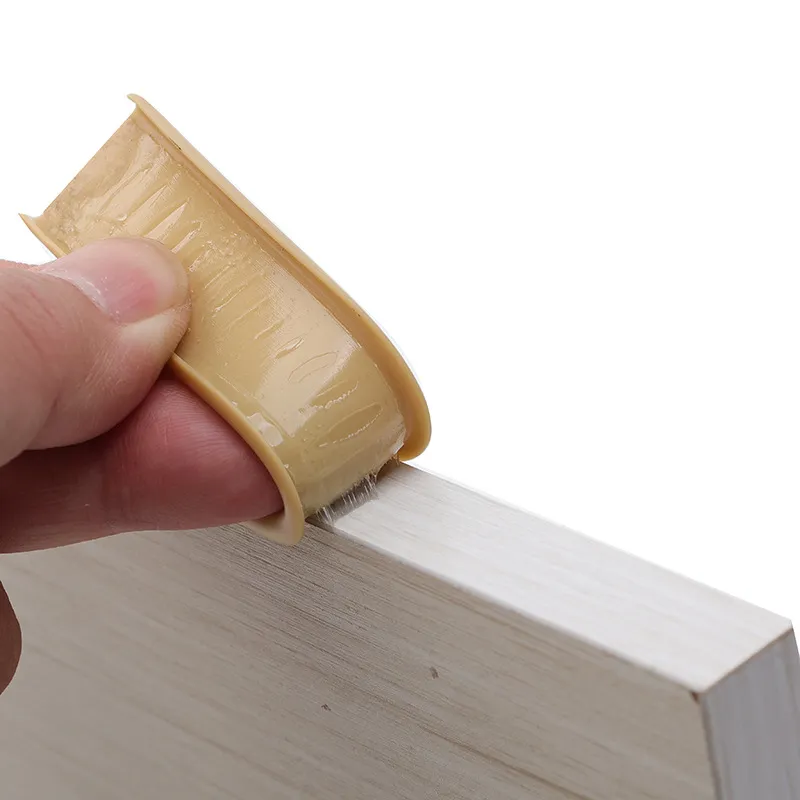
Installing the new oven seal requires precision. Align the new seal with the top rim of the door and begin by attaching it at the corners first. This method ensures that the seal is centered and not stretched unevenly. If the seal features clips, press them firmly into place. For screws, securely fasten them, taking care not to over-tighten and risk stripping the screw holes. Uniformity is crucial; hence, periodically check that the seal lays flat against the entire door surface. Testing the installation is the final step. Close the oven door and check for any sections where the seal does not make adequate contact with the oven frame. This verification is essential to ascertain that the seal will perform its function effectively. If the seal appears perfectly aligned, reconnect the power, set the oven to a low temperature, and inspect the seal during a short cooking cycle for any signs of heat loss. Expertise in attaching an oven seal not only enhances your appliance repair skills but underscores the significance of home maintenance. Maintaining your oven effectively shields you from unnecessary expenses and highlights your investment in energy efficiency. Of course, such endeavors should never compromise safety; should you encounter difficulties beyond simple do-it-yourself measures, consulting a professional technician is advisable. By focusing on developing these practical skills, you reinforce principles of sustainability and self-reliance. Sharing your experience with peers or community groups further cements your role as a knowledgeable individual in appliance maintenance. Being proactive in home appliance care is a testament to responsible living, emphasizing the long-term advantages of personal accountability and expertise enhancement. Achieving such tasks with diligence and precision reflects a commitment that not only serves your immediate needs but supports the broader ethos of a sustainable and economical lifestyle.


Installing the new oven seal requires precision. Align the new seal with the top rim of the door and begin by attaching it at the corners first. This method ensures that the seal is centered and not stretched unevenly. If the seal features clips, press them firmly into place. For screws, securely fasten them, taking care not to over-tighten and risk stripping the screw holes. Uniformity is crucial; hence, periodically check that the seal lays flat against the entire door surface. Testing the installation is the final step. Close the oven door and check for any sections where the seal does not make adequate contact with the oven frame. This verification is essential to ascertain that the seal will perform its function effectively. If the seal appears perfectly aligned, reconnect the power, set the oven to a low temperature, and inspect the seal during a short cooking cycle for any signs of heat loss. Expertise in attaching an oven seal not only enhances your appliance repair skills but underscores the significance of home maintenance. Maintaining your oven effectively shields you from unnecessary expenses and highlights your investment in energy efficiency. Of course, such endeavors should never compromise safety; should you encounter difficulties beyond simple do-it-yourself measures, consulting a professional technician is advisable. By focusing on developing these practical skills, you reinforce principles of sustainability and self-reliance. Sharing your experience with peers or community groups further cements your role as a knowledgeable individual in appliance maintenance. Being proactive in home appliance care is a testament to responsible living, emphasizing the long-term advantages of personal accountability and expertise enhancement. Achieving such tasks with diligence and precision reflects a commitment that not only serves your immediate needs but supports the broader ethos of a sustainable and economical lifestyle.
Latest news
-
Under Door Draught Stopper: Essential ProtectionNewsJul.31,2025
-
Garage Door Seal and Weatherstrips for ProtectionNewsJul.31,2025
-
Edge Banding Tape for Perfect EdgesNewsJul.31,2025
-
Table Corner Guards and Wall Corner ProtectorsNewsJul.31,2025
-
Stair Nose Edging Trim and Tile Stair SolutionsNewsJul.31,2025
-
Truck Bed Rubber Mats for Pickup BedsNewsJul.31,2025
-
Window Weather Stripping for Noise ReductionNewsJul.29,2025