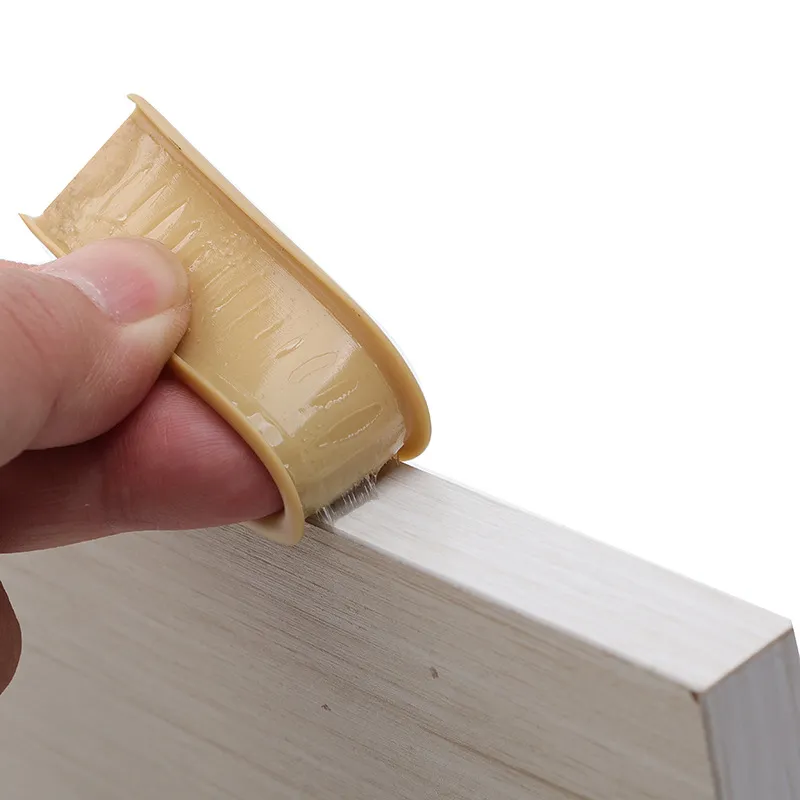
how to fit an oven door seal
How to Fit an Oven Door Seal A Step-by-Step Guide
An oven door seal is essential for maintaining efficient cooking and energy consumption in your kitchen. A damaged or worn seal may lead to heat escaping, leading to longer cooking times and increased energy costs. In this guide, we’ll walk you through the process of fitting or replacing an oven door seal, ensuring your oven operates at its best.
Why You Need a Good Oven Seal
The oven door seal, often made from silicone or fiberglass, creates a barrier between the oven's hot interior and the cooler kitchen environment. This seal plays a critical role in
1. Energy Efficiency A functional seal helps maintain consistent temperatures, reducing the energy required to cook food. 2. Food Quality An airtight oven prevents moisture loss, ensuring your dishes retain their delicious flavors and textures.
3. Safety Preventing heat from escaping can also reduce the risk of burns or accidents in the kitchen.
Signs That Your Oven Seal Needs Replacing
Before you begin the installation process, it’s important to identify whether your oven seal needs replacing. Look for
- Visible cracks or tears in the seal. - Discoloration or hardening of the material. - Gaps between the oven door and the seal when closed. - A noticeable increase in cooking times or fluctuating temperatures.
Tools and Materials Required
To fit a new oven door seal, you will need
- A new oven door seal (ensure it is compatible with your oven model). - Scissors (if trimming is necessary). - A screwdriver (if screws need to be removed). - A damp cloth for cleaning.
Step-by-Step Instructions
Step 1 Turn Off and Unplug the Oven
Safety should be your top priority. Before beginning any repair work, ensure that the oven is turned off and unplugged from the electrical outlet to avoid accidents.
Step 2 Remove the Old Seal
how to fit an oven door seal

1. Inspect the Current Seal Carefully examine how the old seal is fitted. It usually clips into a groove around the oven door. 2. Detach the Seal Grip one end of the seal and gently pull it away from its position. If it’s held by screws, use a screwdriver to remove them first.
3. Clean the Groove Once the old seal is removed, clean the groove where it sits. Use a damp cloth to wipe away any residue, grease, or debris.
Step 3 Prepare the New Seal
1. Check Compatibility Before fitting the new seal, ensure that it matches the specifications of your oven. The size and shape should be similar to the old seal.
2. Trim the Seal (If Necessary) If the new seal is too long, use scissors to trim it to the appropriate length. Be careful to make clean, straight cuts for a proper fit.
Step 4 Fit the New Seal
1. Position the Seal Start at one corner of the oven door. Gently press the seal into the channel, ensuring it sits evenly.
2. Secure the Seal If the seal requires screws, fasten them to hold the seal in place. Ensure it is taut but not overly stretched, as this could lead to premature wear.
3. Check for Gaps Close the oven door and inspect to make sure the seal fits snugly. Look for any gaps between the seal and the oven door. Adjust as necessary.
Step 5 Test the Seal
Once the new seal is fitted
1. Reconnect the Oven Plug the oven back in and turn it on to ensure it heats up properly.
2. Conduct a Simple Test Place an oven-safe thermometer inside the oven and monitor the temperature while it’s preheating. This will help you confirm that the seal is functioning well.
Conclusion
Fitting an oven door seal may seem daunting, but with the right tools and careful attention, it is a task you can manage on your own. By replacing a worn or damaged seal, you’ll improve the efficiency of your oven, enhance your cooking experience, and save on energy costs. With a little patience and care, your oven will be as good as new, ready to create delicious meals for years to come.
-
Under Door Draught Stopper: Essential ProtectionNewsJul.31,2025
-
Garage Door Seal and Weatherstrips for ProtectionNewsJul.31,2025
-
Edge Banding Tape for Perfect EdgesNewsJul.31,2025
-
Table Corner Guards and Wall Corner ProtectorsNewsJul.31,2025
-
Stair Nose Edging Trim and Tile Stair SolutionsNewsJul.31,2025
-
Truck Bed Rubber Mats for Pickup BedsNewsJul.31,2025
-
Window Weather Stripping for Noise ReductionNewsJul.29,2025