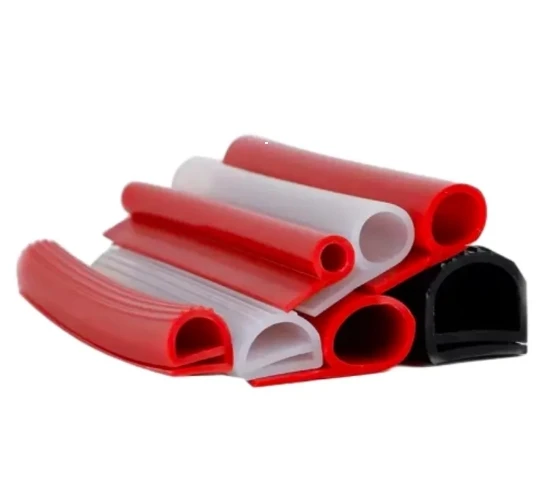
Guidelines for Properly Installing an Oven Door Seal
How to Fit an Oven Seal A Comprehensive Guide
An oven seal is an essential component of any traditional or modern oven. It helps ensure that heat remains contained within the oven, promoting efficient cooking and energy savings. Over time, however, these seals can wear out or become damaged, leading to heat loss and uneven cooking. If you’ve noticed that your oven isn’t maintaining its temperature, it might be time to replace the oven seal. Here’s a step-by-step guide on how to fit an oven seal correctly.
Tools and Materials Needed
Before starting, gather the following tools and materials - Replacement oven seal - Screwdriver (usually Phillips or flathead) - Scissors (if trimming is necessary) - Cleaning cloth - Mild detergent - Gloves (optional)
Step 1 Identify the Right Replacement Seal
The first step in the process is to ensure you have the correct replacement seal. Oven seals come in various sizes and types, depending on the make and model of your oven. Refer to your oven’s manual to find the exact specifications. If the manual is unavailable, you can usually find the information online or directly from the manufacturer.
Step 2 Remove the Old Oven Seal
Once you have the right seal, it’s time to remove the old one. Before doing so, ensure the oven is turned off and completely cool. Here’s how to take off the old seal
1. Inspect the Seal Examine the old seal to see how it is attached. Many seals are clipped or glued into place. 2. Remove Clips or Screws If your oven seal is held in place with clips or screws, use the screwdriver to gently remove them. Be cautious not to damage the oven door in the process. 3. Pry Off the Seal If the seal is glued, gently pry it off using your hands or a flathead screwdriver, making sure not to scratch the oven’s inner door surface.
Step 3 Clean the Area
how to fit an oven seal

With the old seal removed, take a moment to clean the area where the new seal will be fitted. Use a mild detergent mixed with water to wipe away any residue from the old seal. This ensures the new seal adheres properly and provides a good thermal barrier. Once cleaned, dry the area thoroughly with a clean cloth.
Step 4 Fit the New Oven Seal
Now that the area is clean, you can fit the new oven seal
1. Position the Seal Start at one corner and press the new seal into place. If your seal has a specific adhesive side, make sure it faces the oven door. 2. Press Firmly Continue pressing the seal into place, working your way around the oven door. Make sure it fits snugly and that there are no gaps. 3. Trim if Necessary If the seal is too long, use scissors to trim it to size. Ensure that any cuts are clean to prevent fraying.
Step 5 Secure the Seal
Once the seal is positioned correctly, it’s time to secure it. If your oven seal requires clips or screws, replace them now. Make sure each clip or screw is tightly fastened to prevent the seal from coming loose during use.
Step 6 Test the Seal
After you have fitted the new seal and secured it, it’s crucial to test its effectiveness. Close the oven door and turn the oven on to a low temperature. After some time, check if there’s any heat escaping around the edges. If so, revisit the seal’s positioning to ensure it is snug.
Conclusion
Fitting a new oven seal is a simple yet effective way to enhance the performance of your oven. By following these straightforward steps, you can ensure that your oven maintains its temperature, saves energy, and cooks food evenly. Regular maintenance of oven seals can prolong the life of your appliance and improve cooking efficiency, making it a worthwhile DIY task. With a little patience and precision, you can enjoy perfectly cooked meals and baked goods in no time!
-
Under Door Draught Stopper: Essential ProtectionNewsJul.31,2025
-
Garage Door Seal and Weatherstrips for ProtectionNewsJul.31,2025
-
Edge Banding Tape for Perfect EdgesNewsJul.31,2025
-
Table Corner Guards and Wall Corner ProtectorsNewsJul.31,2025
-
Stair Nose Edging Trim and Tile Stair SolutionsNewsJul.31,2025
-
Truck Bed Rubber Mats for Pickup BedsNewsJul.31,2025
-
Window Weather Stripping for Noise ReductionNewsJul.29,2025