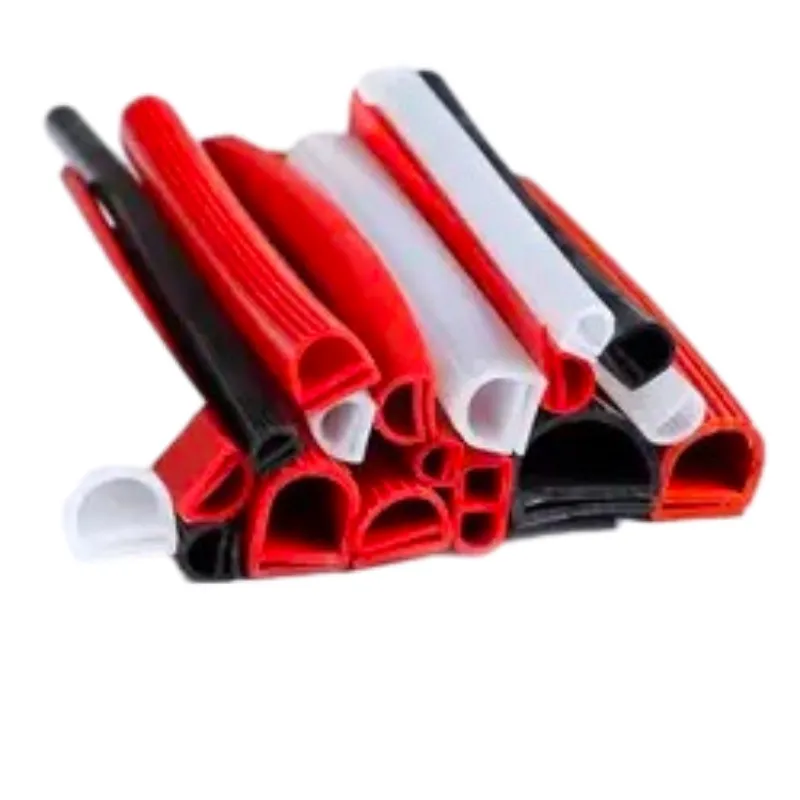
how to fit a oven door seal
How to Fit an Oven Door Seal
Fitting an oven door seal is a task that can greatly improve the efficiency and safety of your appliance. Over time, the door seal, also known as a gasket, may wear out, crack, or become detached, leading to heat loss and increased energy bills. Additionally, a damaged seal may allow smoke or fumes to escape, which can be hazardous. Fortunately, replacing or fitting a new oven door seal is a straightforward DIY task that requires minimal tools.
Tools and Materials Needed
Before you begin, gather the necessary tools and materials. You will need
- A new oven door seal (make sure it is compatible with your oven model) - Scissors (if trimming is needed) - A flat-head screwdriver - A soft cloth or sponge - Mild detergent
Step 1 Prepare the Oven
Before you tackle any maintenance, ensure your oven is completely cool. Safety is paramount, so disconnect the oven from the power source if it is electric. For gas ovens, turn off the gas supply. Once the oven is safe to work on, you can proceed.
Step 2 Remove the Old Seal
Inspect the existing oven door seal closely to determine how it is attached. Most seals are either glued or held in place with brackets or clips. If it is glued, use a flat-head screwdriver to carefully pry the old seal away from the door, taking care not to damage the door frame. If removable clips are used, gently unclip or unscrew them to detach the seal.
Once the old seal is removed, clean the area where the seal was attached with a soft cloth and mild detergent to remove any grease or residue. This ensures a good bond for the new seal.
Step 3 Measure the New Seal
how to fit a oven door seal

Before fitting the new seal, measure it against the old one to determine if any trimming is necessary. The new seal should have the same dimensions as the old one to ensure a snug fit. If the new seal is too long, use scissors to cut it to the correct size.
Step 4 Fit the New Seal
Start fitting the new seal by aligning it with the oven door frame. If the seal has a specific orientation, make sure you position it accordingly (some seals are designed to fit in only one direction). Press the seal firmly into place, ensuring that it fits snugly against the door frame.
If your oven uses clips or brackets, reattach them to secure the seal. For adhesive seals, press firmly to ensure the adhesive bonds well with the oven surface. You may want to hold it in place for a few moments to give it time to set.
Step 5 Check for Proper Sealing
After the new seal is fitted, close the oven door and observe if it closes tightly. You can perform a simple test by placing a piece of paper between the door and frame; if you can easily pull the paper out with little resistance when the door is closed, the seal may not be tight enough. Adjust the seal as needed to ensure an airtight closure.
Step 6 Allow to Settle
If you have used adhesive, let the seal settle for the recommended time (usually a few hours) before using the oven. This will ensure a strong bond and optimal performance.
Conclusion
Replacing the oven door seal is an excellent way to enhance your oven's performance and safety. By following these simple steps, you'll ensure that your oven retains heat more effectively, saving energy and creating a safer cooking environment. Regularly check the condition of your oven seal and replace it as needed to maintain optimal oven function. Happy cooking!
-
Under Door Draught Stopper: Essential ProtectionNewsJul.31,2025
-
Garage Door Seal and Weatherstrips for ProtectionNewsJul.31,2025
-
Edge Banding Tape for Perfect EdgesNewsJul.31,2025
-
Table Corner Guards and Wall Corner ProtectorsNewsJul.31,2025
-
Stair Nose Edging Trim and Tile Stair SolutionsNewsJul.31,2025
-
Truck Bed Rubber Mats for Pickup BedsNewsJul.31,2025
-
Window Weather Stripping for Noise ReductionNewsJul.29,2025