Telephone: +8618730949119
E-mail: 1299343081@qq.com
Feb . 14, 2025 22:54
Back to list
how to fit universal oven door seal
Fitting a universal oven door seal might seem daunting, but with the right approach and understanding, it can be an easy and rewarding process. This guide combines expert advice and real-world experience to ensure you achieve a fit that's both durable and efficient.
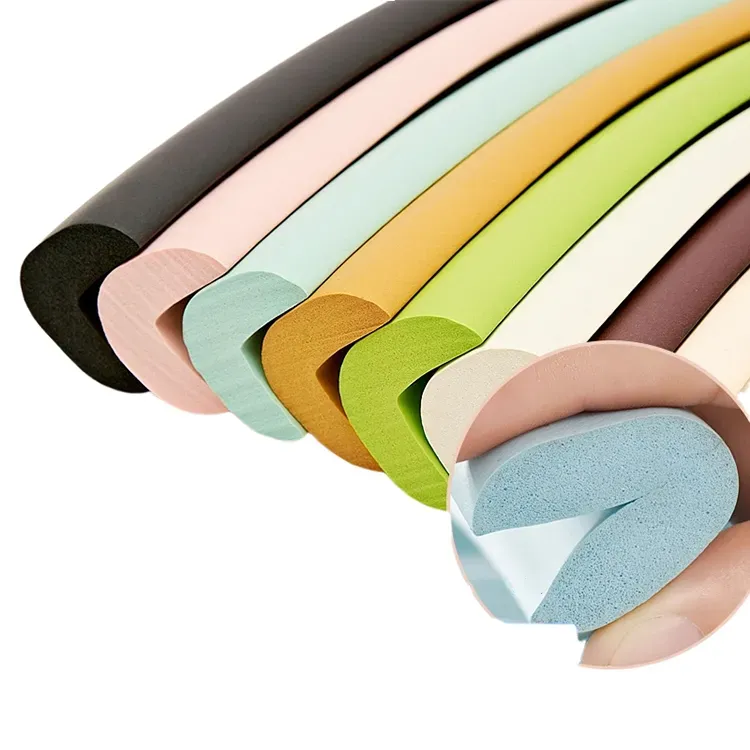
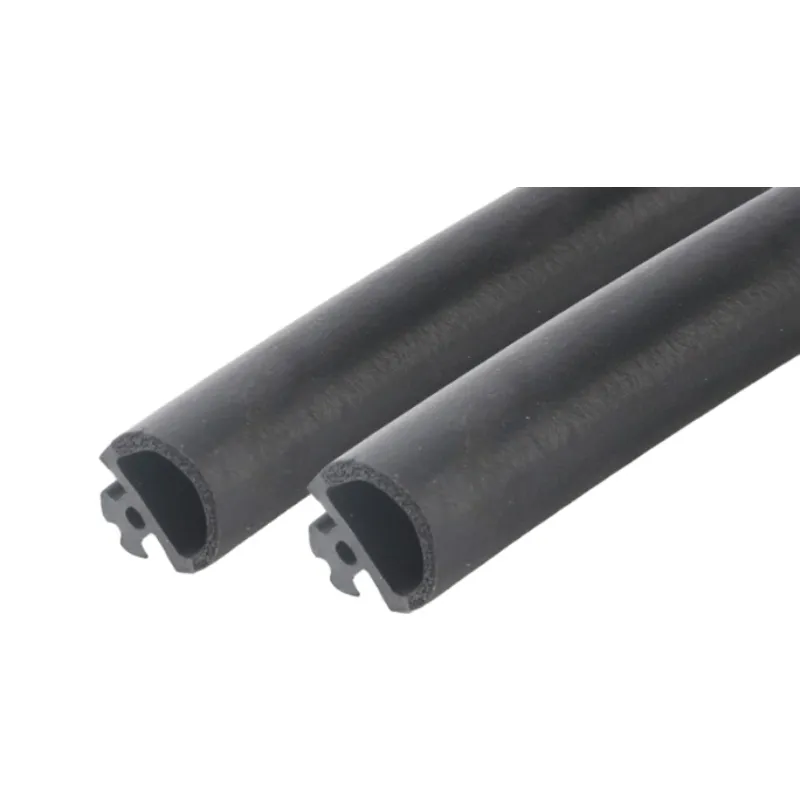
Now, prepare the universal oven door seal. These seals are designed to be cut to size, making them versatile for different oven models. Measure the perimeter of the oven door groove using your measuring tape. With this measurement, add a little excess to ensure a snug fit, and mark the seal accordingly. Use scissors to cut the seal to the desired length. Begin fitting the seal at the top corner of the door. If your seal uses hooks or clips, press these into the corresponding grooves firmly. In the case of adhesive-backed seals, remove the protective strip and press it into place along the groove, ensuring it sticks firmly. Work your way around the door, applying even pressure to avoid gaps. For corners, fold the seal gently to ensure a continuous fit without cutting through at the corner points. Key to a successful application is ensuring there are no openings that could allow heat to escape. Once fitted, test the seal before using the oven. Close the oven door and check for resistance. An ideal seal will provide a slight resistance, confirming it creates an airtight boundary. If it's too easy to close or if the door does not sit flush, there may be areas where the seal isn’t seated correctly. Adjust these sections as needed. This process, while straightforward, may require a careful eye for detail. A well-fitted oven door seal is integral to ensuring your appliance's efficiency and longevity. For those unsure about handling the task, consulting professionals or referring to the manufacturer's guidelines can provide additional assurance. Maintaining optimal appliance performance often begins with simple interventions like replacing a door seal, but its benefits extend far in terms of efficiency and cost-effectiveness. Trusting in the expertise that has shaped these guidelines can make the difference in your kitchen's performance and your household’s energy footprint.
Now, prepare the universal oven door seal. These seals are designed to be cut to size, making them versatile for different oven models. Measure the perimeter of the oven door groove using your measuring tape. With this measurement, add a little excess to ensure a snug fit, and mark the seal accordingly. Use scissors to cut the seal to the desired length. Begin fitting the seal at the top corner of the door. If your seal uses hooks or clips, press these into the corresponding grooves firmly. In the case of adhesive-backed seals, remove the protective strip and press it into place along the groove, ensuring it sticks firmly. Work your way around the door, applying even pressure to avoid gaps. For corners, fold the seal gently to ensure a continuous fit without cutting through at the corner points. Key to a successful application is ensuring there are no openings that could allow heat to escape. Once fitted, test the seal before using the oven. Close the oven door and check for resistance. An ideal seal will provide a slight resistance, confirming it creates an airtight boundary. If it's too easy to close or if the door does not sit flush, there may be areas where the seal isn’t seated correctly. Adjust these sections as needed. This process, while straightforward, may require a careful eye for detail. A well-fitted oven door seal is integral to ensuring your appliance's efficiency and longevity. For those unsure about handling the task, consulting professionals or referring to the manufacturer's guidelines can provide additional assurance. Maintaining optimal appliance performance often begins with simple interventions like replacing a door seal, but its benefits extend far in terms of efficiency and cost-effectiveness. Trusting in the expertise that has shaped these guidelines can make the difference in your kitchen's performance and your household’s energy footprint.
Next:
Latest news
-
Under Door Draught Stopper: Essential ProtectionNewsJul.31,2025
-
Garage Door Seal and Weatherstrips for ProtectionNewsJul.31,2025
-
Edge Banding Tape for Perfect EdgesNewsJul.31,2025
-
Table Corner Guards and Wall Corner ProtectorsNewsJul.31,2025
-
Stair Nose Edging Trim and Tile Stair SolutionsNewsJul.31,2025
-
Truck Bed Rubber Mats for Pickup BedsNewsJul.31,2025
-
Window Weather Stripping for Noise ReductionNewsJul.29,2025