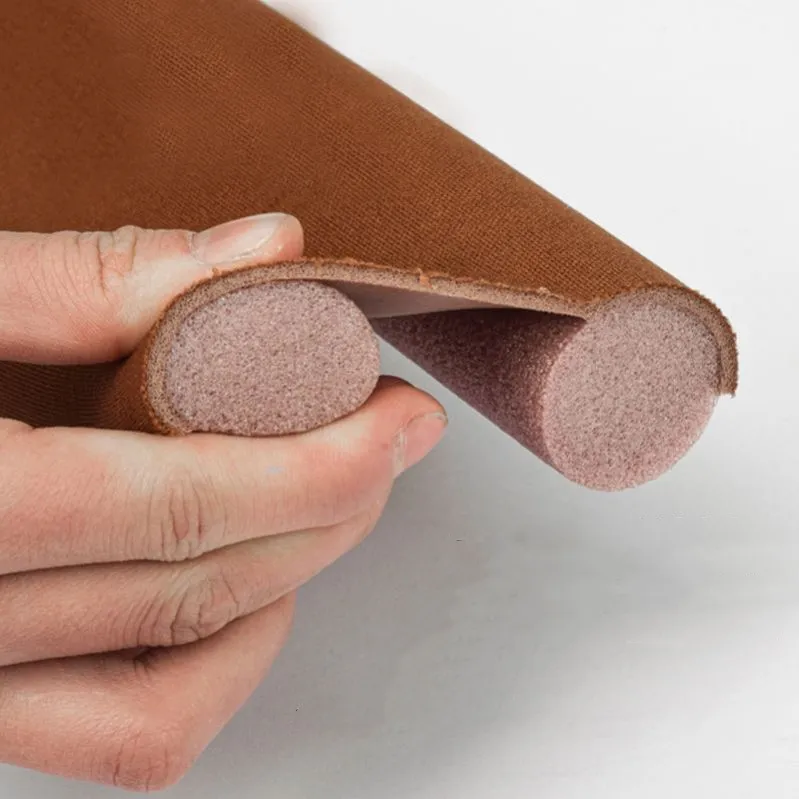
how to fix an oven door seal
How to Fix an Oven Door Seal A Step-by-Step Guide
An oven door seal, also known as a door gasket, is essential for maintaining the oven's efficiency. It prevents heat from escaping, ensuring that your food cooks evenly and conserves energy. Over time, the oven door seal may wear out or get damaged due to frequent use, leading to heat loss and poor cooking performance. If you've noticed issues such as longer cooking times or if the door is no longer closing tightly, it might be time to fix or replace the oven door seal. Here’s a step-by-step guide to help you through the process.
Step 1 Assess the Condition of the Oven Seal
Before proceeding with any repairs, you should first examine the condition of the oven door seal. Look for signs of damage, such as cracks, tears, or signs of deterioration. A good way to check is to close the oven door on a piece of paper. If you can easily pull it out, this indicates that the seal is not tight. If the seal is damaged beyond repair, you’ll need to replace it. If it's merely dirty or has minor damage, cleaning or patching it up might suffice.
Step 2 Gather the Necessary Tools and Materials
If you decide to replace the oven door seal, gather the following materials - Replacement oven door seal - Scissors or a utility knife - Screwdriver (if necessary) - Cleaning supplies (such as soap, sponge, and cloth) - Optional High-temperature adhesive if patching is an option
Make sure you have the right size and type of seal for your specific oven model. You can usually find replacement seals at appliance parts stores or online using your oven’s model number.
Step 3 Remove the Old Seal
To replace the oven door seal, you’ll first need to detach the damaged one
. Most seals are held in place by a retaining clip or simply fit into a groove around the door frame.how to fix an oven door seal

1. Inspect the retaining clips If your seal is held in place by clips, gently pry them off using a screwdriver. 2. Pull out the old seal Carefully remove the old seal from the groove. This might require some gentle tugging, especially if it’s been in place for a long time. 3. Clean the area Once the old seal is removed, clean the area where the new seal will be applied. This is crucial to ensure a good fit for the new seal. Use soap and water, and make sure the area is dry before installing the new seal.
Step 4 Install the New Seal
Now that you’ve prepared the area, it’s time to install the new seal.
1. Fit the new seal Starting at one corner, fit the new seal into the groove of the oven door. Make sure it is aligned properly and fits snugly in the groove. 2. Secure the seal If your seal has clips, reattach them to hold the seal in place. If the seal fits tightly, clips may not be necessary. 3. Check the fit Close the oven door to ensure that the new seal fits correctly and that the door closes firmly. There should be little to no gap for air to escape.
Step 5 Test the Oven
After installing the new seal, it’s crucial to test the oven to ensure everything is functioning correctly.
1. Preheat your oven Turn on your oven and let it preheat to a standard cooking temperature. 2. Check for heat loss During preheating, observe if any heat escapes through the door. You can do this by running your hand around the edges of the door. 3. Monitor cooking performance After preheating, cook a simple dish that you’ve made before and note if cooking times have improved.
Conclusion
Fixing or replacing an oven door seal can be a straightforward task that pays off in better energy efficiency and improved cooking performance. By following these easy steps, you can ensure that your oven operates at its best, prolonging its lifespan and keeping your kitchen comfortable. If you find that repairs aren’t enough to solve your cooking problems, it may be time to consult a professional. Happy cooking!
-
Under Door Draught Stopper: Essential ProtectionNewsJul.31,2025
-
Garage Door Seal and Weatherstrips for ProtectionNewsJul.31,2025
-
Edge Banding Tape for Perfect EdgesNewsJul.31,2025
-
Table Corner Guards and Wall Corner ProtectorsNewsJul.31,2025
-
Stair Nose Edging Trim and Tile Stair SolutionsNewsJul.31,2025
-
Truck Bed Rubber Mats for Pickup BedsNewsJul.31,2025
-
Window Weather Stripping for Noise ReductionNewsJul.29,2025