Tips for Repairing Your Oven Door Seal Effectively and Efficiently
How to Fix an Oven Seal A Step-by-Step Guide
An oven seal, also known as a door gasket, plays a crucial role in maintaining the efficiency and effectiveness of your oven. Over time, these seals can wear out, tear, or become damaged, leading to heat loss, longer cooking times, and rising energy bills. Fortunately, fixing an oven seal is a manageable task that can easily be accomplished with the right tools and a little know-how. Here’s a comprehensive guide to help you repair your oven seal.
Understanding the Oven Seal
The oven seal is typically made of silicone, rubber, or fiberglass, and it lines the oven door's perimeter. Its primary purpose is to create an airtight seal, preventing heat from escaping during cooking. A damaged seal not only affects cooking performance but can also lead to an increase in energy consumption, as the oven works harder to maintain the desired temperature.
Signs of a Damaged Oven Seal
Before diving into the repair process, it’s essential to identify whether your oven seal is indeed damaged. Some common signs include
1. Visible Cracks or Tears Inspect the seal for any noticeable wear and tear. 2. Heat Escaping If you feel heat emanating from the oven door when it’s closed, it could signify a compromised seal. 3. Longer Cooking Times If your meals are taking longer to cook than indicated by recipes, it might be due to heat loss. 4. Food Not Cooking Evenly Uneven cooking is a telltale sign that the seal isn’t functioning properly.
Tools and Materials Needed
Before you begin, gather the following tools and materials
- Screwdriver - Replacement oven seal (specific to your oven model) - Scissors (if necessary) - Cleaning cloth - Oven cleaner (optional)
Step-by-Step Repair Process
Step 1 Safety First
Always unplug the oven or switch off the circuit breaker to ensure safety while working on it. Allow the oven to cool down completely if it has been used recently.
how to fix oven seal

Step 2 Remove the Old Seal
Open the oven door and inspect the existing seal. Most seals are held in place by clips or screws. If your oven uses screws, carefully use a screwdriver to remove them. If the seal is held by clips, gently pull the seal away from the oven door until it's loose. Take your time to avoid damaging the door.
Step 3 Clean the Seal Area
Once the old seal is removed, clean the area where the seal was attached. Use a cleaning cloth, and if necessary, apply an oven cleaner to remove any grease or residue. A clean surface ensures a better fit for the new seal.
Step 4 Measure the New Seal
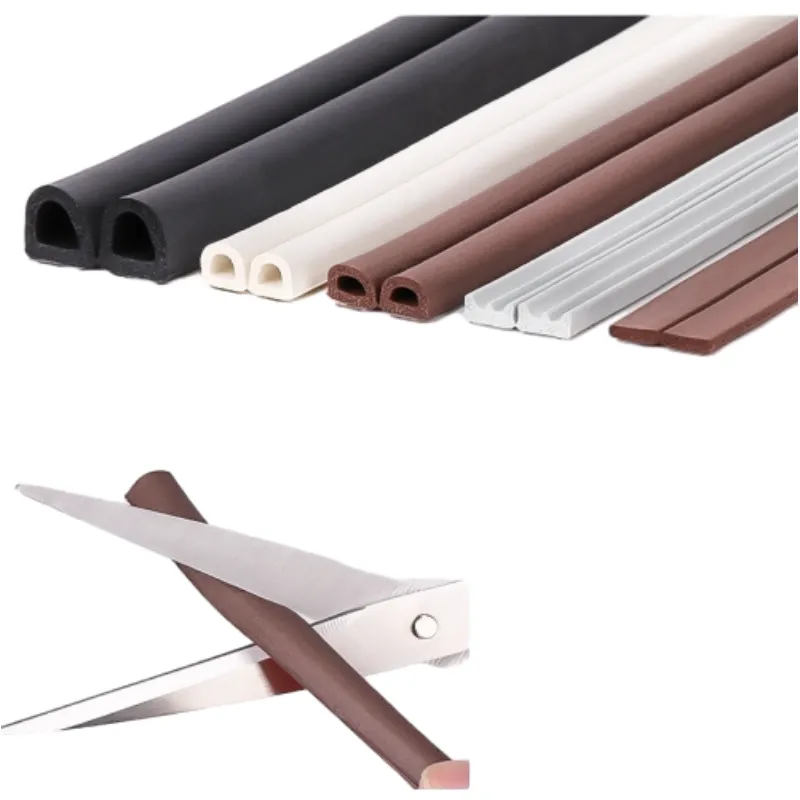
Before installing the new seal, measure its length to ensure it fits your oven properly. If your replacement seal is too long, use scissors to cut it to size. Be sure to cut it evenly to maintain the seal's integrity.
Step 5 Install the New Seal
Begin installing the new seal by starting at one corner of the oven door. Firmly press the seal into place, ensuring that it sits snugly against the door’s edges. If using clips, insert them into place as you continue around the door. If your seal uses adhesive, be careful to press it down firmly and evenly.
Step 6 Test the Seal
Once the new seal is installed, close the oven door and check for any gaps. A simple test involves using a piece of paper. Close the door on it and try to pull it out. If it slides out too easily, there may still be issues with the seal.
Final Thoughts
Replacing an oven seal is a straightforward process that can significantly enhance your cooking experience and efficiency. Regularly check your oven seal for wear and tear, and address any issues promptly. By following this guide, you can ensure that your oven operates optimally, saving you time and money in the long run. Happy cooking!
-
Under Door Draught Stopper: Essential ProtectionNewsJul.31,2025
-
Garage Door Seal and Weatherstrips for ProtectionNewsJul.31,2025
-
Edge Banding Tape for Perfect EdgesNewsJul.31,2025
-
Table Corner Guards and Wall Corner ProtectorsNewsJul.31,2025
-
Stair Nose Edging Trim and Tile Stair SolutionsNewsJul.31,2025
-
Truck Bed Rubber Mats for Pickup BedsNewsJul.31,2025
-
Window Weather Stripping for Noise ReductionNewsJul.29,2025