how to fix oven seal
How to Fix an Oven Seal A Step-by-Step Guide
An oven seal, also known as an oven door gasket, is an essential component that ensures heat remains trapped inside the oven, promoting even cooking and energy efficiency. When your oven seal becomes worn, cracked, or damaged, it can lead to heat loss, longer cooking times, and increased energy costs. If you notice any signs of wear on your oven seal, don’t worry! Fixing it is a manageable task that you can undertake with the right tools and guidance. Here’s how to do it.
Step 1 Assess the Condition of the Seal
Before diving into repairs, you need to assess the condition of your oven seal. Open the oven door and closely inspect the gasket. Look for any signs of damage such as cracks, tears, or warping. Pay attention to the corners and edges where the seal tends to wear out the fastest. If the seal is intact but has lost its flexibility, it may need to be cleaned or replaced.
Step 2 Gather Your Tools
To fix an oven seal, you will need a few tools and materials
- Replacement gasket (if needed) - Scissors - Screwdriver (if the gasket is screwed in place) - Mild detergent - Sponge or cloth - Ruler or measuring tape (optional, for sizing)
Step 3 Remove the Old Seal
If you’ve determined that the gasket needs replacement, the next step is to remove the old seal. Depending on your oven model, the gasket might be secured with screws or simply fitted into a groove. If it’s screwed in, use a screwdriver to remove the screws holding it in place. If the seal is fitted, gently pull it out of the groove, being careful not to damage the surrounding areas.
Step 4 Clean the Area
how to fix oven seal

Once the old gasket is removed, clean the area where the new seal will be installed. Use a mild detergent and sponge or cloth to remove any grease, debris, or residue. Allow the area to dry completely before proceeding, as this ensures a strong adhesion for the new gasket.
Step 5 Measure and Cut the New Gasket
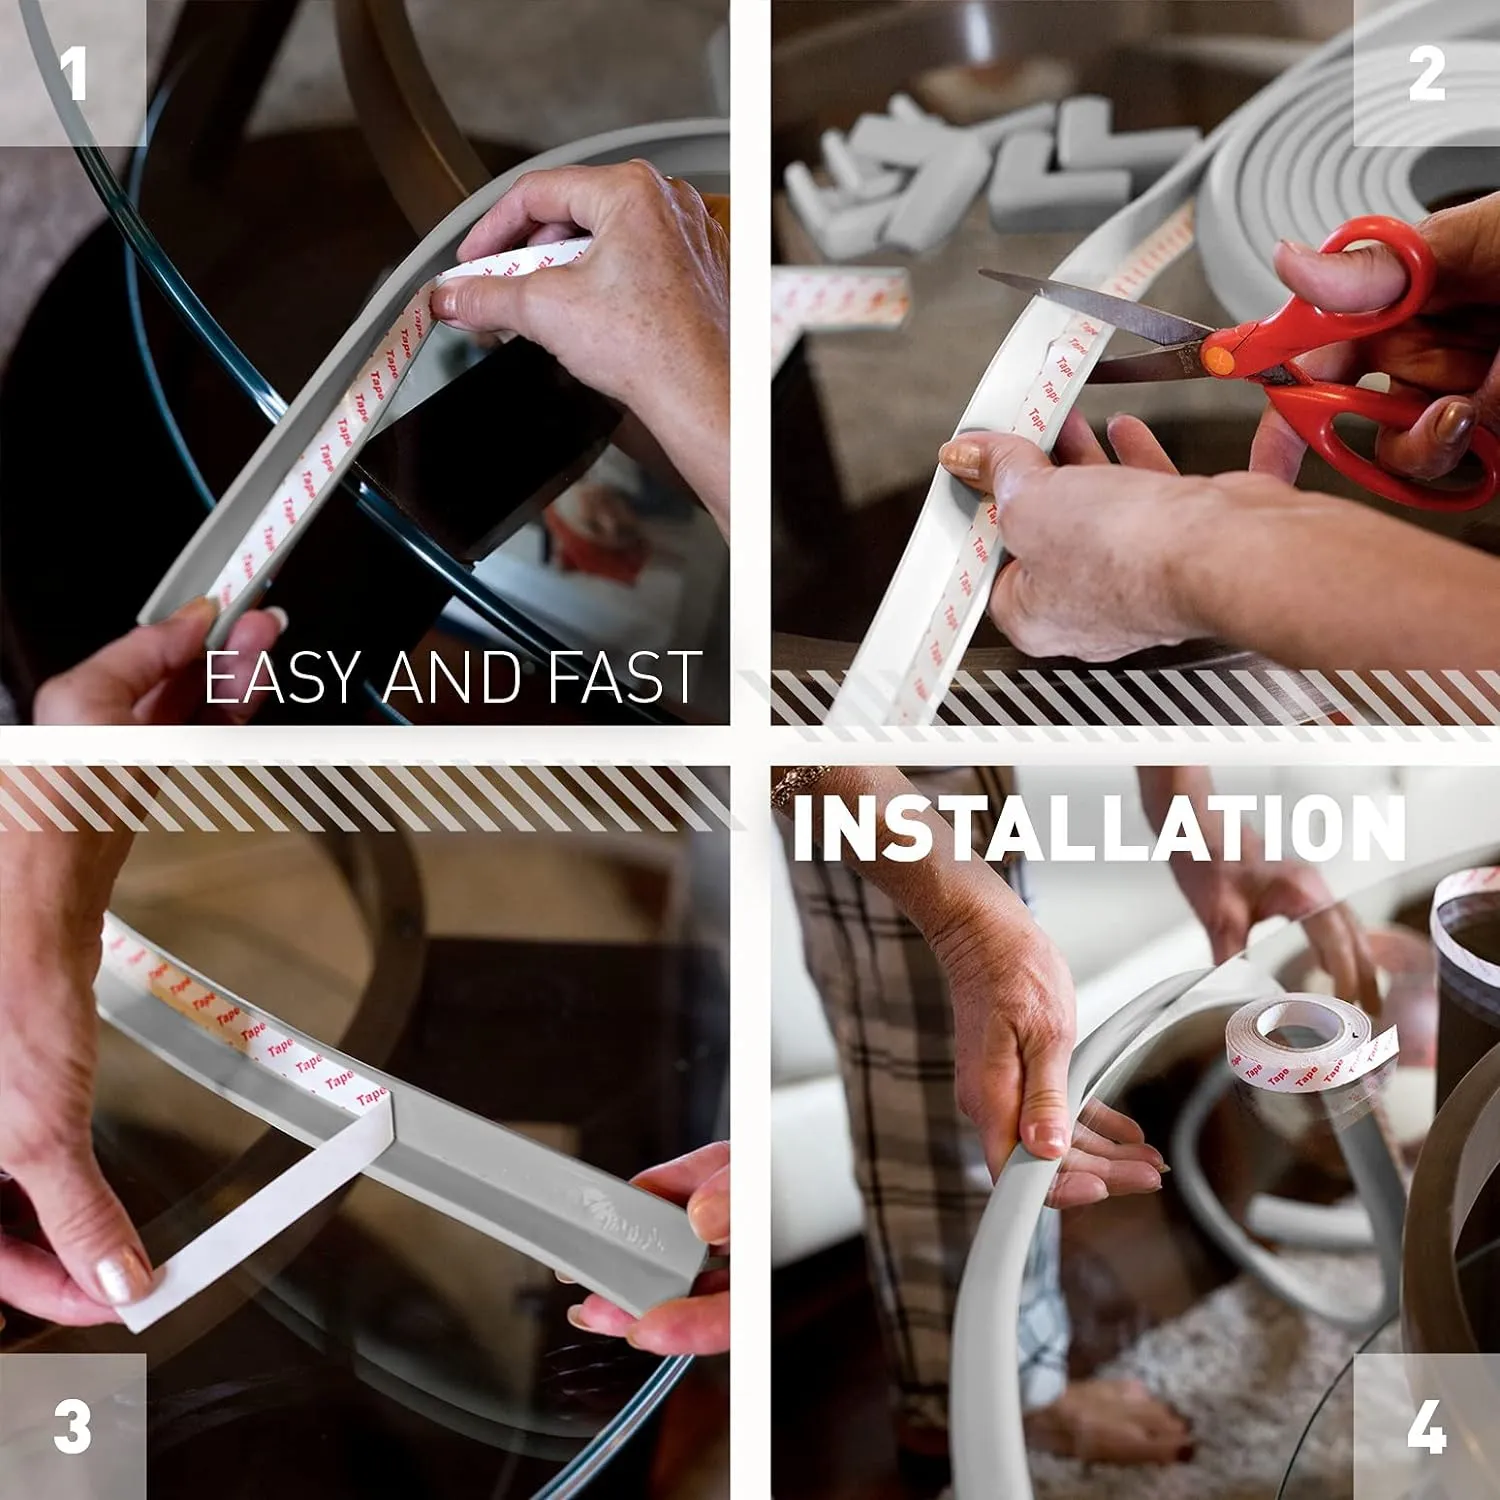
If you purchased a universal gasket, you may need to cut it to size. Use a ruler or measuring tape to determine the length you need, then mark the cutting points. Cut the new gasket with scissors, ensuring it matches the dimensions of your old gasket as closely as possible.
Step 6 Install the New Seal
Now it’s time to install the new gasket. If your oven has a groove for the gasket, carefully press the new gasket into the groove, making sure it fits snugly without any twists or gaps. If it’s secured with screws, position the gasket accurately and reinstall the screws to hold it in place. Make sure that the seal sits evenly all around the door.
Step 7 Test the Oven
After the new seal is installed, it’s important to test the oven to ensure everything is working correctly. Preheat the oven and check for any heat escaping around the door. You can hold a piece of paper or your hand near the edge of the door to feel for drafts. If there is no heat escaping, congratulations! You’ve successfully fixed your oven seal.
Conclusion
A well-functioning oven seal is crucial for maintaining an efficient cooking environment. By following these steps, you can save money on energy costs and improve the performance of your oven. Regularly check the condition of your gasket to ensure long-lasting use, and don’t hesitate to make repairs as needed. Remember, a little maintenance goes a long way in prolonging the life of your appliances. Happy cooking!
-
Under Door Draught Stopper: Essential ProtectionNewsJul.31,2025
-
Garage Door Seal and Weatherstrips for ProtectionNewsJul.31,2025
-
Edge Banding Tape for Perfect EdgesNewsJul.31,2025
-
Table Corner Guards and Wall Corner ProtectorsNewsJul.31,2025
-
Stair Nose Edging Trim and Tile Stair SolutionsNewsJul.31,2025
-
Truck Bed Rubber Mats for Pickup BedsNewsJul.31,2025
-
Window Weather Stripping for Noise ReductionNewsJul.29,2025