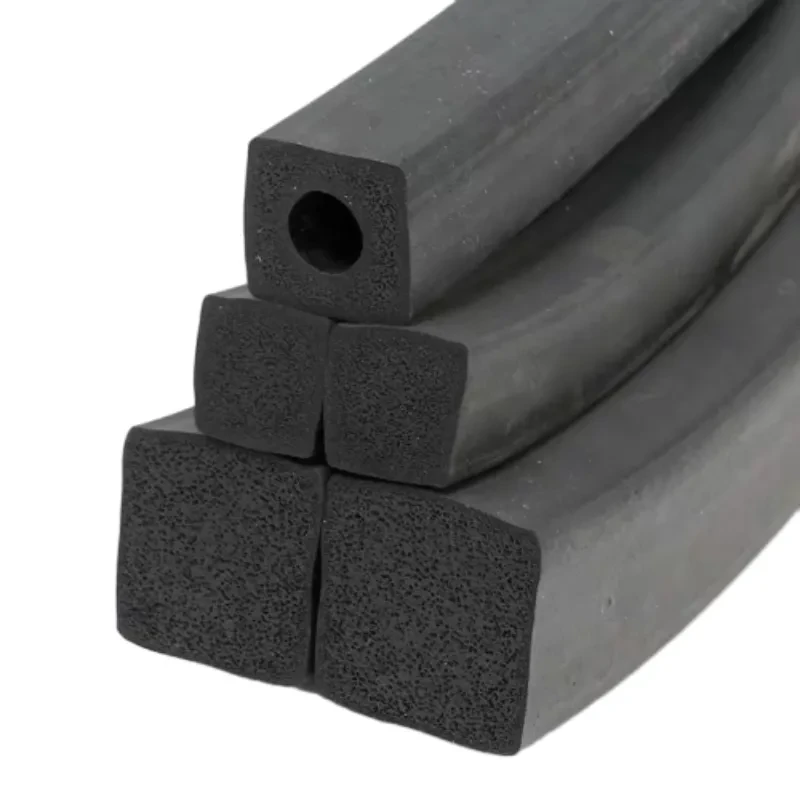
how to fix seal on oven door
How to Fix the Seal on Your Oven Door
Oven door seals, or gaskets, play a crucial role in maintaining the efficiency and safety of your cooking appliance. A worn or damaged seal can lead to heat loss, inefficient cooking, and potential safety hazards. If you've noticed that your oven is not cooking evenly or is losing heat, it may be time to check and fix the seal on your oven door. In this article, we’ll guide you through the steps to repair or replace your oven door seal.
Signs Of A Bad Oven Door Seal
Before you dive into repairs, it’s essential to know the signs that indicate your oven seal may need attention. Common indicators include
1. Heat Loss If you notice that the oven is hotter on the outside than it should be or that it takes longer to preheat, your seal may be compromised. 2. Visible Wear and Tear Look for cracks, fraying, or breaks in the gasket. A flexible, intact seal is crucial for proper function. 3. Food Not Cooking Evenly If your meals are cooking unevenly, this might also be a sign that heat is escaping due to a faulty seal.
Tools You Will Need
Before starting the repair process, gather the necessary tools
- Screwdriver (Phillips or flathead, depending on your oven model) - Replacement gasket (specific to your oven model) - Scissors (if trimming is needed) - Cleaning cloth or sponge - Mild detergent
Step-by-Step Guide to Fixing the Oven Door Seal
Step 1 Disconnect Power
Safety should always come first. Before you begin any repairs, ensure that your oven is powered off and disconnected from the electrical supply. If you have a gas oven, turn off the gas supply.
Step 2 Remove the Old Seal
Open the oven door fully. Inspect how the seal is attached; it may be held in place by a series of screws or may simply be tucked into a groove. If it’s screwed in, remove the screws using your screwdriver. If it’s just tucked in, gently pull it free, being careful not to damage the door.
how to fix seal on oven door

Step 3 Clean the Area
Once the old seal is removed, take the opportunity to clean the area where the new seal will go. Use a damp cloth and mild detergent to remove any grease or residue. This will help the new seal adhere better.
Step 4 Measure and Cut
Before installing the new gasket, ensure it is the right size. If necessary, measure the length of the area where the seal will go and compare it to the new gasket. If the gasket is too long, use scissors to trim it to the appropriate length. Make sure to make clean cuts to avoid any further fraying.
Step 5 Install the New Seal
Begin by positioning the new gasket in the groove of the oven door, ensuring it fits snugly. If it’s a screw-in type, align it with the pre-drilled holes and secure it with screws. For a snap-in type, ensure it’s pressed securely into place all around the door.
Step 6 Test the Door
Once the new seal is in place, close the door and check how it fits. It should close tightly without gaps. You can perform a simple test by placing a piece of paper between the seal and the door; if you can easily pull it out with the door closed, the seal may not be tight enough.
Step 7 Reconnect Power and Test the Oven
Reconnect the power or turn the gas back on. Preheat your oven to test the new seal and ensure that it maintains the proper temperature. Monitor the oven for any signs of heat escaping.
Conclusion
Fixing or replacing the seal on your oven door is a straightforward task that can significantly improve your cooking efficiency and safety. With a little time and effort, you can ensure that your oven operates optimally for years to come. Regular maintenance, including checking the condition of your oven seal, can help you save energy and maintain better cooking outcomes. Should you encounter any issues that exceed your skill level, it is always wise to consult a professional. Happy cooking!
-
Under Door Draught Stopper: Essential ProtectionNewsJul.31,2025
-
Garage Door Seal and Weatherstrips for ProtectionNewsJul.31,2025
-
Edge Banding Tape for Perfect EdgesNewsJul.31,2025
-
Table Corner Guards and Wall Corner ProtectorsNewsJul.31,2025
-
Stair Nose Edging Trim and Tile Stair SolutionsNewsJul.31,2025
-
Truck Bed Rubber Mats for Pickup BedsNewsJul.31,2025
-
Window Weather Stripping for Noise ReductionNewsJul.29,2025