Telephone: +8618730949119
E-mail: 1299343081@qq.com
Feb . 14, 2025 09:15
Back to list
how to fix seal on oven door
An oven door's seal plays a crucial role in maintaining the proper temperature and efficiency of your oven. When the seal wears out or becomes damaged, it can lead to heat loss, uneven cooking, and increased energy consumption. Fixing this issue can seem daunting, but with the right guidance, it's a manageable DIY task that can restore the functionality and efficiency of your oven.
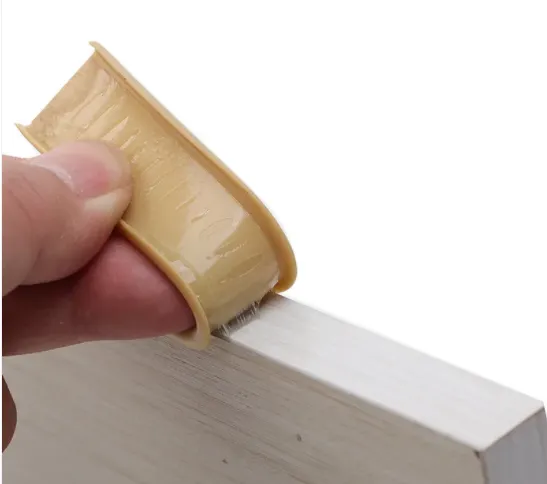
4. Clean the Area With the old seal removed, clean the channel's surface where the gasket sits. Use a mild cleaning solution to remove grime and ensure a smooth surface for the new seal. Allow the area to dry completely before proceeding. 5. Install the New Seal Carefully align the new gasket with the channel. If your seal is clip-on, start by attaching it at one end and work your way around the door, securing it with the clips. For screw-in types, position the seal and tighten the screws accordingly. Ensure the gasket sits evenly without twisting or kinks. 6. Test the Door Reattach the oven to its power source and test the door. It should close snugly without requiring excessive force. A tight seal ensures optimal temperature control inside the oven. Additional Tips for Maintaining Your Oven Seal Regularly inspect your oven door seal for signs of wear. Cleaning the gasket with a non-abrasive solution can prevent residue build-up, extending its lifespan. Avoid using sharp objects around the seal, as these can cause damage. When to Seek Professional Help If the seal replacement doesn’t resolve the issues, or if the oven door still doesn’t close properly, it might be wise to consult a professional. Complicated cases can involve underlying problems with the door hinges or alignment, requiring expert attention. By taking the initiative to fix or replace your oven door seal, you not only enhance your appliance's performance but also contribute to energy efficiency and cost savings. With basic tools and careful handling, this task can transform your kitchen experience, ensuring your meals are cooked to perfection every time.

4. Clean the Area With the old seal removed, clean the channel's surface where the gasket sits. Use a mild cleaning solution to remove grime and ensure a smooth surface for the new seal. Allow the area to dry completely before proceeding. 5. Install the New Seal Carefully align the new gasket with the channel. If your seal is clip-on, start by attaching it at one end and work your way around the door, securing it with the clips. For screw-in types, position the seal and tighten the screws accordingly. Ensure the gasket sits evenly without twisting or kinks. 6. Test the Door Reattach the oven to its power source and test the door. It should close snugly without requiring excessive force. A tight seal ensures optimal temperature control inside the oven. Additional Tips for Maintaining Your Oven Seal Regularly inspect your oven door seal for signs of wear. Cleaning the gasket with a non-abrasive solution can prevent residue build-up, extending its lifespan. Avoid using sharp objects around the seal, as these can cause damage. When to Seek Professional Help If the seal replacement doesn’t resolve the issues, or if the oven door still doesn’t close properly, it might be wise to consult a professional. Complicated cases can involve underlying problems with the door hinges or alignment, requiring expert attention. By taking the initiative to fix or replace your oven door seal, you not only enhance your appliance's performance but also contribute to energy efficiency and cost savings. With basic tools and careful handling, this task can transform your kitchen experience, ensuring your meals are cooked to perfection every time.
Latest news
-
Under Door Draught Stopper: Essential ProtectionNewsJul.31,2025
-
Garage Door Seal and Weatherstrips for ProtectionNewsJul.31,2025
-
Edge Banding Tape for Perfect EdgesNewsJul.31,2025
-
Table Corner Guards and Wall Corner ProtectorsNewsJul.31,2025
-
Stair Nose Edging Trim and Tile Stair SolutionsNewsJul.31,2025
-
Truck Bed Rubber Mats for Pickup BedsNewsJul.31,2025
-
Window Weather Stripping for Noise ReductionNewsJul.29,2025