Telephone: +8618730949119
E-mail: 1299343081@qq.com
Feb . 14, 2025 01:17
Back to list
how to replace an oven seal
Replacing an oven seal might seem like a daunting task, but with the right guidance, it can be an empowering and straightforward process. Discover the expertise in this step-by-step guide designed to help you maintain your appliance efficiently, ensuring it runs optimally while extending its lifespan.
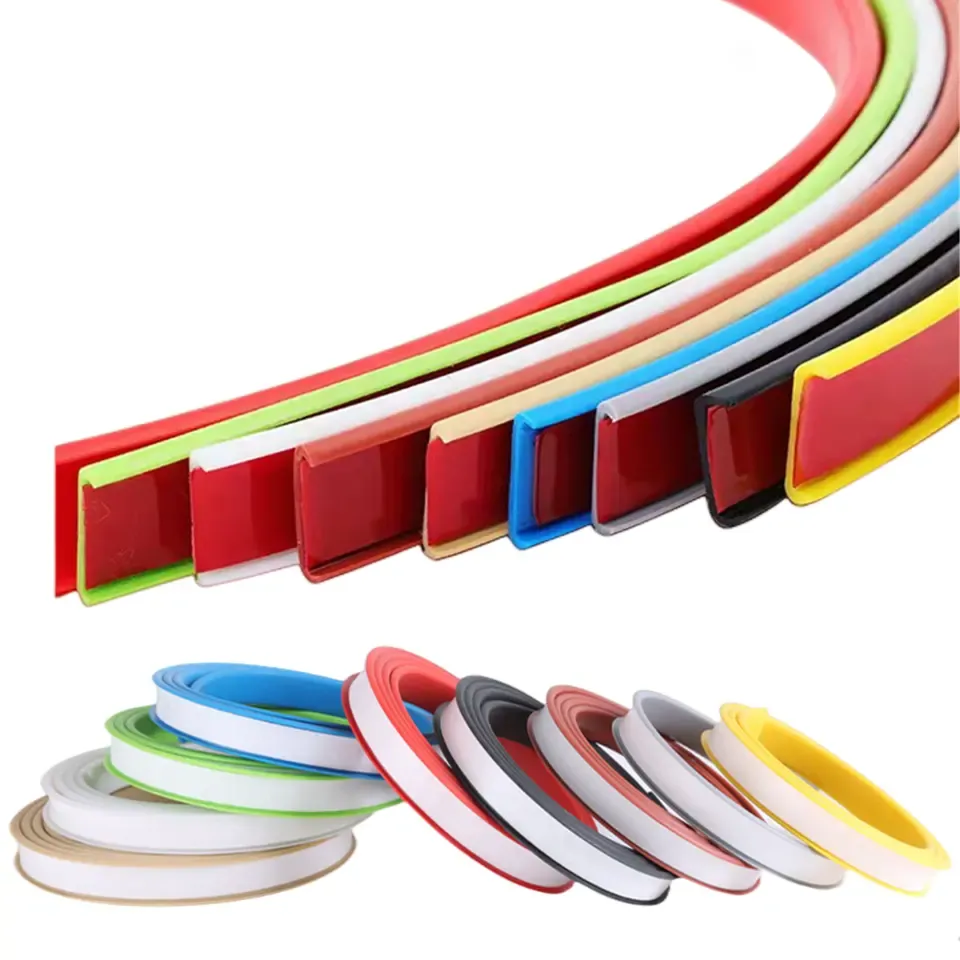
- A screwdriver (Phillips or flathead, depending on your oven) - Pliers - A flat object (like a butter knife, for tight openings) - Replacement oven seal specific to your oven model Step-by-Step Guide Replacing Your Oven Seal 1. Safety First Disconnect your oven from the power source. If it’s a gas oven, ensure the gas supply is turned off to prevent any leaks. 2. Remove the Old Seal Identify where the old seal fits onto the oven door. Typically, oven seals are clipped or screwed into place - For clip-on seals Use your fingers or pliers to gently pull it off. - For screwed-in seals Use a screwdriver to remove the screws, then pull the seal off. 3. Clean the Groove Once the old seal is removed, thoroughly clean the groove where the seal sits. Use a damp cloth to remove any debris and grease, ensuring a perfect fit for the new seal. 4. Fit the New Seal Begin attaching the new seal by aligning it with the groove. - Clip-on Seals Press the seal firmly into the groove until secured. - Screwed-in Seals Position the seal and replace the screws to fasten it securely. 5. Check the Seal Once installed, ensure the seal sits evenly without any twists. Close and open the oven door to check for a tight fit, ensuring there is no unnecessary drag or spaces left uncovered. 6. Reconnect Power and Test Reconnect your oven’s power supply or gas line. Conduct a test run by heating the oven to a standard temperature and check if any heat escapes. Maintenance Tips - Regularly inspect your oven seal for wear and tear. - Avoid using harsh chemicals on the seal; a simple soap and water solution suffices for regular cleaning. - After significant use, reassess the seal’s integrity to preempt unexpected wear. Incorporating these expert methods ensures that you not only replace your oven seal correctly but also extend the life of your appliance. Tackle this common household maintenance task with confidence, equipped with the right tools and knowledge.

- A screwdriver (Phillips or flathead, depending on your oven) - Pliers - A flat object (like a butter knife, for tight openings) - Replacement oven seal specific to your oven model Step-by-Step Guide Replacing Your Oven Seal 1. Safety First Disconnect your oven from the power source. If it’s a gas oven, ensure the gas supply is turned off to prevent any leaks. 2. Remove the Old Seal Identify where the old seal fits onto the oven door. Typically, oven seals are clipped or screwed into place - For clip-on seals Use your fingers or pliers to gently pull it off. - For screwed-in seals Use a screwdriver to remove the screws, then pull the seal off. 3. Clean the Groove Once the old seal is removed, thoroughly clean the groove where the seal sits. Use a damp cloth to remove any debris and grease, ensuring a perfect fit for the new seal. 4. Fit the New Seal Begin attaching the new seal by aligning it with the groove. - Clip-on Seals Press the seal firmly into the groove until secured. - Screwed-in Seals Position the seal and replace the screws to fasten it securely. 5. Check the Seal Once installed, ensure the seal sits evenly without any twists. Close and open the oven door to check for a tight fit, ensuring there is no unnecessary drag or spaces left uncovered. 6. Reconnect Power and Test Reconnect your oven’s power supply or gas line. Conduct a test run by heating the oven to a standard temperature and check if any heat escapes. Maintenance Tips - Regularly inspect your oven seal for wear and tear. - Avoid using harsh chemicals on the seal; a simple soap and water solution suffices for regular cleaning. - After significant use, reassess the seal’s integrity to preempt unexpected wear. Incorporating these expert methods ensures that you not only replace your oven seal correctly but also extend the life of your appliance. Tackle this common household maintenance task with confidence, equipped with the right tools and knowledge.
Next:
Latest news
-
Under Door Draught Stopper: Essential ProtectionNewsJul.31,2025
-
Garage Door Seal and Weatherstrips for ProtectionNewsJul.31,2025
-
Edge Banding Tape for Perfect EdgesNewsJul.31,2025
-
Table Corner Guards and Wall Corner ProtectorsNewsJul.31,2025
-
Stair Nose Edging Trim and Tile Stair SolutionsNewsJul.31,2025
-
Truck Bed Rubber Mats for Pickup BedsNewsJul.31,2025
-
Window Weather Stripping for Noise ReductionNewsJul.29,2025