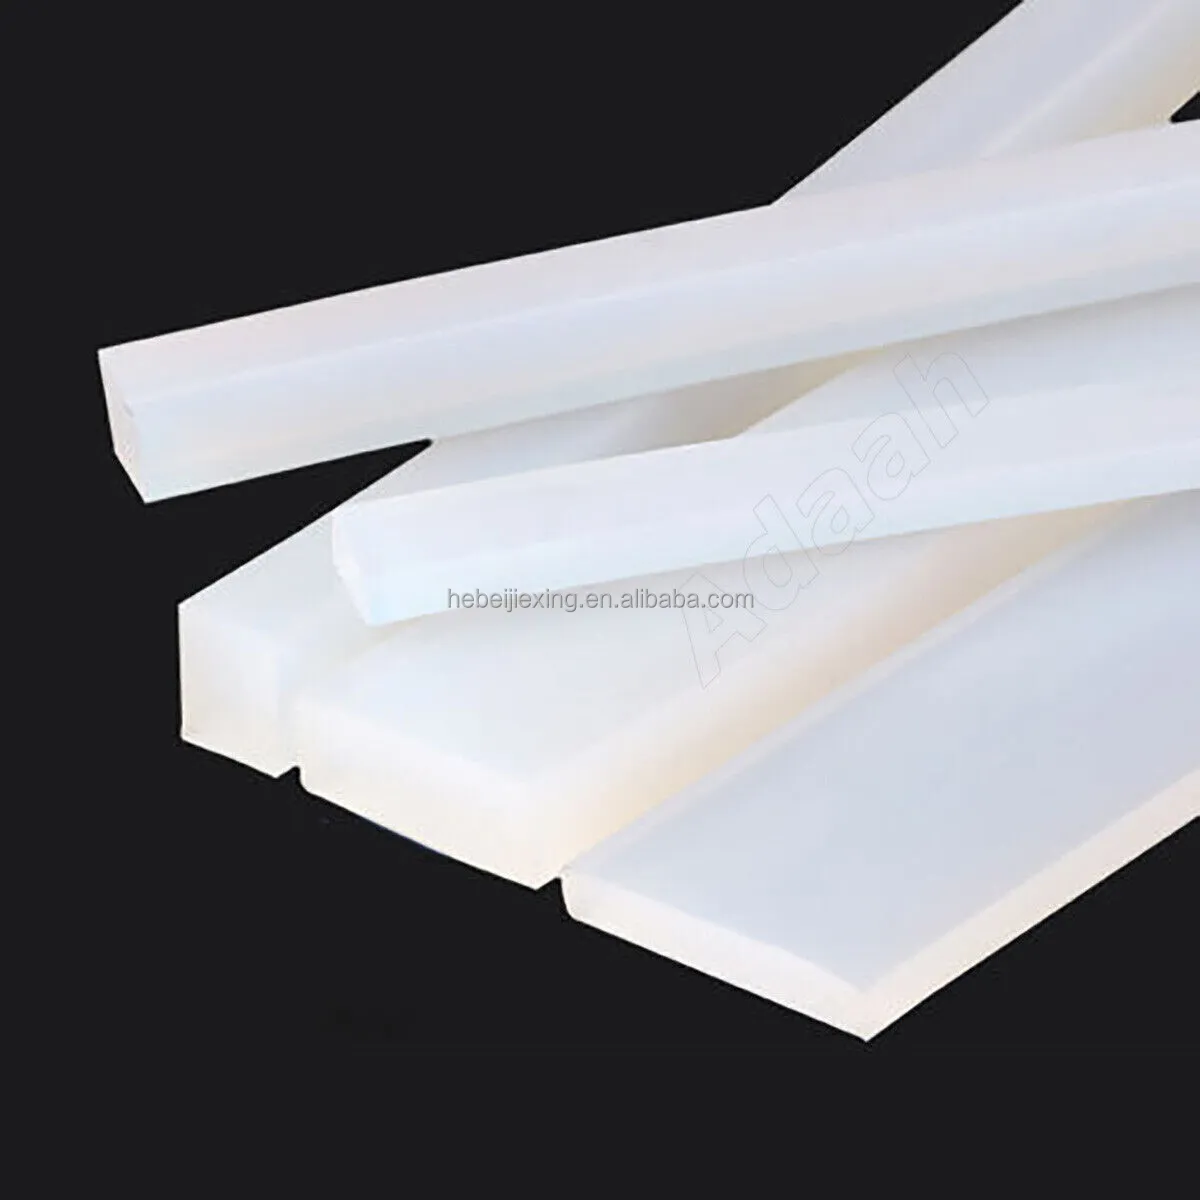
how to replace a stoves oven door seal
How to Replace a Stove’s Oven Door Seal
Replacing the oven door seal can breathe new life into your stove and enhance its efficiency. A worn or damaged seal can lead to heat loss, affecting cooking times and energy consumption. If you’ve noticed uncharacteristically high energy bills or inconsistent cooking temperatures, it may be time to replace the oven door seal. Here’s a step-by-step guide on how to do it effectively.
Materials Needed
Before you begin, gather the necessary tools and materials
1. Replacement oven door seal 2. Screwdriver (usually a Phillips head) 3. Scissors (if adjustment is needed) 4. Clean cloth 5. Cleaning solution
Step 1 Order the Right Replacement Seal
The first step in replacing your oven door seal is to order a new one. You can find replacement seals at appliance stores, online retailers, or directly from the stove manufacturer. Ensure that you have the correct model number to avoid purchasing an incompatible part.
Step 2 Remove the Old Oven Door Seal
To start the removal process, it’s advisable to disconnect your stove from the power source. For electric ranges, unplug it or turn off the power at the breaker. For gas stoves, turn off the gas supply. Once the stove is safe to work on, open the oven door and inspect the seal.
The seal is typically secured with clips or is simply inserted into a groove around the oven door. If your model has clips, gently pry them up with a screwdriver. If the seal is just placed in a groove, start at one end and pull it away from the door. Be cautious not to damage the door frame.
how to replace a stoves oven door seal

Step 3 Clean the Area
Once the old seal has been removed, it’s important to clean the area thoroughly. Use a cleaning solution and a clean cloth to wipe away any grease, grime, or food debris from the door's frame. A clean surface ensures the new seal will adhere properly and form an effective barrier.
Step 4 Install the New Seal
Take your new oven door seal and align it with the groove where the old seal was attached. If your new seal has clips, insert them into the slots as you work your way around the door. Make sure the seal is evenly placed and snug, without any gaps. If it is too long, you may need to trim it to fit using scissors.
Step 5 Test the Seal
After installing the new door seal, close the oven door and inspect it for any gaps. A proper seal should fit tightly against the door. Open and close the door several times to ensure that it seals effectively each time.
Step 6 Reconnect Everything
Once you’ve verified that the seal is installed correctly, reconnect your stove to the power supply or gas line. If you had to turn off the breaker or gas supply, turn it back on.
Conclusion
Replacing the oven door seal is a straightforward task that can significantly improve your stove's performance. By following the steps outlined above, you can ensure that your oven retains heat more effectively, which will save energy and allow for better cooking results. Regularly checking and maintaining your oven's door seal will contribute to its longevity and efficiency. If you encounter any challenges during the process, consult your user manual or contact a professional for assistance. Enjoy cooking with your newly sealed oven!
-
Under Door Draught Stopper: Essential ProtectionNewsJul.31,2025
-
Garage Door Seal and Weatherstrips for ProtectionNewsJul.31,2025
-
Edge Banding Tape for Perfect EdgesNewsJul.31,2025
-
Table Corner Guards and Wall Corner ProtectorsNewsJul.31,2025
-
Stair Nose Edging Trim and Tile Stair SolutionsNewsJul.31,2025
-
Truck Bed Rubber Mats for Pickup BedsNewsJul.31,2025
-
Window Weather Stripping for Noise ReductionNewsJul.29,2025