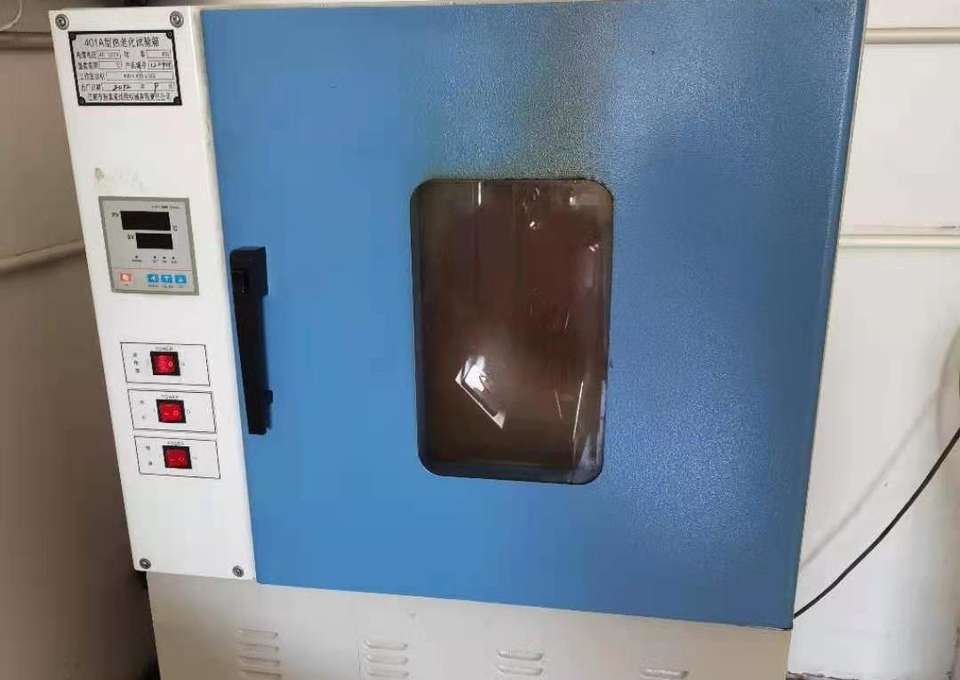
Steps to Change Your Oven Door Gasket for Better Efficiency
How to Replace an Oven Door Gasket
Oven door gaskets play a crucial role in maintaining your oven's efficiency. They create a tight seal that prevents heat from escaping, ensuring that your food cooks evenly while saving energy. Over time, these gaskets can wear out, crack, or become frayed, leading to heat loss and potentially affecting cooking performance. If you notice that your oven is not heating properly or if you see visible signs of damage to the gasket, it’s time to replace it. This guide will walk you through the process of replacing your oven door gasket step by step.
Materials Needed
Before you start, gather the following materials
- Replacement oven door gasket (ensure it is compatible with your oven model) - Screwdriver (if necessary) - Scissors (if trimming is required) - Cleaning cloth - Mild detergent
Step 1 Safety First
Before working on your oven, ensure it is completely cool. Unplug the oven from the electrical outlet, or if you have a gas oven, make sure to turn off the gas supply. Safety is paramount, so take a moment to double-check that the appliance is completely off.
Step 2 Remove the Old Gasket
Beginning at one corner, gently pull the old oven door gasket out of its groove. Most gaskets are simply held in place by friction, but some might be secured with clips or screws. If your gasket is attached with screws, use a screwdriver to remove them. Be careful not to damage the surrounding area as you pull out the old gasket.
Step 3 Clean the Surface
Once the old gasket is removed, examine the inner surface of the oven where the gasket was seated. You may notice food particles, grease, or residue that could hinder the installation of the new gasket. Use a damp cleaning cloth with a mild detergent to thoroughly clean the surface. Allow it to dry completely before proceeding to the next step.
how to replace oven door gasket

Step 4 Prepare the Replacement Gasket
Carefully unpack the new oven door gasket. Before installation, check if the new gasket requires trimming to fit your model. It’s essential to follow the manufacturer’s instructions for length and fitting. If trimming is necessary, use scissors to cut the gasket to the precise length. Most gaskets have a specific way they should be oriented, so make sure you align it correctly for an optimal fit.
Step 5 Install the New Gasket
Start at one corner of the oven door and push the new gasket into the groove. It’s important to ensure that the gasket fits snugly in the channel, as this will create a proper seal. Work your way around the door, pressing the gasket into place and being cautious not to stretch it too much. If your gasket has clips or screws, make sure to secure them as needed.
Step 6 Check for Proper Seal
Once the new gasket is in place, close the oven door to check for a proper seal. There should be a consistent, snug fit all around the door perimeter. If you notice any gaps, you may need to reposition the gasket or trim it further to ensure a better fit.
Step 7 Test the Oven
After you have successfully replaced the gasket and confirmed that it seals properly, plug the oven back in or turn on the gas supply. Preheat your oven to a moderate temperature and monitor it closely. Check for any signs of heat escaping around the door. If everything appears to be working correctly, you have successfully replaced your oven door gasket!
Conclusion
Replacing the oven door gasket is a straightforward DIY task that can enhance your oven's performance and efficiency. Remember to maintain your gasket by keeping it clean and inspecting it regularly for any wear and tear. By taking the time to replace a damaged gasket, you’ll ensure better cooking results and save on energy costs in the long run. If you face any challenges during this process, don't hesitate to consult your oven's user manual or contact a professional for assistance. Happy cooking!
-
Under Door Draught Stopper: Essential ProtectionNewsJul.31,2025
-
Garage Door Seal and Weatherstrips for ProtectionNewsJul.31,2025
-
Edge Banding Tape for Perfect EdgesNewsJul.31,2025
-
Table Corner Guards and Wall Corner ProtectorsNewsJul.31,2025
-
Stair Nose Edging Trim and Tile Stair SolutionsNewsJul.31,2025
-
Truck Bed Rubber Mats for Pickup BedsNewsJul.31,2025
-
Window Weather Stripping for Noise ReductionNewsJul.29,2025