Telephone: +8618730949119
E-mail: 1299343081@qq.com
Feb . 14, 2025 05:06
Back to list
door gasket oven
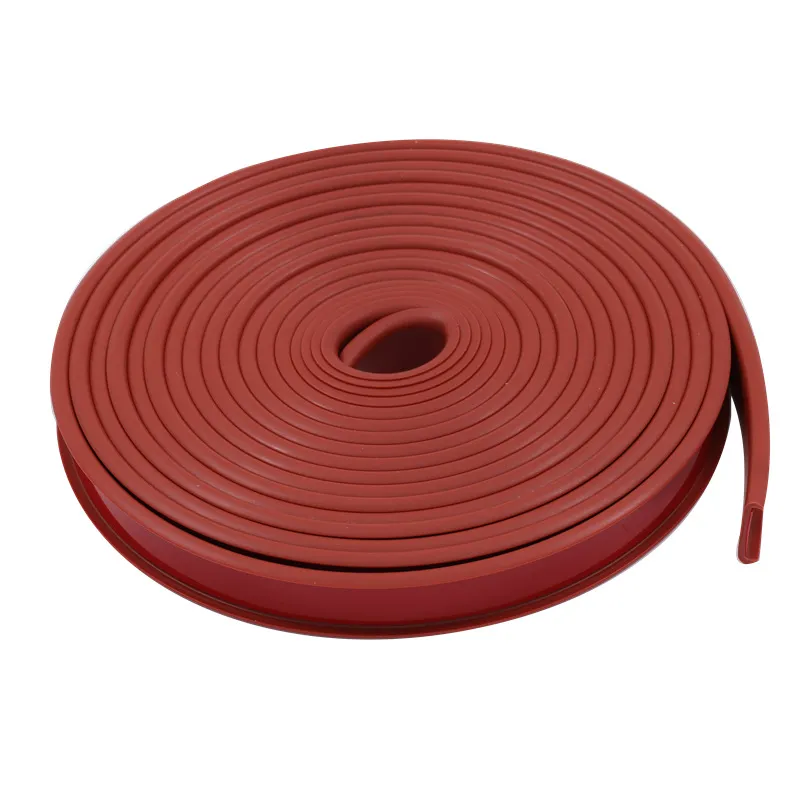
Replacing an oven door gasket may seem like a daunting task, but with the right guidance, it can be straightforward and empowering. Let's delve into a systematic approach to replacing your oven door gasket, ensuring optimal performance and energy efficiency.
2. Clean the Gasket Channel - Once the old gasket is removed, clean the channel with a damp cloth to remove any debris or grease. This ensures a snug fit for the new gasket. 3. Install the New Gasket - Start at the top corner of the oven door, pressing the new gasket into the channel. - Work your way around the door, gently pressing the gasket into place bit by bit. - If the gasket comes with clips, ensure each clip is securely fastened into its respective hole in the channel. - Once installed, double-check that the gasket is even and lies flat against the door frame all around. 4. Final Check - Close the oven door to check the fit of the new gasket. The door should close easily and snugly, with an even fit all around. - Perform the paper test again to ensure there are no gaps. Post-Replacement Tips After replacing the gasket, allow the oven to run at a moderate temperature for about an hour. This will help settle the gasket into its new position. Regularly check the condition of your gasket to ensure it remains in good shape, extending the life of both the gasket and your oven. Expert Insights on Maintenance For maintaining your oven door gasket, avoid using harsh chemical cleaners that can degrade the material. Instead, use mild soapy water for periodic cleaning. Also, avoid placing heavy objects on the door when it's open, as this can misalign the door and affect the sealing ability of the gasket. Conclusion Replacing your oven door gasket is not just a repair; it’s a proactive step towards maintaining your appliance’s efficiency and ensuring culinary success. By following the outlined steps and maintaining your gasket, you ensure your oven operates effectively, saving on energy costs and extending the appliance’s lifespan. An efficient oven not only conserves energy but also ensures food is cooked evenly and reliably every time.


2. Clean the Gasket Channel - Once the old gasket is removed, clean the channel with a damp cloth to remove any debris or grease. This ensures a snug fit for the new gasket. 3. Install the New Gasket - Start at the top corner of the oven door, pressing the new gasket into the channel. - Work your way around the door, gently pressing the gasket into place bit by bit. - If the gasket comes with clips, ensure each clip is securely fastened into its respective hole in the channel. - Once installed, double-check that the gasket is even and lies flat against the door frame all around. 4. Final Check - Close the oven door to check the fit of the new gasket. The door should close easily and snugly, with an even fit all around. - Perform the paper test again to ensure there are no gaps. Post-Replacement Tips After replacing the gasket, allow the oven to run at a moderate temperature for about an hour. This will help settle the gasket into its new position. Regularly check the condition of your gasket to ensure it remains in good shape, extending the life of both the gasket and your oven. Expert Insights on Maintenance For maintaining your oven door gasket, avoid using harsh chemical cleaners that can degrade the material. Instead, use mild soapy water for periodic cleaning. Also, avoid placing heavy objects on the door when it's open, as this can misalign the door and affect the sealing ability of the gasket. Conclusion Replacing your oven door gasket is not just a repair; it’s a proactive step towards maintaining your appliance’s efficiency and ensuring culinary success. By following the outlined steps and maintaining your gasket, you ensure your oven operates effectively, saving on energy costs and extending the appliance’s lifespan. An efficient oven not only conserves energy but also ensures food is cooked evenly and reliably every time.
Next:
Latest news
-
Under Door Draught Stopper: Essential ProtectionNewsJul.31,2025
-
Garage Door Seal and Weatherstrips for ProtectionNewsJul.31,2025
-
Edge Banding Tape for Perfect EdgesNewsJul.31,2025
-
Table Corner Guards and Wall Corner ProtectorsNewsJul.31,2025
-
Stair Nose Edging Trim and Tile Stair SolutionsNewsJul.31,2025
-
Truck Bed Rubber Mats for Pickup BedsNewsJul.31,2025
-
Window Weather Stripping for Noise ReductionNewsJul.29,2025