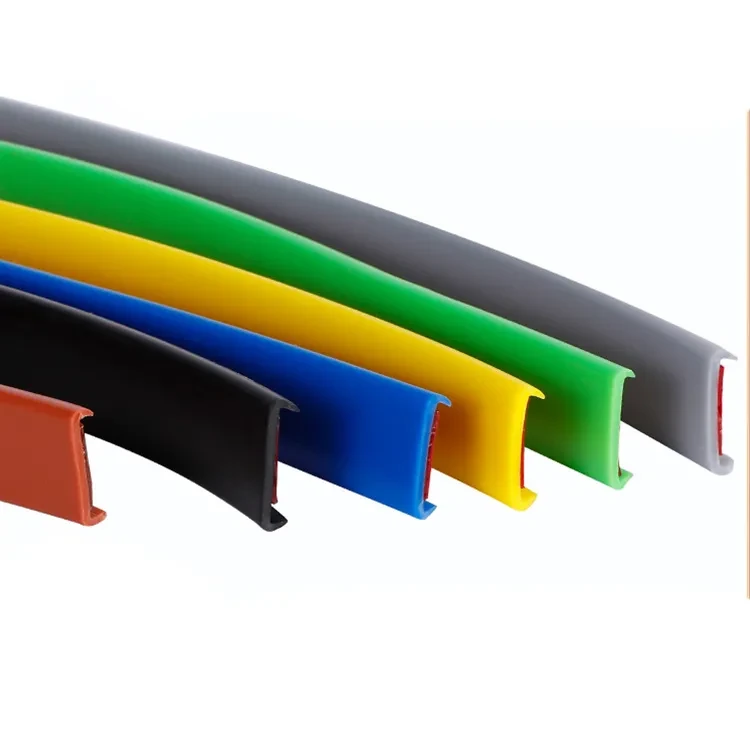
Steps to Change the Seal on Your Oven Door Effectively and Safely
How to Replace an Oven Door Seal A Step-by-Step Guide
The oven door seal plays a crucial role in maintaining the efficiency of your oven. A damaged or worn out seal can lead to heat loss, longer cooking times, and even increased energy bills. If you've noticed signs of wear, such as cracks, gaps, or fraying in the seal, it's time to consider replacing it. This article will guide you through the process of replacing your oven door seal in a simple and effective manner.
Understanding the Importance of Oven Door Seals
Before we delve into the replacement process, it's essential to understand why your oven door seal matters. The seal is typically made from rubber or silicone and is designed to create an airtight barrier when the oven door is closed. This barrier ensures that heat remains inside the oven, which is vital for efficient cooking and baking. A defective seal not only compromises the cooking temperature but can also lead to cooking inconsistencies.
Tools and Materials You Will Need
Before starting the replacement process, gather the necessary tools and materials. These may include
- A new oven door seal (specific to your oven model) - Screwdriver (flathead or Phillips, depending on your oven) - Scissors (if adjustment is needed) - Mild detergent and sponge (for cleaning) - Towels or rags
Step-by-Step Guide to Replace Your Oven Door Seal
Step 1 Unplug Your Oven
Safety should always come first. Before you begin any maintenance work on your oven, ensure it's unplugged or disconnected from the power supply. This step prevents any accidents during the repair process.
Step 2 Remove the Old Seal
Start by inspecting how the old seal is attached. Most oven door seals are either held in place with screws or a simple friction fit. If screws are present, use the screwdriver to carefully remove them. If the seal is fitted without screws, gently pull it away from the door frame. Take your time during this process to avoid damaging the oven door.
how to replace oven door seal

Step 3 Clean the Area
Once the old seal is removed, you'll likely find debris, grease, or residue on the door frame. Use a mild detergent and a sponge to clean the area thoroughly. Ensure that no remnants of the old seal are left behind, as they can prevent the new seal from sitting correctly.
Step 4 Prepare the New Seal
Compare the new seal with the old one to ensure they match in size and shape. If the new seal is too long, you may need to trim it to the appropriate length. Use scissors to make precise cuts, ensuring the ends are cut cleanly for a tight fit.
Step 5 Install the New Seal
Begin attaching the new seal by pressing it into place along the door frame. If the seal requires screws, position it correctly before securing it with screws. Ensure that the seal is snug and tightly fitted without any gaps. For seals that fit without screws, simply push it into the grooves until it feels secure.
Step 6 Test the Seal
Once the new seal is installed, close the oven door to ensure it closes properly and creates a tight fit. You can conduct a simple test by placing a piece of paper between the door and the oven frame; if you can pull the paper out easily, there may be a gap that needs adjustment.
Step 7 Plug in the Oven
After confirming that the seal is correctly installed and everything is in place, plug the oven back into the power supply. Run the oven at a low temperature for a short time to ensure that the seal remains intact and there are no leaks.
Conclusion
Replacing the oven door seal is a straightforward task that can significantly improve your oven's efficiency and performance. By following this guide, you can ensure that your cooking appliances remain in optimal condition, helping you prepare delicious meals while saving energy. Regular maintenance, including checking and replacing door seals, will extend the lifespan of your oven and enhance your cooking experience. If you find that the problem persists even after replacing the seal, it may be worth consulting a professional to further assess any underlying issues. Happy cooking!
-
Under Door Draught Stopper: Essential ProtectionNewsJul.31,2025
-
Garage Door Seal and Weatherstrips for ProtectionNewsJul.31,2025
-
Edge Banding Tape for Perfect EdgesNewsJul.31,2025
-
Table Corner Guards and Wall Corner ProtectorsNewsJul.31,2025
-
Stair Nose Edging Trim and Tile Stair SolutionsNewsJul.31,2025
-
Truck Bed Rubber Mats for Pickup BedsNewsJul.31,2025
-
Window Weather Stripping for Noise ReductionNewsJul.29,2025