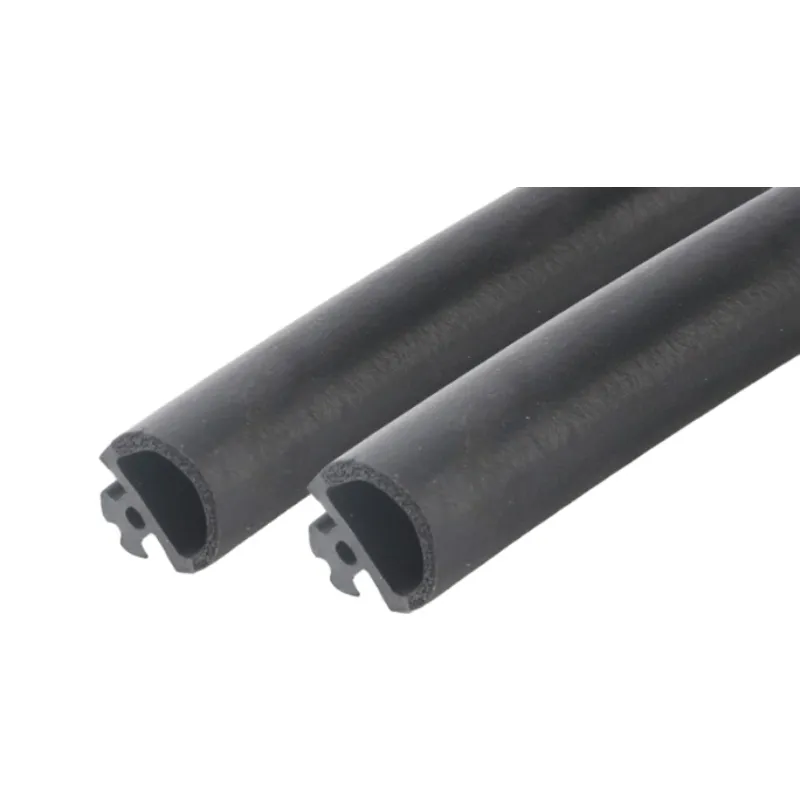
Steps to Change the Seal on Your Oven Door Efficiently and Effectively
How to Replace an Oven Door Seal
Replacing the door seal on your oven is an essential maintenance task that helps maintain properly heated cooking temperatures and improves energy efficiency. Over time, the door seal can become cracked, worn, or even detached, leading to heat loss and inconsistent cooking results. Fortunately, replacing the seal is a straightforward process that can be accomplished in a few steps. Here’s how to do it.
Tools and Materials Needed
Before you begin, ensure you have the following tools and materials ready
- Replacement oven door seal (specific to your oven model) - Screwdriver - Scissors (optional) - Clean cloth or sponge - Mild detergent - Safety gloves (optional)
Step 1 Gather Information
Before purchasing a new oven door seal, check your oven’s manual or the manufacturer's website to find the exact model number and specifications. This information is crucial to ensure you buy the correct replacement seal. You can often find replacement seals at appliance stores or online retailers.
Step 2 Remove the Old Seal
1. Locate the Seal Open your oven door and locate the existing door seal. It’s usually fitted into a groove around the edge of the door.
2. Inspect for Fasteners Depending on your oven model, the seal may be held in place by clips or screws. If it’s secured with screws, use a screwdriver to remove them. If it’s just clipped in, gently pull it away from the door.
how to replace oven door seal

3. Remove the Seal Carefully pull the old seal away from the door. In some cases, it may be helpful to use a flathead screwdriver to pry it loose. Be cautious not to damage the door or any surrounding components.
4. Clean the Area Once the old seal is removed, clean the groove where the seal was attached using a damp cloth or sponge with mild detergent. Make sure to remove any debris or old adhesive to ensure a good fit for the new seal.
Step 3 Install the New Seal
1. Prepare the New Seal Unpack the new oven door seal, and, if necessary, use scissors to trim it to the correct length. If your seal has a specific orientation (e.g., a side that needs to face inward), ensure that you orient it correctly.
2. Insert the Seal Start at one corner of the oven door and gently press the new seal into the groove. If the seal has clips, ensure they are lined up properly. Work your way around the door, pressing the seal into place.
3. Secure the Seal If your seal requires screws or clips for stabilization, reattach these now. Ensure everything is secure but not overly tight, which could damage the seal or door.
Step 4 Test the Seal
Once the new seal is in place, you should perform a simple test. Close the oven door and see if it shuts snugly. Check for any gaps that could indicate improper sealing. A well-fitted door seal should grip the oven door tightly when closed, without allowing any light or air to escape.
Conclusion
Replacing an oven door seal is a manageable task that can enhance your cooking experience by keeping heat where it belongs—inside the oven. Following these steps ensures your oven runs efficiently, saves energy, and helps maintain consistent cooking temperatures. If you notice issues with your oven's temperature control or energy usage, consider checking the door seal as a potential cause. Regular maintenance, including seal checks and replacements, can extend the life of your oven and improve kitchen performance.
-
Under Door Draught Stopper: Essential ProtectionNewsJul.31,2025
-
Garage Door Seal and Weatherstrips for ProtectionNewsJul.31,2025
-
Edge Banding Tape for Perfect EdgesNewsJul.31,2025
-
Table Corner Guards and Wall Corner ProtectorsNewsJul.31,2025
-
Stair Nose Edging Trim and Tile Stair SolutionsNewsJul.31,2025
-
Truck Bed Rubber Mats for Pickup BedsNewsJul.31,2025
-
Window Weather Stripping for Noise ReductionNewsJul.29,2025