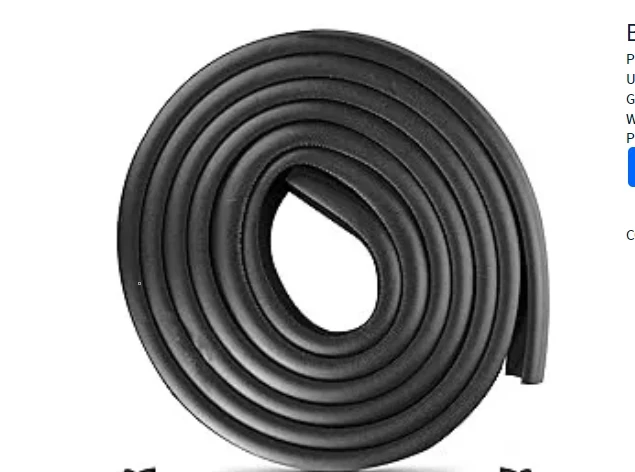
how to replace oven door seal
How to Replace an Oven Door Seal A Step-by-Step Guide
An oven door seal is an essential component of your oven that ensures heat stays inside while cooking, improving efficiency and maintaining safe temperatures. Over time, these seals can wear out or become damaged, leading to heat loss and uneven cooking. If you notice that your oven isn't heating properly or that food is taking longer than usual to cook, it might be time to replace the door seal. This guide will walk you through the process of replacing your oven door seal step by step.
Tools and Materials Needed
Before starting the replacement process, gather the necessary tools and materials
- New oven door seal (specific to your oven model) - Screwdriver (if needed) - Scissors (for cutting the seal, if required) - Cleaning cloth - Mild detergent (optional)
Step 1 Turn Off the Oven
Safety first! Ensure that your oven is turned off and unplugged from the power source. If you have a gas oven, make sure the gas supply is also turned off. This precaution helps prevent any accidents while you work.
Step 2 Remove the Old Seal
Once your oven is safely powered down, open the oven door and inspect the old door seal. Depending on the design, you may need to detach it by either pulling it off or unscrewing it from the door. Most seals are held in place with clamps or clips, so look for any fasteners.
Carefully pull the seal away from the door, taking care not to damage the door itself. If the seal is stuck, you can use a putty knife to pry it loose gently. Be cautious, as you don’t want to scratch the door surface.
Step 3 Clean the Area
how to replace oven door seal

With the old seal removed, take a moment to clean the surface area where the new seal will attach. Use a damp cloth with a mild detergent to remove any grime, grease, or adhesive residue from the old seal. This will help ensure a good fit and seal for the new door seal. Allow the area to dry completely before proceeding.
Step 4 Prepare the New Seal
Take your new oven door seal and compare it with the old one to ensure you have the correct replacement. Most seals are designed to be a certain length and shape for specific oven models. If your new seal requires cutting, use scissors to trim it to the correct size.
Step 5 Install the New Seal
Now it’s time to install the new seal. Starting from one corner of the oven door, press the new seal into the groove or channel. Work your way around the door, ensuring that the seal fits snugly and evenly. If your new seal has clips or hooks, ensure they are properly secured as you progress.
Step 6 Test the Seal
After the new seal is in place, close the oven door to check the fit. It should close tightly without any gaps. A proper seal will help trap heat inside the oven, preventing any leaks. If you notice any gaps or if the door doesn’t close properly, adjust the seal as needed.
Step 7 Final Checks
Finally, plug the oven back in or turn the gas supply back on. Before using your oven for cooking, it is advisable to run it at a low temperature for a short period to ensure everything is working correctly. Keep an eye out for any unusual smells or sounds.
Conclusion
Replacing your oven door seal is a straightforward task that can significantly improve your oven’s performance and efficiency. With the right tools and a little patience, you can complete this repair without the need for professional help. Regular maintenance, including checking and replacing the door seal, can extend the life of your oven and enhance your cooking experience. Happy cooking!
-
Under Door Draught Stopper: Essential ProtectionNewsJul.31,2025
-
Garage Door Seal and Weatherstrips for ProtectionNewsJul.31,2025
-
Edge Banding Tape for Perfect EdgesNewsJul.31,2025
-
Table Corner Guards and Wall Corner ProtectorsNewsJul.31,2025
-
Stair Nose Edging Trim and Tile Stair SolutionsNewsJul.31,2025
-
Truck Bed Rubber Mats for Pickup BedsNewsJul.31,2025
-
Window Weather Stripping for Noise ReductionNewsJul.29,2025