how to replace the seal on an oven door
How to Replace the Seal on an Oven Door
Replacing the seal on your oven door is an essential maintenance task that can help improve your oven's efficiency and prevent heat loss. Over time, seals can wear out, crack, or become damaged, leading to inconsistent cooking temperatures and increased energy costs. Here's a step-by-step guide on how to replace the seal effectively.
Tools and Materials Needed
Before you begin, gather the following tools and materials
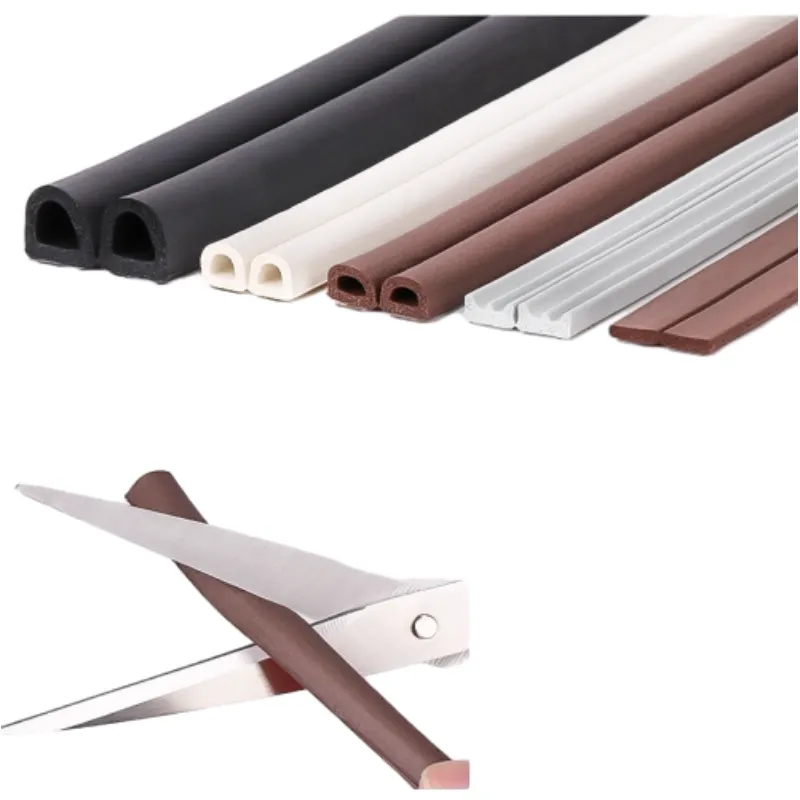
- Replacement oven door seal (check your oven model for compatibility) - Screwdriver (if necessary) - Scissors (if needed to modify the seal) - Clean cloth - Mild detergent (for cleaning)
Step 1 Unplug the Oven
Safety first! Before working on your oven, ensure it is unplugged or that the power supply is turned off at the circuit breaker. This prevents any accidental electrical shocks.
Step 2 Remove the Old Seal
1. Inspect the Old Seal Open the oven door fully and inspect the existing seal. It may be held in place with clips or adhesive.
2. Remove Clips (if applicable) If your oven door seal is held in place with clips, use a screwdriver to remove them. Keep the screws in a safe place for reinstallation.
3. Pull the Seal Off Gently pull the old seal away from the oven door. If it is adhesive, use your fingers to pry it off, being careful not to damage the door surface.
4. Clean the Area Once the old seal is removed, clean the area where the seal was attached. Use a mild detergent and a cloth to remove any residue from glue or food particles. Ensure that the surface is completely dry before proceeding.
Step 3 Install the New Seal
how to replace the seal on an oven door

1. Check the New Seal Before installation, compare the new seal with the old one to ensure they match both in size and shape.
2. Position the Seal Start at one corner of the door frame. If the seal has any clips or specific points to attach to, arrange those parts first.
3. Attach the Seal Begin pressing the new seal into place, moving along the door frame. Ensure that it fits snugly and evenly. If your seal uses adhesive, ensure that it evenly adheres to the surface as you attach it.
4. Secure Clips If your model requires clips, firmly reattach them to hold the new seal in place. Make sure they are tightened but avoid overtightening, as this could damage the seal or the oven door.
Step 4 Final Checks
Once the new seal is in place, it’s time to do some final checks
1. Close the Oven Door Gently close the oven door and check if it closes properly without gaps. Look for even spacing around the seal.
2. Test the Seal To ensure the seal is working, you can conduct a simple test. Turn the oven on and wait for it to heat up. After a few minutes, check to see if there is any heat escaping from around the door. If you're feeling warmth or if the oven is heating unevenly, you may need to adjust the seal or check if it's installed correctly.
Step 5 Restore Power
Once you’re satisfied that the new seal is installed correctly and functioning well, restore power to the oven.
Conclusion
Replacing the seal on your oven door is a straightforward process that can lead to better cooking performance and energy efficiency. Regular maintenance, including replacing worn seals, can prolong the life of your appliance. With these steps, you can ensure your oven operates efficiently and effectively, keeping your cooking consistent and reliable. Remember always to consult your oven’s manual for specific instructions and safety guidelines tailored to your model.
-
Under Door Draught Stopper: Essential ProtectionNewsJul.31,2025
-
Garage Door Seal and Weatherstrips for ProtectionNewsJul.31,2025
-
Edge Banding Tape for Perfect EdgesNewsJul.31,2025
-
Table Corner Guards and Wall Corner ProtectorsNewsJul.31,2025
-
Stair Nose Edging Trim and Tile Stair SolutionsNewsJul.31,2025
-
Truck Bed Rubber Mats for Pickup BedsNewsJul.31,2025
-
Window Weather Stripping for Noise ReductionNewsJul.29,2025