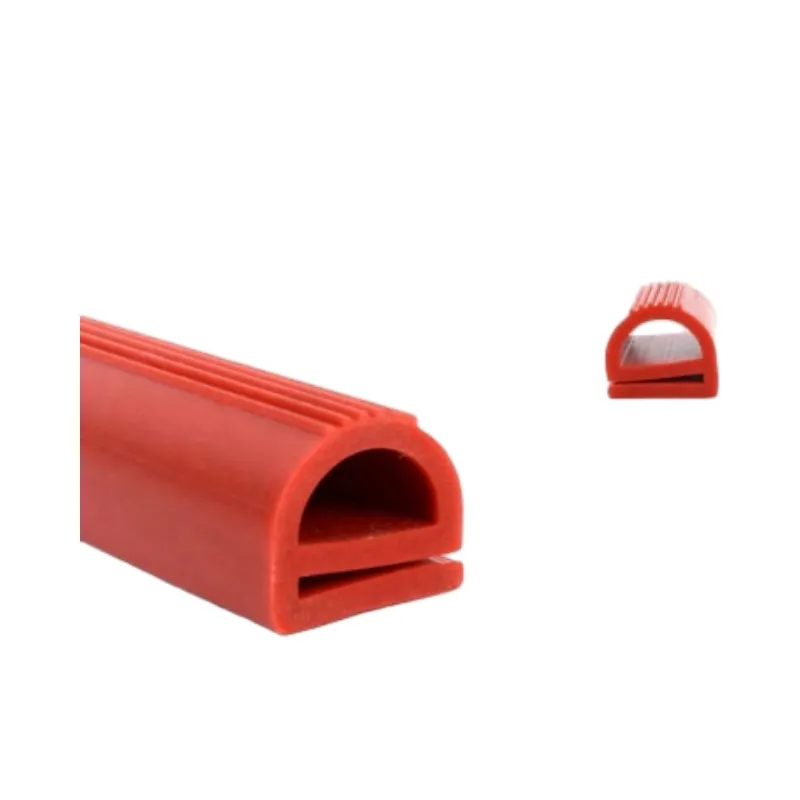
oven door insulation replacement
Oven Door Insulation Replacement A Step-by-Step Guide to Improving Efficiency
Oven door insulation replacement is an essential maintenance task that can enhance the efficiency of your oven and improve your cooking results. Over time, the insulation within your oven door can deteriorate or become damaged, leading to heat loss, increased energy consumption, and uneven cooking temperatures. This article will guide you through the process of replacing your oven door insulation, ensuring your appliance operates at its best.
Why Replace Oven Door Insulation?
The insulation in your oven door plays a critical role in maintaining the desired temperature inside the cooking chamber. If the insulation is compromised, heat can escape, resulting in higher energy bills and longer cooking times. Moreover, inadequate insulation may cause the outer surface of the oven door to become excessively hot, posing a burn hazard, particularly for children and pets. By replacing old or damaged insulation, you ensure a safer cooking environment and enhance the overall performance of your oven.
Tools and Materials Needed
Before you start the replacement process, gather the necessary tools and materials
1. Tools - Screwdriver (Phillips and flathead) - Pliers - Utility knife - Measuring tape - Heat-resistant gloves
2. Materials - New oven door insulation (available from appliance parts suppliers or online) - High-temperature adhesive (if needed) - Cleaning supplies (mild detergent and cloth)
Step-by-Step Process
Step 1 Safety First
Before you undertake any appliance repair, ensure that your oven is unplugged or disconnected from the power source. This is crucial for your safety and prevents any accidental electric shocks.
Step 2 Remove the Oven Door
To access the door insulation, you first need to remove the oven door. Most ovens have hinges that can be released by pulling a lever or unscrewing screws. Carefully lift the door off the hinges and place it on a sturdy surface, such as a table or workbench.
Step 3 Inspect the Existing Insulation
oven door insulation replacement

Take a moment to examine the existing insulation. Depending on its condition, you may notice discoloration or signs of wear, such as rips and tears. Use a utility knife to cut the old insulation away from the door, being cautious not to damage any internal components.
Step 4 Clean the Door Frame
Once the old insulation is removed, clean the door frame with mild detergent and a cloth. Removing dust and debris will ensure a proper seal when you install the new insulation. Allow the door frame to dry completely before proceeding.
Step 5 Cut and Fit the New Insulation
Using the measuring tape, determine the dimensions of the door frame where the insulation will be placed. Cut the new oven door insulation to size using a utility knife. Ensure the edges are straight for a snug fit. If required, apply high-temperature adhesive to the insulation to help it adhere to the door.
Step 6 Install the New Insulation
Carefully place the new insulation into the door frame, pressing it firmly into place. Ensure that it fits snugly and does not protrude beyond the edges of the door. If the insulation has a self-adhesive backing, remove the protective layer before placing it.
Step 7 Reattach the Oven Door
Once the insulation is installed, it’s time to reattach the oven door to the hinges. Carefully lift the door back into position, aligning it with the hinges. Secure it in place by tightening any screws or levers you released earlier.
Step 8 Test Your Oven
After completing the installation, plug in the oven and test it to ensure everything is functioning correctly. Preheat the oven and monitor for any signs of heat escaping. If all goes well, you'll notice improved performance and energy efficiency.
Conclusion
Replacing the insulation in your oven door is a straightforward DIY task that can significantly enhance the efficiency of your appliance. By following this guide, you can ensure that your oven operates safely and effectively, ultimately improving your cooking experience. Regular maintenance checks, including insulation replacement, can prolong the life of your oven and ensure delicious results every time you cook.
-
Under Door Draught Stopper: Essential ProtectionNewsJul.31,2025
-
Garage Door Seal and Weatherstrips for ProtectionNewsJul.31,2025
-
Edge Banding Tape for Perfect EdgesNewsJul.31,2025
-
Table Corner Guards and Wall Corner ProtectorsNewsJul.31,2025
-
Stair Nose Edging Trim and Tile Stair SolutionsNewsJul.31,2025
-
Truck Bed Rubber Mats for Pickup BedsNewsJul.31,2025
-
Window Weather Stripping for Noise ReductionNewsJul.29,2025