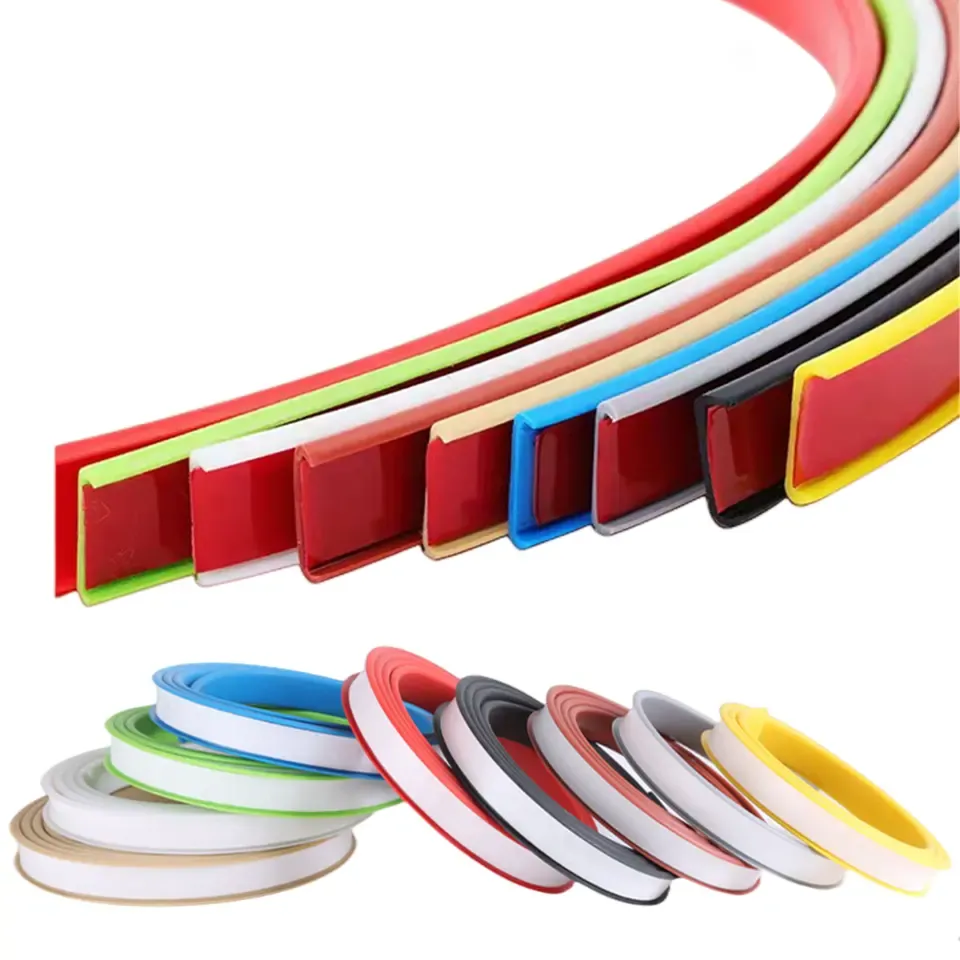
oven door insulation replacement
Replacing Oven Door Insulation A Step-by-Step Guide
Ovens are a vital appliance in our kitchens, facilitating everything from baking to roasting. Over time, however, wear and tear can lead to inefficiencies, especially regarding insulation. A crucial component of an oven’s effectiveness is its door insulation. If the insulation is damaged or worn out, it can compromise the oven's ability to maintain temperature, increase energy consumption, and cause safety hazards. In this article, we will explore the importance of oven door insulation, signs that it needs replacement, and a detailed guide on how to replace it.
Importance of Oven Door Insulation
Oven door insulation plays an essential role in keeping heat contained within the oven. Effective insulation allows the oven to reach and maintain the desired temperature while minimizing heat loss. This not only enhances cooking efficiency but also helps to protect the outer surface of the oven from overheating, reducing the risk of burns or fire hazards. Additionally, proper insulation can lead to lower energy bills, as the oven will use less energy to maintain its temperature.
Signs You Need to Replace Your Oven Door Insulation
There are several indicators that it might be time to replace the insulation in your oven door
1. Heat Loss If you notice heat escaping from the oven door during cooking, it may be a sign that the insulation is compromised. 2. Inconsistent Cooking Results Difficulty in reaching the set temperature or uneven cooking can indicate that the oven is not maintaining proper heat due to ineffective insulation.
3. Visible Damage Physical signs, such as cracks, tears, or burnt areas in the insulation, require immediate attention.
4. Excessive Energy Consumption A spike in your energy bills might suggest that your oven is working harder than it should due to poor insulation.
Step-by-Step Guide to Replacing Oven Door Insulation
If you've determined that your oven door insulation needs to be replaced, follow these steps for a successful replacement.
1. Gather Necessary Tools and Materials
Before you begin, ensure you have the following tools and materials
- Screwdriver (Phillips or flathead, depending on your oven model) - Replacement insulation (specific to your oven model) - Utility knife or scissors - Gloves to protect your hands - Safety goggles
2. Disconnect the Oven
For safety, disconnect the oven from the power supply. This can usually be done by unplugging it or turning off the circuit breaker that powers the oven.
3
. Remove the Oven Dooroven door insulation replacement

Most oven doors can be removed by opening the door halfway and locating the hinge locks. Release these locks and carefully lift the door off its hinges. Place the door on a stable surface, such as a workbench.
4. Access the Insulation
With the door placed securely, look for any screws or clips that hold the outer panel in place. Remove these fasteners with your screwdriver. Once the outer panel is removed, you will have access to the insulation inside.
5. Remove Old Insulation
Carefully pull out the old insulation material. Depending on how it was secured, it may come out easily or require some gentle coaxing. Pay attention to any debris or material that may have broken loose during this process.
6. Clean the Area
Before installing the new insulation, clean the area thoroughly to remove any old adhesive, dust, or debris. This will ensure a proper fit for the new insulation and help prevent any future issues.
7. Install New Insulation
Cut the new insulation to fit the dimensions of the oven door, ensuring that it matches the old insulation as closely as possible. Insert the new insulation into the designated area, making sure it is snug and secure.
8. Reassemble the Oven Door
Replace the outer panel of the door and secure it in place with the screws or clips you removed earlier. Ensure everything fits correctly and is tightly fastened.
9. Reattach the Door
Carefully reattach the oven door to its hinges, locking it into place as per your oven’s design.
10. Test the Oven
Reconnect the oven to the power supply and test it to ensure that it reaches the appropriate temperatures and that there are no issues with heat loss.
Conclusion
Replacing the insulation in your oven door might seem like a daunting task, but with the right tools and a little bit of time, it can be accomplished successfully. Maintaining effective insulation is essential for the longevity and efficiency of your oven. By following this guide, you can ensure that your oven operates as intended, providing the perfect cooking environment for all your culinary endeavors.
-
Under Door Draught Stopper: Essential ProtectionNewsJul.31,2025
-
Garage Door Seal and Weatherstrips for ProtectionNewsJul.31,2025
-
Edge Banding Tape for Perfect EdgesNewsJul.31,2025
-
Table Corner Guards and Wall Corner ProtectorsNewsJul.31,2025
-
Stair Nose Edging Trim and Tile Stair SolutionsNewsJul.31,2025
-
Truck Bed Rubber Mats for Pickup BedsNewsJul.31,2025
-
Window Weather Stripping for Noise ReductionNewsJul.29,2025