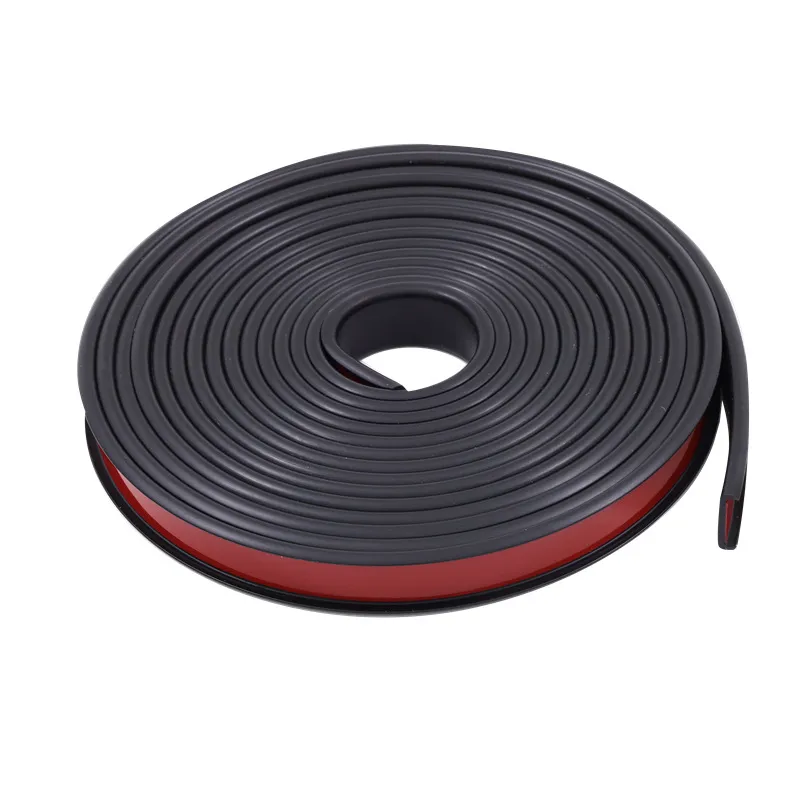
replacing door sweep on exterior door
Replacing a Door Sweep on an Exterior Door
If you're noticing drafts around your exterior door, or perhaps seeing dirt and debris accumulating near the bottom, it may be time to replace the door sweep. A door sweep is an essential component that helps seal the gap between the bottom of the door and the threshold, providing not only insulation but also protecting against pests and the elements. Replacing a worn or damaged door sweep can be a straightforward DIY project that significantly improves your home’s energy efficiency and comfort.
Tools and Materials Needed
Before you begin the replacement process, gather the necessary tools and materials. You will need
- A new door sweep (available at most hardware stores) - A measuring tape - A utility knife or scissors - A screwdriver (if necessary for the type of sweep you purchase) - A level - A clean cloth for dusting
Measuring the Current Door Sweep
Start by measuring the width of your door. If the door sweep you're replacing is still intact, you can measure it directly. Otherwise, measure the bottom of the door from one side to the other. It's crucial to ensure you get the correct size for a proper fit. Many door sweeps come in standard lengths, but they can also be trimmed to size if necessary.
Choosing the Right Door Sweep
There are various types of door sweeps available, including those made of rubber, vinyl, and metal. When selecting a new door sweep, consider factors such as the door material, movement, and aesthetic preferences. Some sweeps attach directly with adhesive, while others may require screws for installation. If you're unsure which type to choose, your local hardware store staff can help guide you based on your specific needs.
replacing door sweep on exterior door

Installation Process
1. Remove the Old Door Sweep If the door sweep is held in place with screws, use your screwdriver to remove them. If it is adhesive, you may need to gently pry it off using a utility knife. Be careful not to damage the door itself during this process.
2. Clean the Door Surface Once the old sweep is removed, clean the area thoroughly with a cloth to remove any dust or debris. This will ensure good adhesion for the new sweep.
3. Install the New Door Sweep If the new sweep is self-adhesive, peel off the backing and align it with the edge of the door. If it requires screws, position it correctly and secure it in place. Make sure that it covers the gap at the bottom of the door completely.
4. Check the Fit After installation, close the door and check for any gaps. Use a level if necessary to ensure that the sweep is even along the entire length. Adjust it as needed until it seals properly against the threshold.
Final Touches
Once the new door sweep is in place, test the door to ensure it opens and closes smoothly. You should notice a significant reduction in drafts immediately!
In conclusion, replacing a door sweep is a simple yet effective way to enhance your home's energy efficiency and comfort. Not only does it help keep out unwanted air and pests, but it also contributes to the overall maintenance and longevity of your exterior door. With just a few tools and a little effort, you can achieve a better-sealed home. So, don’t wait—get started on your door sweep replacement today!
-
Under Door Draught Stopper: Essential ProtectionNewsJul.31,2025
-
Garage Door Seal and Weatherstrips for ProtectionNewsJul.31,2025
-
Edge Banding Tape for Perfect EdgesNewsJul.31,2025
-
Table Corner Guards and Wall Corner ProtectorsNewsJul.31,2025
-
Stair Nose Edging Trim and Tile Stair SolutionsNewsJul.31,2025
-
Truck Bed Rubber Mats for Pickup BedsNewsJul.31,2025
-
Window Weather Stripping for Noise ReductionNewsJul.29,2025