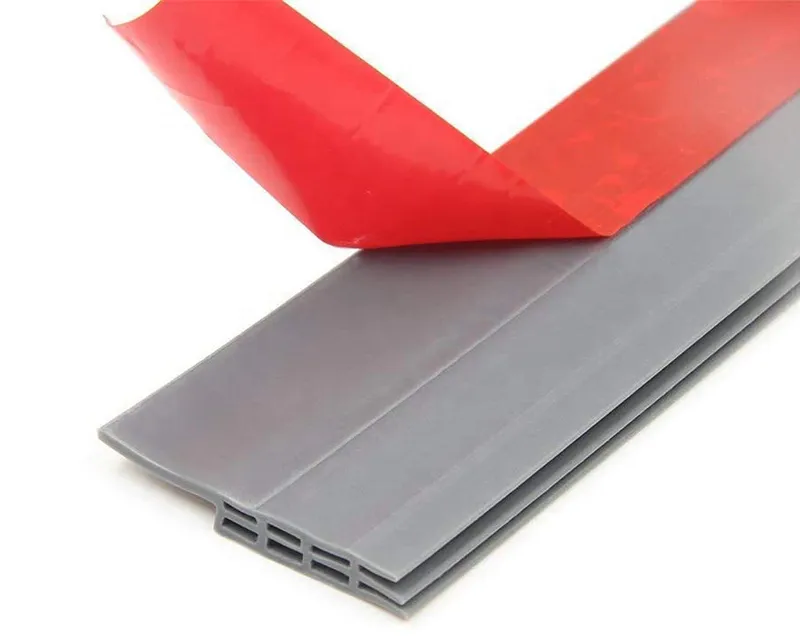
replacing door weather stripping
Replacing Door Weather Stripping A Comprehensive Guide
One of the simplest yet most effective home improvement projects you can undertake is replacing door weather stripping. Weather stripping serves as a crucial barrier against drafts, moisture, and pests, ensuring that your home remains comfortable and energy-efficient throughout the year. Over time, however, weather stripping can wear down, leading to increased energy costs and decreased comfort. If you’re considering replacing the weather stripping on your doors, this article provides a step-by-step guide to help you in the process.
Understanding Weather Stripping
Before diving into the replacement process, it’s essential to understand what weather stripping is and how it works. Weather stripping is a material used to seal gaps around doors and windows. It acts as a barrier against air leaks, preventing drafts and heat loss during the colder months and keeping cool air inside during the summer. Common materials used for weather stripping include foam, rubber, vinyl, and metal.
Signs That You Need to Replace Weather Stripping
Identifying when to replace your door weather stripping can save you money on energy bills and improve your home’s comfort level. Here are some common signs that your weather stripping may need attention
1. Visible Damage Cracks, tears, or missing sections of the weather stripping indicate that it’s time for a replacement. 2. Drafts If you can feel cold air seeping in around your door, it’s a sure sign that the weather stripping has lost its effectiveness. 3. Increased Energy Bills A sudden spike in heating or cooling costs can also be a sign of worn-out weather stripping. 4. Moisture Issues Signs of condensation or moisture buildup around doors can signal that the weather stripping is failing, leading to potential mold growth or wood rot.
Tools and Materials Needed
To replace your door weather stripping, you’ll need a few basic tools and materials
- New weather stripping (choose a type that suits your door) - Utility knife or scissors - Measuring tape - Screwdriver - Cleaning supplies (to remove old adhesive)
replacing door weather stripping

Step-by-Step Replacement Process
1. Remove Old Weather Stripping Start by removing the old weather stripping. This usually involves pulling it away from the door frame. If it’s stuck, you may need to use a utility knife to cut away any adhesive.
2. Clean the Surface Once the old weather stripping is removed, clean the surface of the door frame to eliminate any debris, old adhesive, or paint that may hinder the new weather stripping from adhering properly.
3. Measure and Cut Measure the sides and top of your door frame where you’ll be applying the new weather stripping. Cut the new material to the appropriate lengths using scissors or a utility knife, ensuring that the cuts are straight for a better fit.
4. Apply New Weather Stripping Starting at one corner, press the new weather stripping into place. If you’re using adhesive-backed weather stripping, make sure to peel off the protective backing as you apply it. For non-adhesive types, you may need a staple gun or screws to secure the strips.
5. Check the Fit Once the weather stripping is in place, close the door to check the fit. You should feel a snug seal without excessive pressure when closing the door. Adjust as necessary to ensure maximum effectiveness.
6. Inspect Regularly After replacing your weather stripping, inspect it periodically for signs of wear. This will help maintain your home’s energy efficiency and comfort in the long run.
Conclusion
Replacing door weather stripping is a straightforward DIY project that can significantly enhance the energy efficiency of your home. By following the steps outlined in this guide, you can effectively seal any drafts, keep moisture at bay, and create a more comfortable living environment. Regular maintenance and timely replacement of weather stripping will not only save you money but will also contribute to the longevity of your doors and overall home structure.
-
Under Door Draught Stopper: Essential ProtectionNewsJul.31,2025
-
Garage Door Seal and Weatherstrips for ProtectionNewsJul.31,2025
-
Edge Banding Tape for Perfect EdgesNewsJul.31,2025
-
Table Corner Guards and Wall Corner ProtectorsNewsJul.31,2025
-
Stair Nose Edging Trim and Tile Stair SolutionsNewsJul.31,2025
-
Truck Bed Rubber Mats for Pickup BedsNewsJul.31,2025
-
Window Weather Stripping for Noise ReductionNewsJul.29,2025