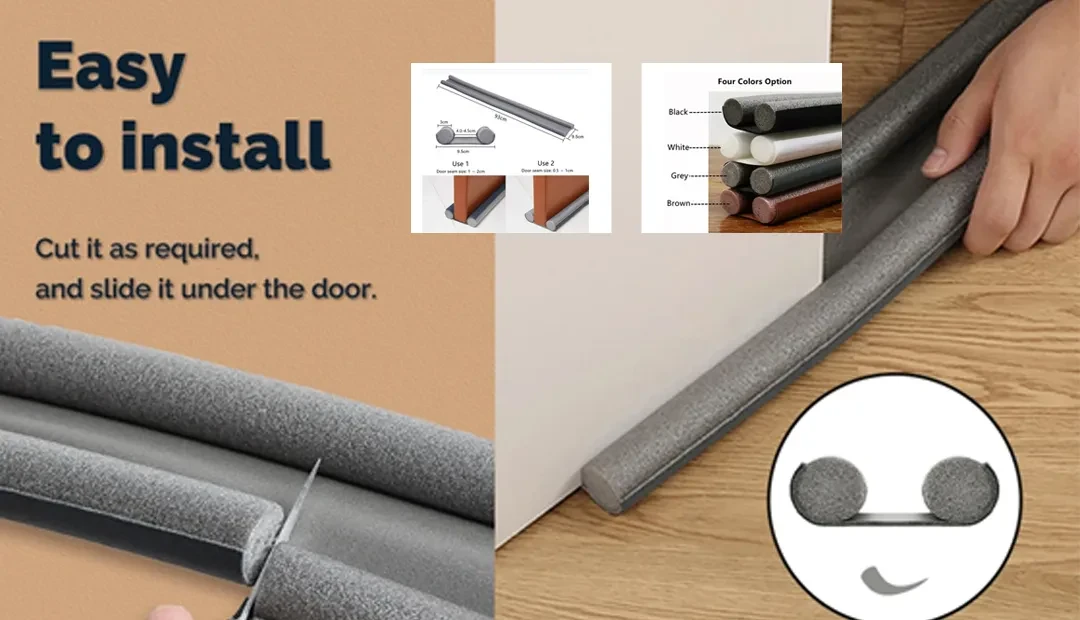
replacing front door seal
Replacing the Front Door Seal A Comprehensive Guide
The front door of your home serves as the primary entry point, offering not only security but also insulation and aesthetic appeal. Over time, seals can wear down due to environmental factors, wear and tear, and even age. A worn-out front door seal can lead to drafts, increased energy bills, and even moisture-related issues like mildew and mold. In this article, we will explore the importance of a front door seal, how to identify when it needs replacing, and step-by-step instructions on how to replace it.
Importance of a Front Door Seal
The front door seal, also known as a weatherstrip, plays a crucial role in maintaining indoor comfort and energy efficiency. Proper sealing keeps outside air from infiltrating your home, effectively regulating indoor temperatures and reducing the burden on your heating and cooling systems. Additionally, a good seal can help protect against dust, pests, and like unwanted creatures intruding into your living space. Keeping your door seal in good condition is therefore vital for an energy-efficient and comfortable home environment.
Signs You Need to Replace the Seal
Recognizing the signs of a worn-out door seal is essential to maintaining your home's integrity. Here are some indicators that it's time to replace yours
1. Drafts If you feel a noticeable draft around your door, particularly during colder months, it’s likely that your seal is no longer effective. 2. Visible Damage Check for cracks, tears, or deformations in the seal. Any physical damage can result in gaps that allow air or moisture to enter.
3. Increased Energy Bills If you notice a spike in your heating or cooling costs, it might be due to air leaks caused by a compromised door seal.
4. Moisture and Mold Signs of moisture buildup or mold growth around the door frame indicate that water is seeping in through the gaps.
How to Replace the Front Door Seal
Replacing a front door seal is a manageable DIY task that can be completed in a few simple steps. Here’s how
replacing front door seal

Materials Needed
- New weatherstripping seal (available at hardware stores) - Measuring tape - Utility knife or scissors - Cleaning supplies (to remove old adhesive) - Adhesive (if not self-adhesive)
Steps
1. Remove the Old Seal Start by removing the old weatherstripping. Use a utility knife or your hands, depending on how well it has adhered to the door frame. Be careful not to damage the door or the frame while doing this.
2. Clean the Area After removing the old seal, clean the door frame thoroughly to remove any debris or adhesive residue. A clean surface will ensure a better bond for the new seal.
3. Measure the Door Frame Use a measuring tape to find the exact dimensions of the door frame where the new seal will go. This will help you cut the new seal to the right size.
4. Cut the New Seal Based on your measurements, cut the new weatherstripping to length. Make sure the cuts are straight and clean to ensure proper fitting.
5. Install the New Seal If you are using a self-adhesive seal, peel off the backing and press it evenly along the door frame. For non-adhesive seals, apply adhesive to the frame first and then press the seal securely into place.
6. Test the Seal Close the door and check for any gaps or drafts. You might want to adjust the seal slightly to ensure a tight fit.
Conclusion
Replacing the front door seal is a simple yet impactful home maintenance task. By ensuring that your door is properly sealed, you can enhance your home’s energy efficiency, comfort, and long-term durability. If you observe any warning signs of wear, don’t hesitate to take action. A little effort can go a long way in creating a welcoming and energy-efficient environment in your home.
-
Under Door Draught Stopper: Essential ProtectionNewsJul.31,2025
-
Garage Door Seal and Weatherstrips for ProtectionNewsJul.31,2025
-
Edge Banding Tape for Perfect EdgesNewsJul.31,2025
-
Table Corner Guards and Wall Corner ProtectorsNewsJul.31,2025
-
Stair Nose Edging Trim and Tile Stair SolutionsNewsJul.31,2025
-
Truck Bed Rubber Mats for Pickup BedsNewsJul.31,2025
-
Window Weather Stripping for Noise ReductionNewsJul.29,2025