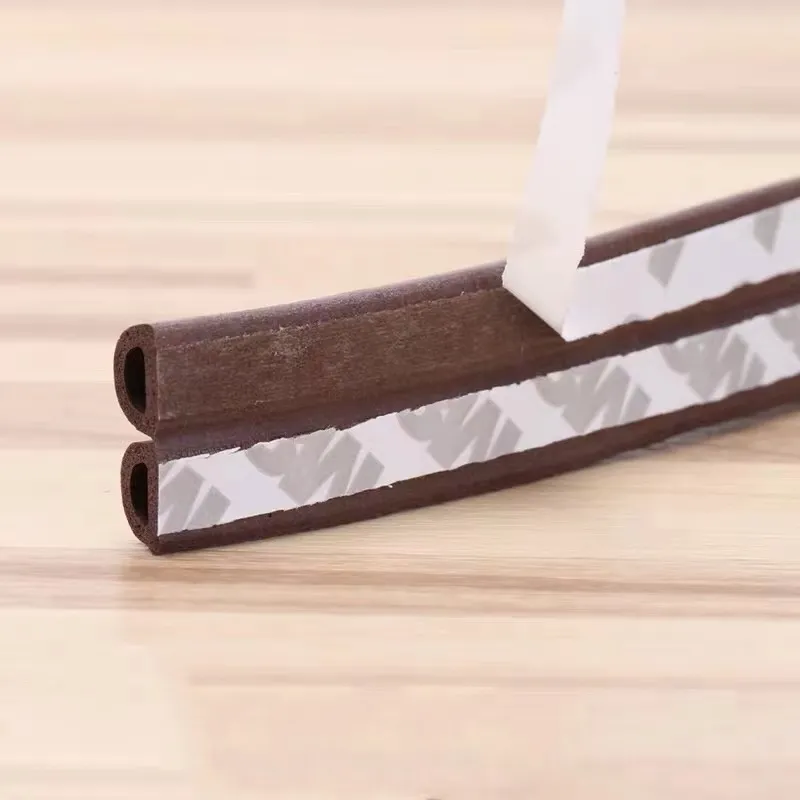
How to Replace the Rubber Seal on Your Garage Door Effectively
Replacing a Garage Door Rubber Seal A Complete Guide
Garage doors are essential for safeguarding our vehicles and belongings, but over time, wear and tear can lead to issues, particularly with the rubber seal at the bottom of the door. This rubber seal, also known as a bottom weather seal, serves crucial functions; it prevents water, debris, and pests from entering the garage while also aiding in insulation. If you notice gaps at the bottom of your garage door, it might be time to replace the rubber seal. Here’s a step-by-step guide on how to do it effectively.
Step 1 Gather Your Materials
Before you begin, make sure you have all the necessary tools and materials. You will need a replacement rubber seal, a tape measure, a utility knife, and a hammer or a pry bar. Some rubber seals come with adhesive backing or require additional screws, so confirm the specifics of your replacement seal before starting.
Step 2 Remove the Old Rubber Seal
Start by lifting the garage door and using a utility knife to cut the old seal away from the door panel. Be cautious not to damage the door itself while cutting. If the seal is held in place by nails or screws, carefully pry those out using a hammer or pry bar. Once the seal is fully detached, clean the groove at the bottom of the door, removing any debris or old adhesive to ensure a good fit for the new seal.
Step 3 Measure and Cut the New Seal
replacing garage door rubber seal

Using your tape measure, determine the length of the new rubber seal needed. It's important to ensure that the new seal matches the length of the old one as closely as possible for optimal performance. If the seal you purchased is longer, you can trim it down with a utility knife. Make sure your cuts are straight to ensure a snug fit.
Step 4 Install the New Seal
Position the new rubber seal into the groove at the bottom of the garage door. If it has adhesive backing, press it firmly into place. If not, align the seal correctly and secure it using nails or screws if necessary. Ensure it is evenly applied to prevent gaps that could allow water or pests in.
Step 5 Test the Seal
Once installed, lower the garage door to test the effectiveness of the new seal. Check for any light seeping through or areas where it might not touch the floor. A properly fitted seal should sit flush against the floor when the door is closed.
Conclusion
Replacing the rubber seal on your garage door is a straightforward DIY project that can significantly improve your garage’s insulation and protection. By following these steps and dedicating a little time, you can enhance the efficiency of your garage space and prolong the lifespan of your garage door. Regular maintenance, including checking the seal periodically, will help you avoid larger issues down the road, ensuring your garage remains a secure and comfortable space.
-
Under Door Draught Stopper: Essential ProtectionNewsJul.31,2025
-
Garage Door Seal and Weatherstrips for ProtectionNewsJul.31,2025
-
Edge Banding Tape for Perfect EdgesNewsJul.31,2025
-
Table Corner Guards and Wall Corner ProtectorsNewsJul.31,2025
-
Stair Nose Edging Trim and Tile Stair SolutionsNewsJul.31,2025
-
Truck Bed Rubber Mats for Pickup BedsNewsJul.31,2025
-
Window Weather Stripping for Noise ReductionNewsJul.29,2025