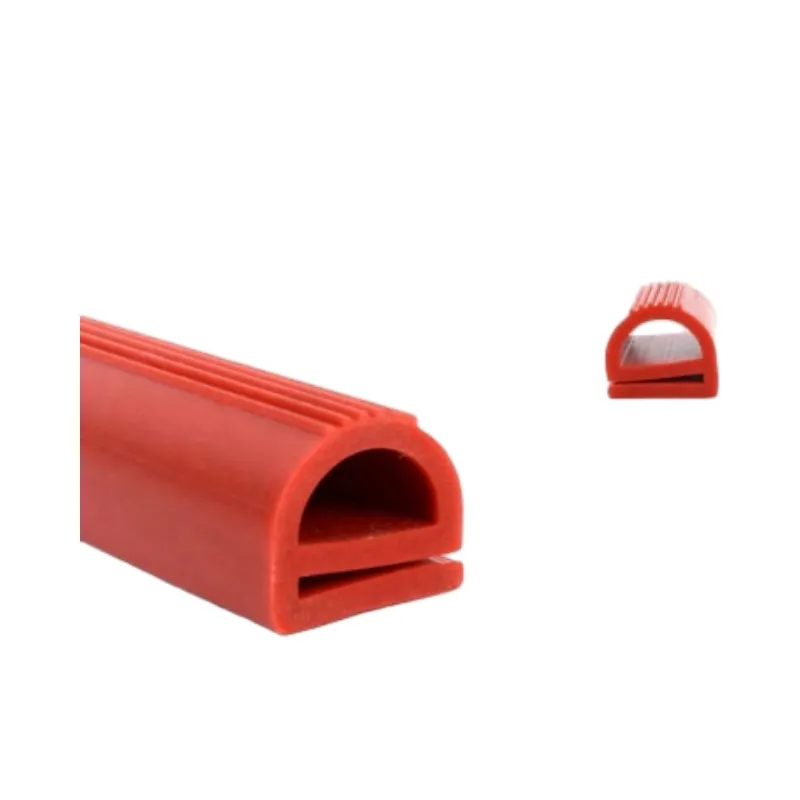
Steps to Effectively Replace a Worn Oven Gasket for Better Cooking Performance
How to Replace an Oven Gasket
Replacing the oven gasket is a simple yet essential maintenance task that can enhance your oven's performance and energy efficiency. An oven gasket is a seal located around the door of the oven, designed to prevent heat from escaping while cooking. Over time, gaskets can wear out, become brittle, or even tear, leading to uneven cooking and increased energy costs. In this guide, we will walk you through the steps to replace your oven gasket effectively.
Materials Needed - Replacement oven gasket (specific to your oven model) - Scissors or a knife - Cleaning cloth - Mild detergent - Optional Silicone sealant
Step 1 Safety First Before you begin, ensure that your oven is completely turned off and cool to the touch. Safety is paramount, as working on a hot oven can lead to burns or other injuries. Unplugging the oven or turning off the circuit breaker to the appliance is also advisable to avoid any electrical hazards.
How to Replace an Oven Gasket
Step 3 Clean the Area Once the old gasket has been removed, thoroughly clean the area where the new gasket will be installed. Use a damp cloth with mild detergent to remove any grease or remnants of the old adhesive. It's crucial that the surface is clean and dry, as this will help your new gasket adhere better and create a better seal.
how to replace oven gasket

Step 4 Prepare the New Gasket Before installing the new gasket, compare it with the old one to ensure it matches in size and shape. Start by threading the new gasket into the appropriate channel around the oven door. If it’s slightly too long, you can trim it to fit using scissors. Some gaskets may also require you to use silicone sealant to secure them. If your model advises this, apply a thin layer of silicon in the channel before placing the gasket.
Step 5 Install the New Gasket Begin at one corner and press the new gasket into the channel, ensuring it fits snugly without gaps. Continue working your way around the door until the entire gasket is installed. Pay close attention to corners, as they can be tricky; ensure that the gasket lies flat and does not bunch up.
Step 6 Secure the Gasket If your gasket has a screw or clip system, be sure to reattach any screws or fasteners that hold the gasket in place securely. If you opted for a silicone sealant, allow it to cure as per the manufacturer's instructions before using the oven.
Step 7 Test the Seal After installation, close the oven door and check the seal by pressing around the edges with your hands. The door should feel even and secure, and there should be no visible gaps. You can also perform a simple test by cooking something in the oven to ensure it maintains the desired temperature throughout the cooking process.
Conclusion Replacing your oven gasket is a straightforward process that can significantly improve your oven's efficiency and performance. By ensuring the door seals properly, you not only save energy but also ensure that your food cooks evenly. Regular maintenance like this will help extend the lifespan of your oven, so make it part of your routine appliance care.
-
Under Door Draught Stopper: Essential ProtectionNewsJul.31,2025
-
Garage Door Seal and Weatherstrips for ProtectionNewsJul.31,2025
-
Edge Banding Tape for Perfect EdgesNewsJul.31,2025
-
Table Corner Guards and Wall Corner ProtectorsNewsJul.31,2025
-
Stair Nose Edging Trim and Tile Stair SolutionsNewsJul.31,2025
-
Truck Bed Rubber Mats for Pickup BedsNewsJul.31,2025
-
Window Weather Stripping for Noise ReductionNewsJul.29,2025