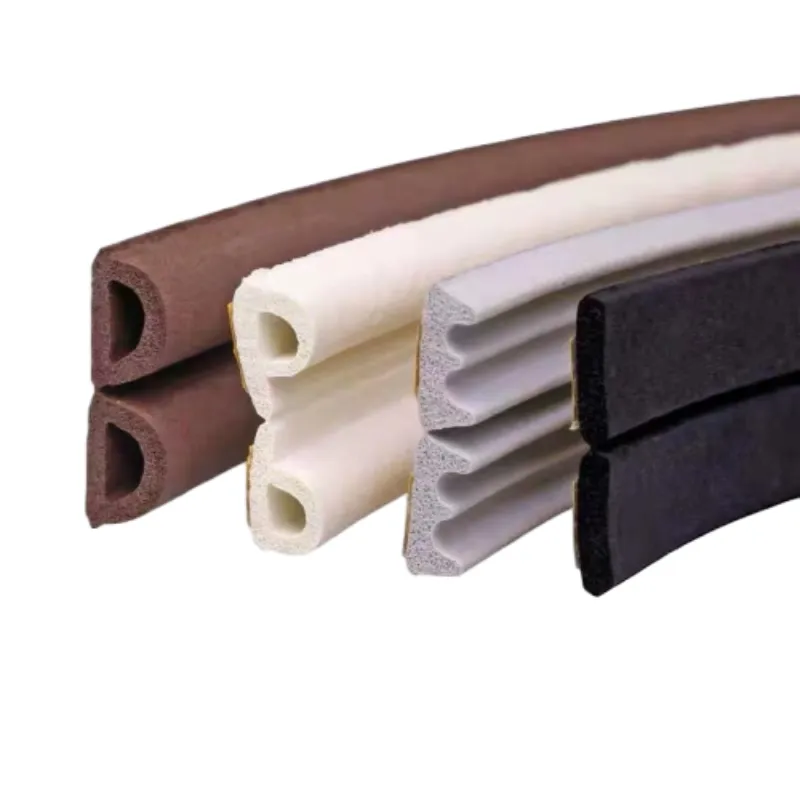
Ways to Repair Your Oven Door Seal for Better Heat Retention and Efficiency
How to Fix an Oven Seal A Step-by-Step Guide
An oven seal, or gasket, is an essential component of your oven that ensures heat stays inside while cooking, making it crucial for both efficiency and safety. If you've noticed that your oven takes longer to cook food or that heat seems to escape during baking, it might be time to check the oven seal. A damaged or worn-out seal can lead to uneven cooking, increased energy costs, and even potential hazards. In this guide, we’ll walk you through the steps to fix or replace your oven seal.
Signs of a Damaged Oven Seal
Before you start the repair process, it’s crucial to identify whether your oven seal truly needs fixing or replacing. Here are some common signs to look out for
1. Visible Damage Look for cracks, tears, or any frayed edges. A damaged seal cannot effectively trap heat. 2. Heat Escape If you feel heat emanating from around the oven door when it's closed, your seal may not be functioning properly. 3. Food Takes Longer to Cook An inefficient seal can lead to longer cooking times, as the oven may not reach or maintain the desired temperature. 4. Baking Issues If baked goods don't rise as they should or cook unevenly, an old or defective seal might be to blame.
Tools and Materials Needed
If you've determined that the oven seal needs attention, gather the following tools and materials
- Replacement oven seal (compatible with your oven model) - Screwdriver (if necessary) - Scissors or a utility knife - Cleaning cloth or sponge - Mild detergent
Step-by-Step Guide to Fixing the Oven Seal
Step 1 Safety First
Before you begin any repairs, unplug your oven or turn off the circuit breaker that supplies power to it. This ensures your safety while you work.
Step 2 Remove the Old Seal
Examine how the existing seal is attached. In many ovens, the seal is held in place with clips or screws. If it’s clipped in, carefully unclip it from the oven door; if it’s screwed in, use your screwdriver to remove the screws.
how to fix oven seal

As you remove the old seal, take notes or photos of how it’s attached. This will help you when putting the new seal in place.
Step 3 Clean the Area
Once the old seal is removed, take this time to clean the area where the seal was attached. Use a cloth or sponge with mild detergent to remove any grease or food particles. This ensures a good fit for the new seal and prevents future damage.
Step 4 Install the New Seal
Take your new oven seal and line it up with the edges of the oven door. If your oven seal comes with adhesive backing, make sure it adheres securely. Otherwise, follow the method you observed during removal, whether that involves clipping it in or screwing it back into place.
Make sure the seal is snug but not overly tight, as it needs to create a proper airtight fit without being distorted.
Step 5 Test the Seal
Once the new seal is installed, close your oven door and check for gaps. You can do this by performing a simple test place a piece of paper between the door and the oven. If you can pull it out easily with the door closed, the seal needs further adjustment.
Step 6 Restore Power and Test the Oven
After confirming that the seal is secure and functioning properly, restore power to your oven. Preheat it to a cooking temperature and observe whether the heat remains stable. Checking if the oven maintains its temperature during cooking will confirm that your repair was successful.
Conclusion
Fixing or replacing your oven seal is a straightforward task that can significantly improve your oven's performance. Regular maintenance can prolong the life of your oven and enhance your cooking results. If you encounter complications beyond just a worn-out seal, consider consulting a professional for further assistance. Happy cooking!
-
Under Door Draught Stopper: Essential ProtectionNewsJul.31,2025
-
Garage Door Seal and Weatherstrips for ProtectionNewsJul.31,2025
-
Edge Banding Tape for Perfect EdgesNewsJul.31,2025
-
Table Corner Guards and Wall Corner ProtectorsNewsJul.31,2025
-
Stair Nose Edging Trim and Tile Stair SolutionsNewsJul.31,2025
-
Truck Bed Rubber Mats for Pickup BedsNewsJul.31,2025
-
Window Weather Stripping for Noise ReductionNewsJul.29,2025