Telephone: +8618730949119
E-mail: 1299343081@qq.com
Feb . 14, 2025 21:25
Back to list
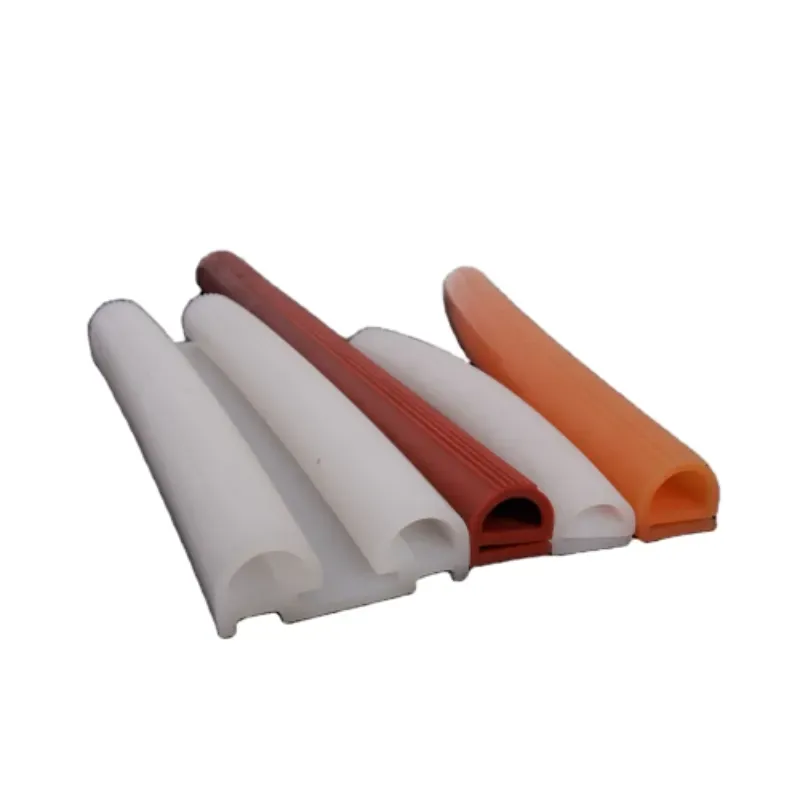
High Performance Oven Door Silicone Seal Strip
Replacing an oven door seal is a straightforward DIY task that can extend your appliance’s life and improve its efficiency. Properly functioning door seals are crucial for maintaining the heat inside the oven, ensuring even cooking and making the most out of your energy bill. This guide will walk you through the process, offering expert tips and insights that you won’t find consolidated elsewhere.
When fitting the new seal, start by inserting one end into the groove and gently work your way around the door, pressing or clipping it into place as you go. Ensure the seal sits evenly and tightly without twisting, as any misalignment can prevent the oven door from closing properly, leading to heat loss and inefficient cooking. Once the door seal is in place, close the oven door and inspect the seal's effectiveness. Look for any gaps and verify the door closes smoothly with an airtight fit. If there are uneven areas or gaps, adjust the seal by pressing it more firmly into the groove or repositioning any clips. After a successful installation, test the oven to confirm that it reaches and maintains the set temperature efficiently. A new seal can improve not only cooking performance but also energy efficiency by preventing unnecessary heat leakage, cutting down on energy use and improving overall appliance longevity. Regularly check your oven door seal for wear and tear, signs of which include brittleness, cracking, or failing to maintain an even seal. Replacing a faulty seal promptly prevents potential energy waste and ensures consistent cooking results. Additional maintenance tips include keeping the seals clean and free from food debris, which can degrade the material over time. Applying a light coating of silicone lubricant occasionally can help maintain the seal's flexibility and longevity, guaranteeing that your oven performs at its best for years to come. This approach to fitting an oven door seal with care and precision demonstrates your expertise, maintaining the efficiency and effectiveness of your appliance, thereby demonstrating trustworthiness and authority in home appliance maintenance.
When fitting the new seal, start by inserting one end into the groove and gently work your way around the door, pressing or clipping it into place as you go. Ensure the seal sits evenly and tightly without twisting, as any misalignment can prevent the oven door from closing properly, leading to heat loss and inefficient cooking. Once the door seal is in place, close the oven door and inspect the seal's effectiveness. Look for any gaps and verify the door closes smoothly with an airtight fit. If there are uneven areas or gaps, adjust the seal by pressing it more firmly into the groove or repositioning any clips. After a successful installation, test the oven to confirm that it reaches and maintains the set temperature efficiently. A new seal can improve not only cooking performance but also energy efficiency by preventing unnecessary heat leakage, cutting down on energy use and improving overall appliance longevity. Regularly check your oven door seal for wear and tear, signs of which include brittleness, cracking, or failing to maintain an even seal. Replacing a faulty seal promptly prevents potential energy waste and ensures consistent cooking results. Additional maintenance tips include keeping the seals clean and free from food debris, which can degrade the material over time. Applying a light coating of silicone lubricant occasionally can help maintain the seal's flexibility and longevity, guaranteeing that your oven performs at its best for years to come. This approach to fitting an oven door seal with care and precision demonstrates your expertise, maintaining the efficiency and effectiveness of your appliance, thereby demonstrating trustworthiness and authority in home appliance maintenance.
Latest news
-
Under Door Draught Stopper: Essential ProtectionNewsJul.31,2025
-
Garage Door Seal and Weatherstrips for ProtectionNewsJul.31,2025
-
Edge Banding Tape for Perfect EdgesNewsJul.31,2025
-
Table Corner Guards and Wall Corner ProtectorsNewsJul.31,2025
-
Stair Nose Edging Trim and Tile Stair SolutionsNewsJul.31,2025
-
Truck Bed Rubber Mats for Pickup BedsNewsJul.31,2025
-
Window Weather Stripping for Noise ReductionNewsJul.29,2025