Telephone: +8618730949119
E-mail: 1299343081@qq.com
Feb . 14, 2025 21:53
Back to list
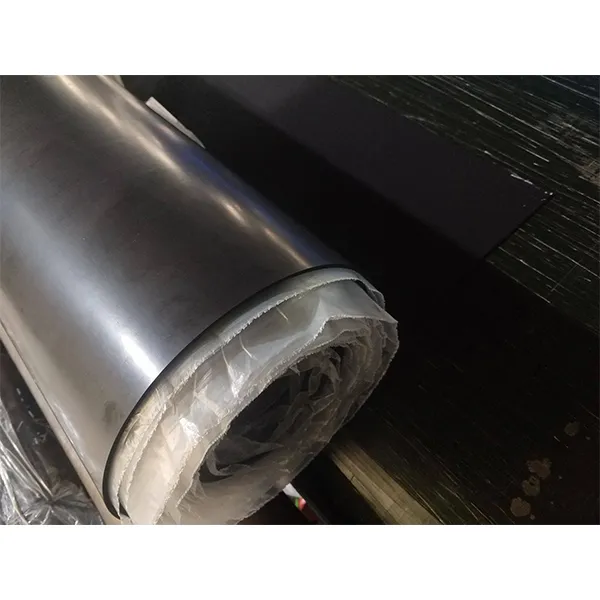
High Performance Oven Door Silicone Seal Strip
Replacing a stove's oven door seal can seem daunting, but with the right guidance, it can be a straightforward task that ensures your appliance's efficiency and safety. The oven door seal is crucial for maintaining consistent temperatures and preventing heat loss, which directly affects cooking performance and energy consumption. This comprehensive guide is designed to offer expert advice and genuine insights into successfully fitting a new oven door seal.
3. Remove the Old Seal Locate the existing door seal. It might have hooks, clips, or screws. If hooks are present, gently pull the seal away from the door. For clips, use pliers to loosen them. If screws are holding it in place, use a screwdriver to remove them. 4. Clean the Area With the old seal removed, you’ll likely find crumbs or grease build-up around the groove where the seal sits. Use a damp cloth to clean this area thoroughly, ensuring a smooth, clean surface for the new seal. 5. Fit the New Seal Starting at the corners, carefully align the new seal with the groove. If it comes with hooks or clips, press them firmly into place. Ensure there are no gaps and that the seal sits flush against the door. 6. Test the Seal Once fitted, open and close the oven door several times to ensure the seal is secure and not hindering the door’s movement. Check for airtightness by placing a piece of paper between the door and the seal; it should be difficult to pull out. 7. Final Inspections Turn the oven on to a moderate temperature. After a few minutes, check around the door for any unusual heat loss. If the seal is working correctly, the temperature outside the door should remain consistent. Expert Tips for Maintaining Your Oven Door Seal To prolong the lifespan of your new oven door seal, it’s important to regularly clean it with a mild detergent and warm water. Avoid using harsh chemicals or abrasive tools that can damage the material. Also, routinely check the seal for wear and tear, especially if you notice heat escaping or food taking longer to cook. Stove ovens are an integral part of modern kitchens, and maintaining their components not only ensures optimal performance but also enhances safety and efficiency. By following these expert guidelines, you can confidently replace and maintain your oven door seal, leading to better cooking results and energy savings.

3. Remove the Old Seal Locate the existing door seal. It might have hooks, clips, or screws. If hooks are present, gently pull the seal away from the door. For clips, use pliers to loosen them. If screws are holding it in place, use a screwdriver to remove them. 4. Clean the Area With the old seal removed, you’ll likely find crumbs or grease build-up around the groove where the seal sits. Use a damp cloth to clean this area thoroughly, ensuring a smooth, clean surface for the new seal. 5. Fit the New Seal Starting at the corners, carefully align the new seal with the groove. If it comes with hooks or clips, press them firmly into place. Ensure there are no gaps and that the seal sits flush against the door. 6. Test the Seal Once fitted, open and close the oven door several times to ensure the seal is secure and not hindering the door’s movement. Check for airtightness by placing a piece of paper between the door and the seal; it should be difficult to pull out. 7. Final Inspections Turn the oven on to a moderate temperature. After a few minutes, check around the door for any unusual heat loss. If the seal is working correctly, the temperature outside the door should remain consistent. Expert Tips for Maintaining Your Oven Door Seal To prolong the lifespan of your new oven door seal, it’s important to regularly clean it with a mild detergent and warm water. Avoid using harsh chemicals or abrasive tools that can damage the material. Also, routinely check the seal for wear and tear, especially if you notice heat escaping or food taking longer to cook. Stove ovens are an integral part of modern kitchens, and maintaining their components not only ensures optimal performance but also enhances safety and efficiency. By following these expert guidelines, you can confidently replace and maintain your oven door seal, leading to better cooking results and energy savings.
Latest news
-
Under Door Draught Stopper: Essential ProtectionNewsJul.31,2025
-
Garage Door Seal and Weatherstrips for ProtectionNewsJul.31,2025
-
Edge Banding Tape for Perfect EdgesNewsJul.31,2025
-
Table Corner Guards and Wall Corner ProtectorsNewsJul.31,2025
-
Stair Nose Edging Trim and Tile Stair SolutionsNewsJul.31,2025
-
Truck Bed Rubber Mats for Pickup BedsNewsJul.31,2025
-
Window Weather Stripping for Noise ReductionNewsJul.29,2025