Telephone: +8618730949119
E-mail: 1299343081@qq.com
Feb . 14, 2025 05:33
Back to list
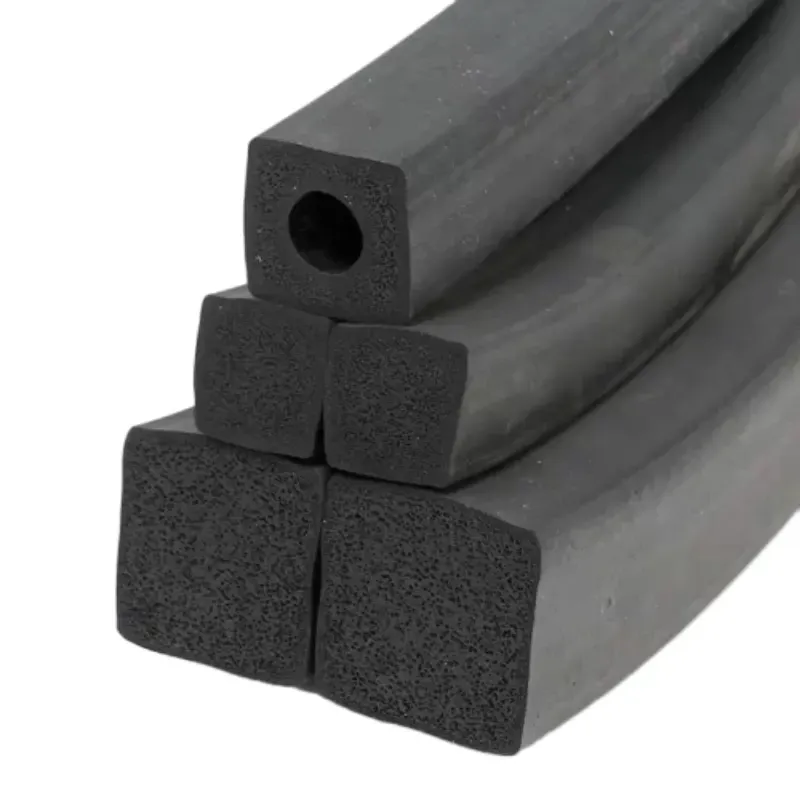
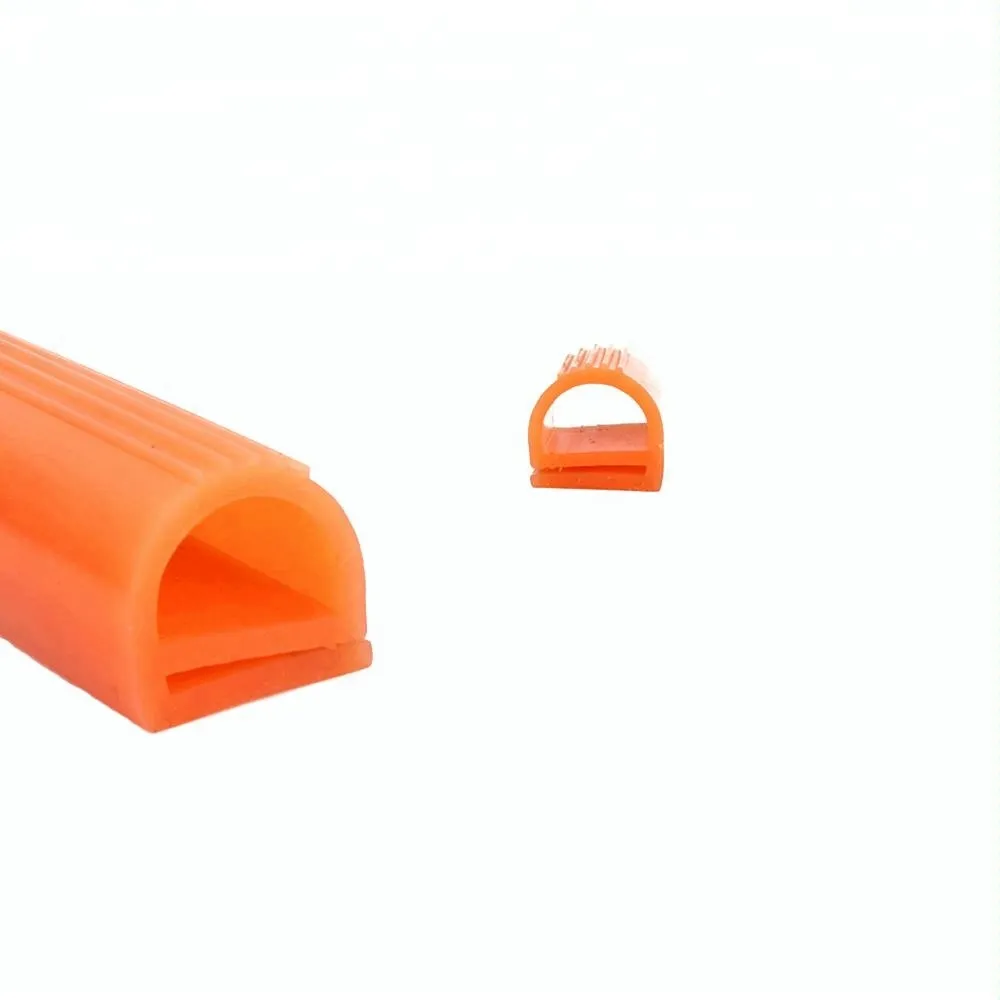
oven seals replacement
Replacing oven door insulation is a task that demands a careful balance of technical knowledge, attention to detail, and a sound understanding of the product itself. For those unfamiliar, oven door insulation serves a crucial role in ensuring efficient heat retention and safety. Without it, energy consumption could skyrocket, and the exterior of the oven could become dangerously hot. Here's a comprehensive guide to navigating the complexities of oven door insulation replacement, designed to elevate your understanding and equip you with practical expertise.
3. Inspect and Remove Old Insulation Examine the old insulation for any unusual deformities. This could indicate potential heat distribution issues in the oven chamber. Remove the deteriorated insulation, ensuring all remnants are cleared to make way for the new layer. 4. Install the New Insulation Insert the replacement insulation in the same positioning as the former. Proper placement is key for optimal performance. The insulation should sit snuggly without compressing, ensuring that it covers the entire interior surface uniformly. 5. Reassemble the Oven Door Once the new insulation is securely in place, reattach the internal panel and tighten all screws as per the original configuration. Confirm that the door functions smoothly on its hinges before finalizing the reattachment. 6. Testing the Installation After reassembly, reconnect the oven to power. Conduct a test run to ensure the door is properly sealed and heat loss is minimized. Check for any temperature inconsistencies during a normal cooking cycle to verify the success of your replacement. Expert Tips for Long-term Maintenance Prolong the life of your oven door insulation by routinely cleaning the oven interior, avoiding excessive moisture and grease buildup. This maintenance deters insulation breakdown and enhances the longevity of your oven overall. Regularly inspect the door alignment and seal to preempt any issues that might compromise insulation efficacy. In summary, the impact of replacing oven door insulation transcends mere maintenance; it is an investment in energy efficiency and cooking quality. By following this methodical approach, you ensure an authoritative grasp of product care, fostering trust in your ability to uphold home appliance integrity. The intricate understanding and practical application garnered from this replacement process not only reinforce your expertise but also empower you with knowledge that is both reliable and resourceful in sustaining modern culinary equipment.
3. Inspect and Remove Old Insulation Examine the old insulation for any unusual deformities. This could indicate potential heat distribution issues in the oven chamber. Remove the deteriorated insulation, ensuring all remnants are cleared to make way for the new layer. 4. Install the New Insulation Insert the replacement insulation in the same positioning as the former. Proper placement is key for optimal performance. The insulation should sit snuggly without compressing, ensuring that it covers the entire interior surface uniformly. 5. Reassemble the Oven Door Once the new insulation is securely in place, reattach the internal panel and tighten all screws as per the original configuration. Confirm that the door functions smoothly on its hinges before finalizing the reattachment. 6. Testing the Installation After reassembly, reconnect the oven to power. Conduct a test run to ensure the door is properly sealed and heat loss is minimized. Check for any temperature inconsistencies during a normal cooking cycle to verify the success of your replacement. Expert Tips for Long-term Maintenance Prolong the life of your oven door insulation by routinely cleaning the oven interior, avoiding excessive moisture and grease buildup. This maintenance deters insulation breakdown and enhances the longevity of your oven overall. Regularly inspect the door alignment and seal to preempt any issues that might compromise insulation efficacy. In summary, the impact of replacing oven door insulation transcends mere maintenance; it is an investment in energy efficiency and cooking quality. By following this methodical approach, you ensure an authoritative grasp of product care, fostering trust in your ability to uphold home appliance integrity. The intricate understanding and practical application garnered from this replacement process not only reinforce your expertise but also empower you with knowledge that is both reliable and resourceful in sustaining modern culinary equipment.
Next:
Latest news
-
Under Door Draught Stopper: Essential ProtectionNewsJul.31,2025
-
Garage Door Seal and Weatherstrips for ProtectionNewsJul.31,2025
-
Edge Banding Tape for Perfect EdgesNewsJul.31,2025
-
Table Corner Guards and Wall Corner ProtectorsNewsJul.31,2025
-
Stair Nose Edging Trim and Tile Stair SolutionsNewsJul.31,2025
-
Truck Bed Rubber Mats for Pickup BedsNewsJul.31,2025
-
Window Weather Stripping for Noise ReductionNewsJul.29,2025